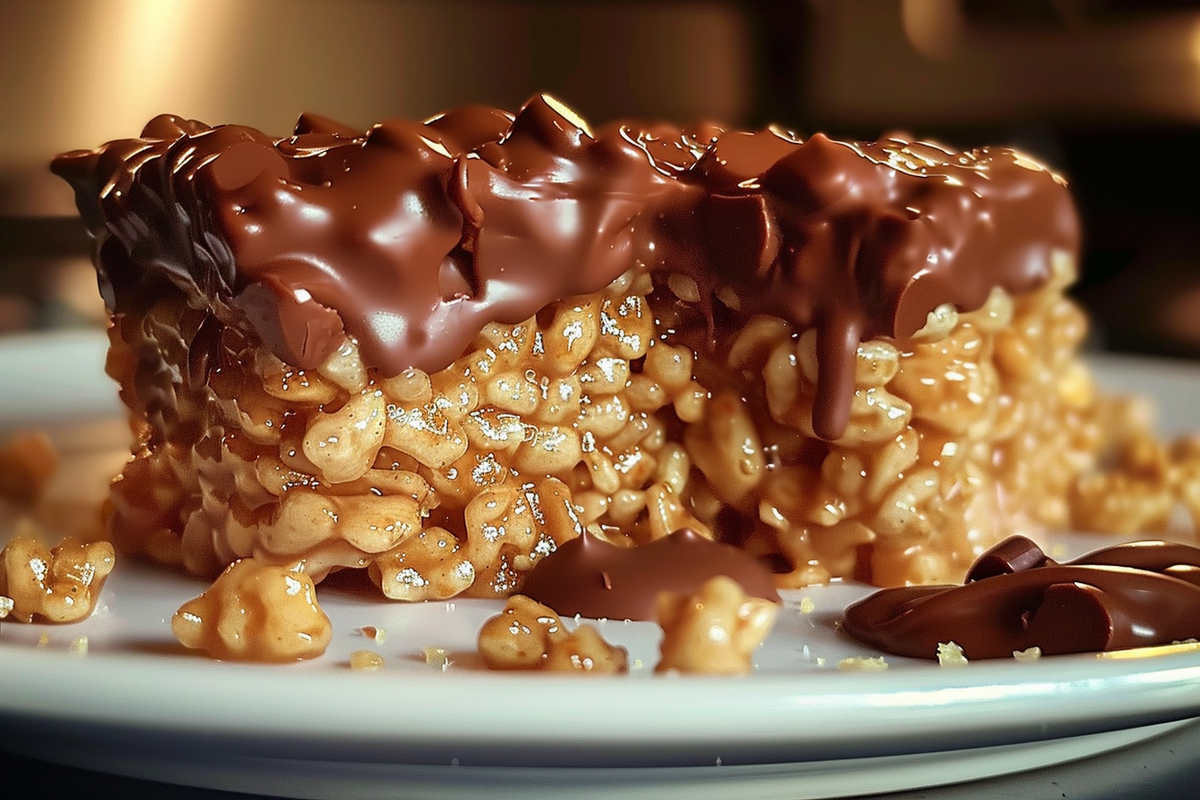
Indulge in the delightful combination of chocolate and peanut butter with these Chocolate Peanut Butter Krispies! Perfect as a quick snack or a dessert, these no-bake bars blend the crunchiness of rice cereal with a rich, creamy peanut butter base, topped off with smooth chocolate. In just over an hour, you can whip up a batch of these delicious treats!
Why You Will Love This Recipe
This recipe is not only easy and quick to prepare, but it’s also incredibly satisfying. With a handful of wholesome ingredients, these bars are packed with energy and flavor. They are ideal for lunchboxes, after workouts, or as a sweet treat whenever cravings hit. Plus, you can customize them further by adding nuts, seeds, or even dried fruits for additional texture and flavor!
Ingredients
Gather the following ingredients to make your Chocolate Peanut Butter Krispies:
- 3 cups crispy rice cereal
- 1/2 cup natural peanut butter (smooth or crunchy)
- 1/3 cup honey or maple syrup
- 1/4 teaspoon salt
- 1 teaspoon vanilla extract
- 1 cup semi-sweet chocolate chips
- 1 tablespoon coconut oil (optional, for a smoother chocolate layer)
Directions
Follow these easy steps to make your Chocolate Peanut Butter Krispies:
- Step 1: Line an 8×8-inch baking pan with parchment paper, leaving some overhang for easy removal.
- Step 2: In a medium saucepan over low heat, combine the peanut butter, honey or maple syrup, and salt. Stir gently until melted and well combined.
- Step 3: Remove from heat and stir in the vanilla extract.
- Step 4: Add the crispy rice cereal and mix until the cereal is completely coated with the peanut butter mixture.
- Step 5: Press the mixture firmly into the prepared pan using a spatula or your hands slightly dampened with water to avoid sticking.
- Step 6: In a microwave-safe bowl, melt the chocolate chips with coconut oil if using in 20-second intervals, stirring between each, until smooth.
- Step 7: Pour the melted chocolate over the krispie base and spread evenly with a spatula.
- Step 8: Chill in the refrigerator for at least 1 hour, or until the bars are firm and the chocolate is set.
- Step 9: Lift out of the pan using the parchment paper and cut into squares. Store in the fridge for the best texture.
Pro Tips for Making Chocolate Peanut Butter Krispies
- Ensure that the peanut butter is smooth for an easier mixing process. If using crunchy peanut butter, make sure it’s well incorporated for consistent texture.
- Press the mixture firmly into the pan so that the bars hold together once cut.
- For a fun twist, consider adding in some mini marshmallows or dried fruit to the cereal mix.
- Opt for a high-quality chocolate for the topping to enhance the flavor of your final product.
- If you want to add more nutrition to the bars, consider mixing in some chia seeds or protein powder with the cereal.
Frequently Asked Questions
1. Can I use other types of cereal?
Yes, you can substitute the crispy rice cereal with other cereals like Cornflakes or Cheerios for a different taste and texture.
2. How long do these bars last?
If stored properly in an airtight container in the refrigerator, the bars can last for up to one week.
3. Can I make these vegan-friendly?
Absolutely! Substitute honey with maple syrup or agave nectar, and ensure your chocolate chips are dairy-free.
4. Is it necessary to refrigerate them?
While refrigerating helps the chocolate set properly and maintains the texture, you can keep them at room temperature for a few hours as well.
5. Can I freeze these bars?
Yes, these bars freeze well! You can individually wrap them and store in a freezer-safe bag for up to 3 months.
Conclusion
The Chocolate Peanut Butter Krispies are a delightful treat that combines convenience with flavor. They are perfect for satisfying sweet cravings without the guilt. Try this recipe and enjoy delicious bars that are sure to impress friends and family alike. Don’t forget to customize for a unique touch; the possibilities are endless!

