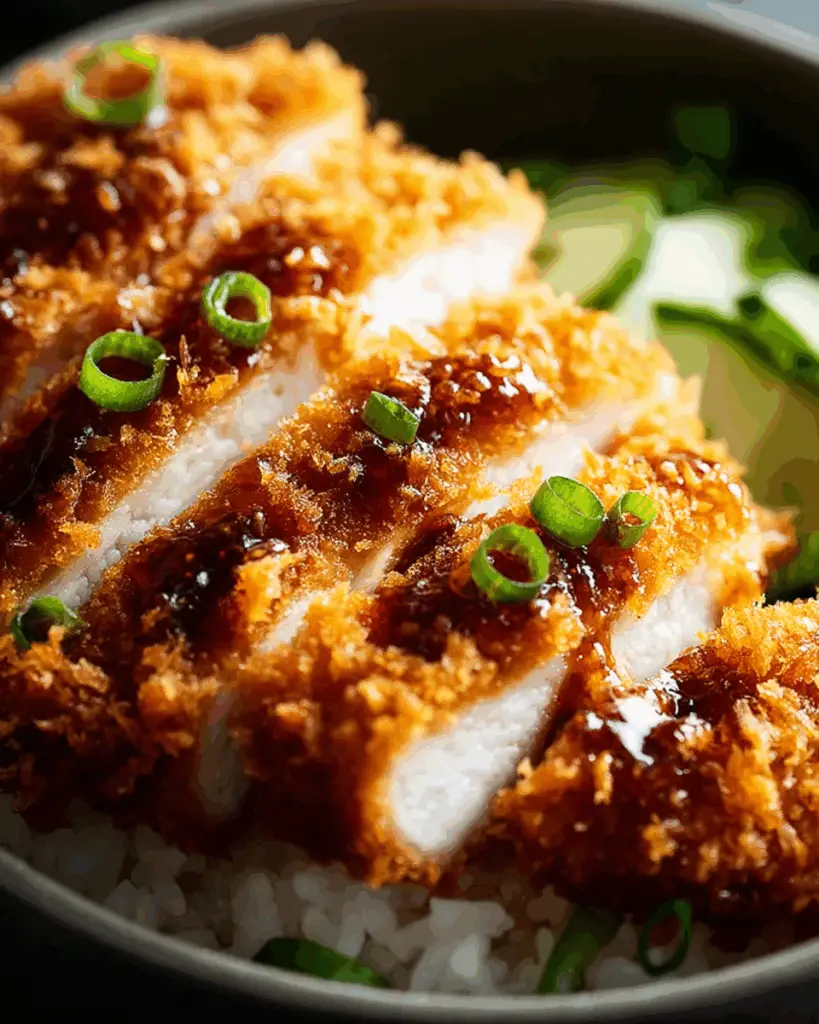
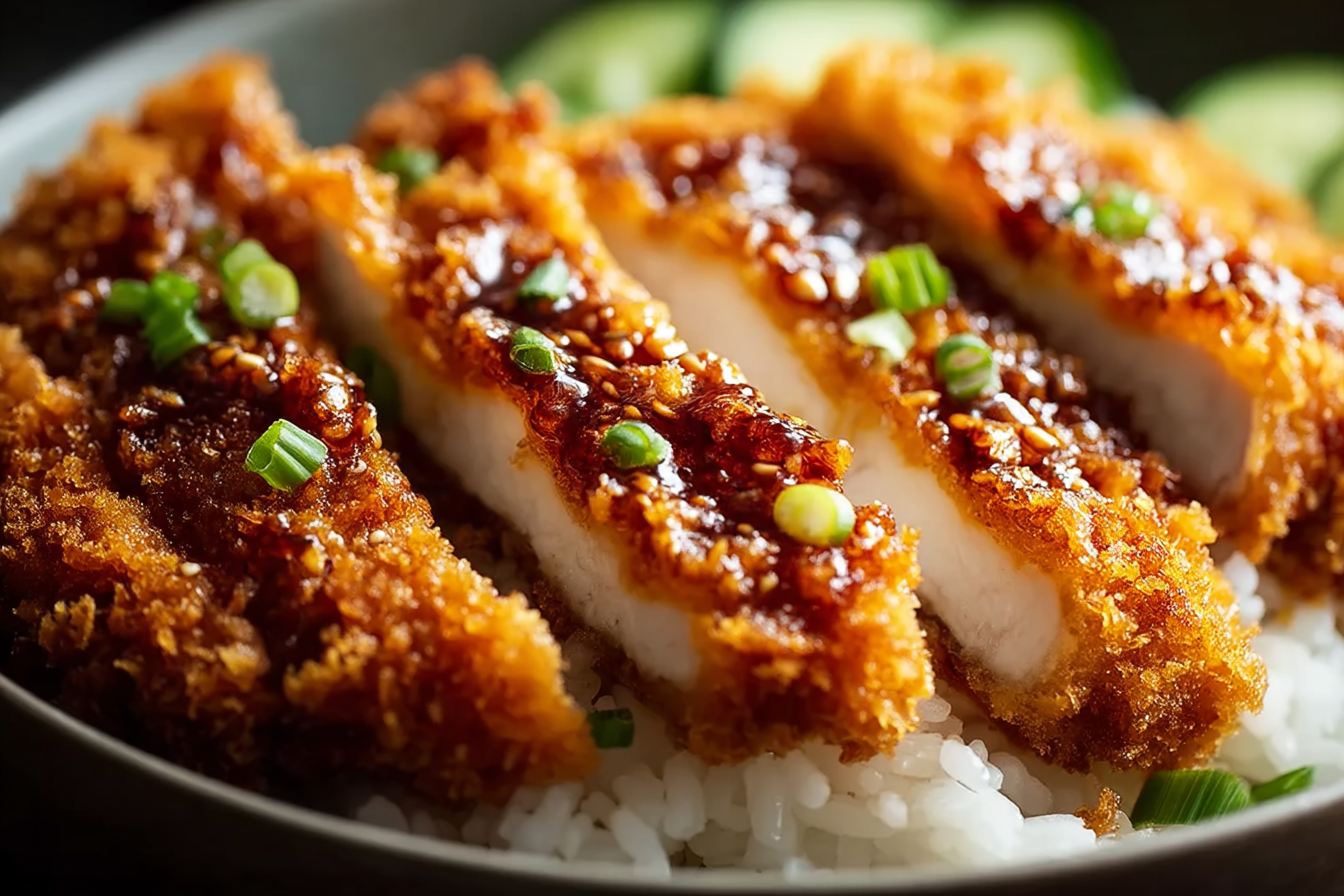
Hey there, my food-loving friend! Get ready to dive into the crispy, golden deliciousness of this Crispy Chicken Katsu! Imagine tender, juicy chicken breasts coated in a shatteringly crisp panko crust, fried to perfection and served with a tangy, savory tonkatsu sauce that’s pure umami magic. This Japanese classic is like comfort food with a flair—perfect for a fun weeknight dinner or impressing your crew with a restaurant-worthy dish. Trust me, this one’s a total game-changer, and you’ll be craving it again before you even finish your plate!
Why You’ll Love Crispy Chicken Katsu
This dish isn’t just dinner—it’s a vibe. Whether you’re cooking for a cozy night in, feeding a hungry family, or hosting a casual get-together, Chicken Katsu delivers big on flavor and satisfaction. Here’s why it’s a must-try:
- Versatile: Perfect for a quick dinner, meal prep, or even slicing up for a bento box lunch. It’s just as great at home as it is packed for on-the-go.
- Budget-Friendly: Uses simple ingredients like chicken and pantry staples, so you can create something extraordinary without spending a fortune.
- Quick and Easy: Straightforward steps that come together fast, even for beginner cooks. The frying is simple, and the results are pro-level crispy.
- Customizable: Serve it with rice, a salad, or even in a sandwich. Spice up the sauce or keep it classic—make it your own!
- Crowd-Pleasing: That crispy crunch and juicy chicken are a hit with kids and adults alike. It’s the kind of dish everyone fights over.

Ingredients in Crispy Chicken Katsu
This dish comes together with simple ingredients that create a perfect balance of crispy, juicy, and savory. Here’s what makes it so special:
Chicken Breasts
The star of the show, boneless and skinless chicken breasts are pounded thin for tender, even cooking and maximum crunch.
Panko Breadcrumbs
These Japanese-style breadcrumbs are light and airy, giving the katsu its signature crispy, golden crust.
All-Purpose Flour
A light dusting of flour helps the egg wash stick, ensuring the panko clings perfectly to the chicken.
Eggs
Beaten eggs create a sticky layer that helps the panko adhere, giving you that irresistible crunchy coating.
Vegetable Oil
Used for frying, this neutral oil ensures a clean, crispy finish without overpowering the flavors.
Tonkatsu Sauce
This tangy, slightly sweet sauce (store-bought or homemade) is the perfect dip, with notes of Worcestershire, soy, and ketchup.
Salt and Pepper
These essentials season the chicken, bringing out its natural flavor and balancing the rich crust.
Cabbage
Thinly shredded cabbage is a traditional side, adding a fresh, crunchy contrast to the rich katsu.
(Note: the full ingredients list, including measurements, is provided in the recipe card directly below.)
Instructions
Let’s get frying and create this crispy masterpiece:
Prepare the Chicken
Place chicken breasts between plastic wrap and pound to an even ½-inch thickness using a meat mallet or rolling pin. Season both sides with salt and pepper.
Set Up the Breading Station
Prepare three shallow bowls: one with flour, one with beaten eggs, and one with panko breadcrumbs. This assembly line makes breading a breeze.
Bread the Chicken
Dredge each chicken breast in flour, shaking off excess. Dip in the egg wash, letting excess drip off, then coat thoroughly in panko, pressing gently to adhere.
Preheat Your Equipment
Heat ½ inch of vegetable oil in a large skillet over medium heat until it reaches 350°F (use a thermometer or test with a pinch of panko—it should sizzle immediately).
Fry the Chicken
Carefully place the breaded chicken in the hot oil, working in batches to avoid crowding. Fry for 3-4 minutes per side until golden brown and the internal temperature reaches 165°F.
Drain and Rest
Transfer the cooked katsu to a wire rack or paper towel-lined plate to drain excess oil. Let rest for 2-3 minutes to keep it juicy.
Slice and Serve
Slice the katsu into thin strips for that classic presentation. Serve with tonkatsu sauce and a side of shredded cabbage.
Serve and Enjoy
Plate with rice or a simple salad and drizzle or dip in tonkatsu sauce. Dig in and enjoy the crispy, juicy goodness!
Nutrition Facts
Servings: 4
Calories per serving: 420 kcal
Preparation Time
Prep Time: 15 minutes
Cook Time: 10 minutes
Total Time: 25 minutes
How to Serve Crispy Chicken Katsu
This katsu is a star on its own, but here are some ways to make it even more delicious:
- Fresh Salads: Pair with a simple cabbage salad dressed with a light sesame or rice vinegar dressing for a refreshing crunch.
- Crusty Bread: Serve with a side of Japanese milk bread or a roll to soak up any extra sauce.
- Creamy Accompaniments: Add a dollop of Japanese mayo or miso soup for a cozy, restaurant-style meal.
- Vegetable Sides: Steamed edamame or pickled radish add color and a tangy contrast to the rich katsu.
- As a Standalone: Slice and serve with tonkatsu sauce and cabbage for a classic, no-fuss presentation.
Presentation matters! Arrange the sliced katsu on a plate with a drizzle of tonkatsu sauce and a pile of shredded cabbage for that authentic Japanese diner vibe.
Additional Tips
Here’s how to make your Chicken Katsu even better:
- Prep Ahead: Pound and season the chicken up to a day in advance and refrigerate. Bread just before frying for the crispiest results.
- Spice It Up: Add a pinch of cayenne or shichimi togarashi to the panko for a spicy kick.
- Dietary Adjustments: Use gluten-free panko and flour for a gluten-free version. Swap chicken for tofu or pork for a twist.
- Storage Tips: Store leftovers in an airtight container in the fridge for up to 3 days. Reheat in an oven to keep the crust crispy.
- Crispy Reheat: Reheat in a 400°F oven for 8-10 minutes to restore the crunch, rather than microwaving, which can make it soggy.
FAQ Section
Q1: Can I substitute chicken with another protein?
A1: Yes! Try pork cutlets (tonkatsu) or firm tofu for a vegetarian version. Adjust cooking times to ensure they’re cooked through.
Q2: Can I make this ahead of time?
A2: Prep the chicken and refrigerate up to a day ahead. Bread and fry just before serving to keep the crust crispy.
Q3: How do I store leftovers?
A3: Store in an airtight container in the fridge for up to 3 days. Reheat in an oven at 400°F for 8-10 minutes to keep it crispy.
Q4: Can I freeze Chicken Katsu?
A4: Yes! Freeze cooked katsu in a freezer-safe container for up to 2 months. Thaw in the fridge and reheat in the oven.
Q5: What’s the best way to reheat this dish?
A5: Reheat in a 400°F oven for 8-10 minutes to restore the crispy crust. Avoid microwaving to prevent sogginess.
Q6: Can I double the recipe?
A6: Absolutely! Double the ingredients and fry in batches to avoid overcrowding the pan. Perfect for a crowd or meal prep.
Q7: Can I bake instead of fry?
A7: Yes! Bake at 400°F on a wire rack over a baking sheet for 15-20 minutes, flipping halfway, until golden and 165°F internally.
Q8: Is this recipe kid-friendly?
A8: Totally! The crispy texture and mild flavors are a hit with kids. Serve with extra tonkatsu sauce for dipping fun.
Q9: Where can I find tonkatsu sauce?
A9: Look for it in the Asian section of grocery stores or online. You can also make your own with ketchup, Worcestershire, soy sauce, and sugar.
Q10: Why is my katsu not crispy?
A10: Ensure the oil is hot (350°F) before frying, don’t overcrowd the pan, and drain well on a rack. Overcrowding lowers the oil temperature, making it soggy.
Conclusion
This Crispy Chicken Katsu is your ticket to a deliciously satisfying meal that’s as fun to make as it is to eat. With its golden, crunchy panko crust, juicy chicken, and tangy tonkatsu sauce, every bite is a perfect blend of textures and flavors. Whether you’re serving it with rice, a fresh salad, or just diving in with a big drizzle of sauce, this dish is sure to bring joy to your table. So grab your skillet, get that oil sizzling, and enjoy a taste of Japanese comfort food that’s crispy, cozy, and oh-so-delicious!
PrintCrispy Chicken Katsu
Crispy Chicken Katsu is a Japanese-style breaded and fried chicken cutlet that is golden, crunchy on the outside, and juicy inside. It’s often served with shredded cabbage, steamed rice, and a flavorful tonkatsu sauce. This dish is perfect for a quick, satisfying dinner. #ChickenKatsu #JapaneseFood #CrispyChicken #Tonkatsu #EasyDinner #AsianCuisine
- Prep Time: 15 minutes
- Cook Time: 15 minutes
- Total Time: 30 minutes
- Yield: 4 servings 1x
- Category: Main Dish
- Method: Frying
- Cuisine: Japanese
- Diet: Halal
Ingredients
- 4 boneless, skinless chicken breasts or thighs
- 1 cup all-purpose flour
- 2 large eggs, beaten
- 2 cups panko breadcrumbs
- Salt and pepper, to taste
- Vegetable oil, for frying
- 1/2 cup ketchup
- 1 tablespoon Worcestershire sauce
- 1 tablespoon soy sauce
- 1 tablespoon Dijon mustard
- 1 tablespoon rice vinegar
- 1 tablespoon brown sugar
Instructions
- Pound the chicken to an even thickness (about 1/4 inch).
- Season both sides with salt and pepper.
- Set up three bowls: one with flour, one with beaten eggs, and one with panko breadcrumbs.
- Coat each chicken piece in flour, then egg, then panko.
- Heat oil in a frying pan over medium-high heat.
- Fry chicken 3–4 minutes per side until golden and cooked through.
- In a bowl, mix ketchup, Worcestershire sauce, soy sauce, mustard, vinegar, and sugar to make tonkatsu sauce.
- Drain chicken on paper towels.
- Slice and serve with rice, cabbage, and sauce.
Notes
- Use chicken thighs for extra juiciness.
- Ensure oil temperature is around 350°F for perfect crispiness.
- You can bake the katsu at 400°F for 20 minutes as a healthier alternative.
- Store leftovers in the fridge for up to 3 days.
Nutrition
- Serving Size: 1 piece
- Calories: 320
- Sugar: 5g
- Sodium: 580mg
- Fat: 14g
- Saturated Fat: 3g
- Unsaturated Fat: 9g
- Trans Fat: 0g
- Carbohydrates: 26g
- Fiber: 1g
- Protein: 25g
- Cholesterol: 105mg


