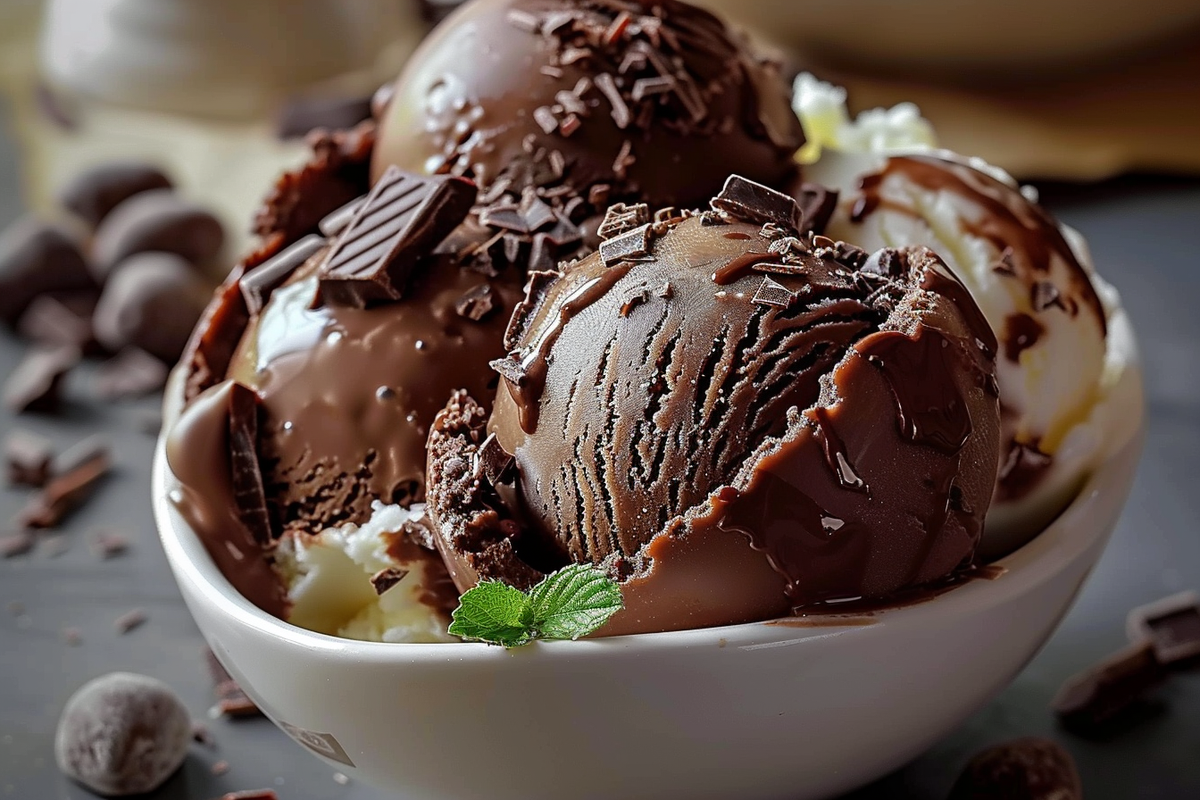
Homemade Chocolate-Coated Ice Cream is a delightful treat that’s simple to make and even more enjoyable to eat. With just a few ingredients, you can create a frozen dessert that rivals any store-bought option. Whether you’re cooling off on a hot summer day or craving a chocolate indulgence, this recipe will satisfy your sweet tooth in no time.
Why You Will Love This Recipe
This homemade chocolate-coated ice cream recipe is incredibly versatile. You can use your favorite ice cream flavor and switch up the toppings to match your preferences. Plus, the combination of creamy ice cream and rich chocolate creates a delightful contrast that is irresistible. Not to mention, it’s perfect for parties, picnics, or a sweet treat at home. Making it yourself means you can control the quality of ingredients, ensuring a delicious and guilt-free indulgence.
Pro Tips for Making Homemade Chocolate-Coated Ice Cream
- Choose Quality Chocolates: Opt for high-quality chocolate chips or bars to enhance the flavor of your coating.
- Keep Ice Cream Frozen: Make sure your ice cream is very firm before dipping for an easier and cleaner result.
- Use Coconut Oil: The addition of coconut oil helps make the chocolate coating smooth and glossy.
- Experiment with Toppings: Get creative with your toppings. Chopped nuts, sprinkles, or crushed cookies can elevate your dessert.
- Quick Freezing: After coating your ice cream, return it to the freezer immediately to ensure the chocolate sets properly.
Ingredients
Gather these simple ingredients to make your homemade chocolate-coated ice cream:
- 2 cups vanilla ice cream (scooped or molded)
- 1 cup dark or milk chocolate chips
- 2 tablespoons coconut oil (for smooth coating)
- Optional: chopped nuts, sprinkles
Preparation
Follow these simple steps to create your chocolate-coated ice cream:
- Step 1: Scoop or shape the vanilla ice cream into balls or desired shapes. Place them on a baking sheet lined with parchment paper and freeze until very firm, about 1-2 hours.
- Step 2: In a microwave-safe bowl, combine the chocolate chips and coconut oil. Melt in the microwave in 30-second intervals, stirring between each until smooth. Allow the mixture to cool slightly.
- Step 3: Dip each frozen ice cream ball into the melted chocolate, ensuring it is fully coated. Lift it out with a fork, shaking off any excess chocolate.
- Step 4: While the chocolate is still wet, quickly sprinkle with your desired toppings.
- Step 5: Return the coated ice cream to the lined baking sheet and freeze again until the chocolate is set, approximately 30 minutes.
- Step 6: Serve the chocolate-coated ice cream once the coating is firm. Enjoy a personal touch to your sweet treat.
Frequently Asked Questions
- Can I use other flavors of ice cream? Yes, feel free to experiment with different flavors such as chocolate, strawberry, or mint.
- What if I don’t have coconut oil? You can substitute with vegetable oil or omit it, although the coating may not be as smooth.
- How do I store the leftover chocolate-coated ice cream? Store them in an airtight container in the freezer for up to a month.
- Can I use fresh ingredients for toppings? Absolutely! Fresh fruits, crushed candy, or nuts can add a nice touch.
- Is this recipe gluten-free? Yes, as long as you use gluten-free chocolate chips and toppings.
Conclusion
Homemade Chocolate-Coated Ice Cream is a quick, customizable, and delightful dessert option for all ages. With simple steps and a handful of ingredients, you’re on your way to creating a gourmet treat that everyone will love. Perfect for brightening up a hot day or satisfying those chocolate cravings, it’s an easy recipe to incorporate into your baking repertoire. So gather your ingredients and get ready to indulge in this frozen delight!

