

There’s something magical about homemade ice cream. It’s not just the creamy texture or the burst of fresh flavors, but the sheer satisfaction of knowing you made it from scratch. And let me tell you, this Homemade Strawberry Vanilla Bean Ice Cream is everything you could want in a sweet treat. It’s sweet, smooth, and packed with fruity, vanilla goodness. Plus, there’s no need for fancy equipment, just a few simple ingredients, and you’re on your way to frozen bliss. Trust me, you’re going to love this one.
Why You’ll Love Homemade Strawberry Vanilla Bean Ice Cream
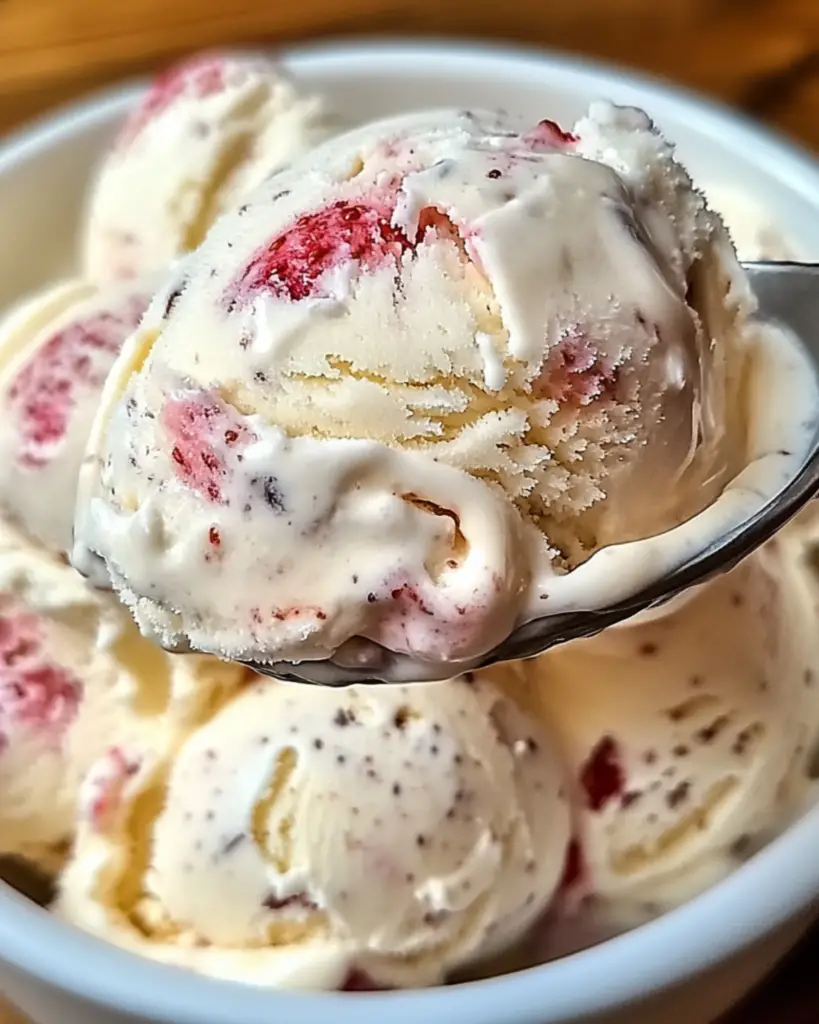
This recipe isn’t just a dessert; it’s an experience. Imagine the sweet, tangy strawberries swirled with the rich, comforting flavor of vanilla bean ice cream—every bite is a reminder of simpler times and the joys of summer. Whether you’re sitting on your porch on a warm evening or surprising your kids with a treat after dinner, this ice cream hits all the right notes. Here’s why this recipe will steal your heart:
Versatile: Whether it’s a lazy weekend at home or a special occasion, this ice cream is the perfect treat. It’s the kind of recipe that impresses without any stress, whether you’re making it for yourself or serving it at a gathering.
Budget-Friendly: Homemade ice cream doesn’t need to break the bank. With just a few basic ingredients you probably already have in your kitchen, you can whip up a batch that tastes better than anything store-bought.
Quick and Easy: The steps are simple, and the results are nothing short of amazing. It doesn’t matter if you’re an ice cream-making pro or a total beginner—this recipe is easy to follow and fun to make.
Customizable: Want to mix in some chocolate chips, swirl in some caramel, or add a little crunch with crushed nuts? You can totally make this ice cream your own! It’s the perfect base for any flavor combo you can dream up.
Crowd-Pleasing: This one’s a guaranteed hit. No matter who you’re serving, people will be asking for seconds (and maybe thirds). It’s the kind of treat that brings everyone to the table, excited for a scoop.
Ingredients
Here’s the scoop on the ingredients for this ice cream—simple, fresh, and delicious:
Fresh Strawberries: These little gems are the heart of this ice cream. Sweet, tangy, and bursting with flavor, they’ll give your ice cream that perfect fruity taste. Be sure to use ripe, fresh strawberries for the best result.
Vanilla Bean: The vanilla bean adds a depth of flavor you just can’t get from vanilla extract alone. You’ll love the little specks of vanilla seeds that create such a rich, authentic taste.
Heavy Cream: This is the secret to that ultra-creamy, dreamy texture we all crave in ice cream. It’s what gives your homemade ice cream that luscious, melt-in-your-mouth feel.
Whole Milk: Whole milk brings a smoothness that’s just right. It balances out the richness of the cream without making the texture too heavy.
Granulated Sugar: Because we want this ice cream to be just sweet enough, granulated sugar adds that perfect balance of sweetness that complements the strawberries and vanilla without overpowering them.
Lemon Juice: A splash of lemon juice enhances the flavor of the strawberries, giving them a brighter, more vibrant taste.
(Note: the full ingredients list, including measurements, is provided in the recipe card directly below.)
Instructions
Let’s get to making some ice cream!
Prep the Strawberries: Start by chopping up your fresh strawberries and adding a little sugar to them. Let them sit for about 15-20 minutes. This helps release their juices and brings out that natural sweetness.
Blend the Strawberries: Once your strawberries have macerated, toss them in a blender or food processor. Blend them until smooth, or leave a few chunks for texture—your call! Add a squeeze of lemon juice to brighten up the flavor.
Prepare the Creamy Base: In a mixing bowl, whisk together the heavy cream, whole milk, sugar, and the seeds from the vanilla bean. You’ll want to whisk until the sugar is dissolved and everything is well combined. This base is the foundation of your ice cream’s creamy texture.
Mix in the Strawberries: Gently fold the strawberry puree into the creamy base. Make sure it’s all evenly mixed, and if you like, swirl the strawberries in a little bit for that pretty marble effect.
Churn the Ice Cream: Pour the mixture into an ice cream maker and churn according to the manufacturer’s instructions. This is where the magic happens! The churning will give your ice cream that smooth, creamy texture we all crave.
Freeze: Once it’s done churning, transfer the ice cream to a container and smooth out the top. Freeze for at least 4 hours, or until it’s firm and scoopable.
Serve and Enjoy: Scoop out the ice cream into bowls or cones, and let the creamy, fruity goodness take you to dessert heaven.
Nutrition Facts
Servings: 6
Calories per serving: 250
Preparation Time
Prep Time: 15 minutes
Cook Time: 0 minutes
Total Time: 4+ hours (for freezing)
How to Serve Homemade Strawberry Vanilla Bean Ice Cream
This ice cream is perfect on its own, but if you want to take it up a notch, here are a few serving suggestions:
Fresh Fruit: Serve with extra fresh strawberries, blueberries, or even a drizzle of honey for a fresh, fruity contrast.
Chopped Nuts: For a little crunch, top your scoop with chopped pistachios, almonds, or hazelnuts. The combination of creamy and crunchy is irresistible.
Chocolate Sauce: A little warm chocolate sauce drizzled over the top adds a decadent, indulgent touch. If you’re feeling extra fancy, sprinkle with some shaved chocolate or cocoa nibs.
Waffle Cone: Go classic with a waffle cone, or serve it in a bowl for a more casual, laid-back dessert.
Additional Tips
- Make it a Make-Ahead Treat: This ice cream can be made ahead of time. Just store it in an airtight container in the freezer, and it’ll keep for up to 2 weeks.
- Add Extra Flavor: Experiment with different flavor add-ins like crushed cookies, swirl in caramel sauce, or mix in some chocolate chips for added texture and flavor.
- Substitute Non-Dairy: You can swap out the heavy cream and milk for coconut milk or almond milk for a dairy-free version of this ice cream.
- No Ice Cream Maker? No problem!: If you don’t have an ice cream maker, pour the mixture into a shallow dish and freeze it. Every 30 minutes, stir the mixture with a fork to break up any ice crystals until it’s fully frozen and creamy.
FAQ Section
Q1: Can I substitute the vanilla bean with vanilla extract?
A1: Absolutely! If you don’t have a vanilla bean, you can use 1 tablespoon of vanilla extract instead. The flavor will still be delicious, but the vanilla bean gives it that extra-special depth.
Q2: Can I make this ice cream without an ice cream maker?
A2: Yes! If you don’t have an ice cream maker, simply pour the mixture into a shallow dish and freeze it, stirring every 30 minutes for the first few hours to break up any ice crystals.
Q3: How can I store leftovers?
A3: Store leftover ice cream in an airtight container in the freezer for up to 2 weeks. Just let it sit out for a few minutes before serving to soften it up.
Q4: Can I use frozen strawberries instead of fresh ones?
A4: Yes, you can! Just thaw the frozen strawberries and follow the recipe as usual.
Q5: How long does it take to freeze the ice cream?
A5: After churning, it usually takes about 4 hours to freeze to the right consistency, but you can let it freeze overnight for a firmer texture.
Q6: Can I add other fruits?
A6: Of course! Blueberries, raspberries, or peaches would all be lovely additions. Just make sure to puree them similarly to the strawberries for smooth incorporation.
Q7: Can I make this ice cream without sugar?
A7: Yes, you can substitute sugar with honey, maple syrup, or a sugar substitute of your choice. The texture may vary slightly, but the taste will still be wonderful.
Q8: Is this recipe suitable for kids?
A8: Definitely! This is a kid-friendly recipe, with no artificial ingredients or preservatives—just pure, natural flavor.
Q9: Can I double the recipe?
A9: Yes, feel free to double it if you’re planning to serve a crowd. Just make sure your ice cream maker can handle the larger batch.
Q10: How do I make this a dairy-free version?
A10: Use coconut milk and coconut cream in place of the heavy cream and whole milk. It’ll give you that same creamy texture with a hint of coconut flavor.
Conclusion
There’s something so satisfying about making your own ice cream—and this Homemade Strawberry Vanilla Bean Ice Cream is the perfect place to start. The fresh strawberries, rich vanilla, and creamy texture come together in every dreamy scoop. Whether you’re enjoying it on a hot summer day or just craving something sweet, this ice cream is the ultimate treat to satisfy your taste buds. So grab your ingredients, whip up this delicious dessert, and get ready to enjoy the creamiest homemade ice cream you’ve ever tasted!
PrintHomemade Strawberry Vanilla Bean Ice Cream

This creamy, homemade strawberry vanilla bean ice cream features rich vanilla bean flavor combined with sweet, macerated strawberries for a refreshing and indulgent treat.
- Prep Time: 30 minutes
- Cook Time: 15-20 minutes
- Total Time: At least 4 hours (including chilling and freezing)
- Yield: 4–6 servings 1x
- Category: Dessert
- Method: Stovetop
- Cuisine: American
- Diet: Vegetarian
Ingredients
- 1 vanilla bean, split and seeds scraped
- 2 cups heavy cream
- 1 cup whole milk
- 3/4 cup granulated sugar
- Pinch of salt
- 6 large egg yolks
- 1 teaspoon pure vanilla extract
- 1 cup fresh strawberries, hulled and diced
- 2 tablespoons sugar (for strawberries)
Instructions
- Prepare the Strawberries:
Toss the diced strawberries with 2 tablespoons of sugar. Let them sit for about 30 minutes to macerate, which helps bring out their natural juices and sweetness. - Heat Milk and Cream Mixture:
In a saucepan over medium heat, combine the heavy cream, milk, half of the granulated sugar, salt, and the seeds from the vanilla bean (including the bean pod). Bring the mixture just to a boil, then remove from heat. - Temper the Egg Yolks:
In a separate bowl, whisk together the egg yolks and the remaining granulated sugar until smooth. Gradually pour the hot milk mixture into the egg yolks, a little at a time, whisking constantly to prevent the eggs from scrambling. - Cook the Custard:
Return the mixture to the saucepan and cook over low heat, stirring constantly with a wooden spoon, until the custard thickens enough to coat the back of the spoon (about 170-175°F on a thermometer). - Chill the Custard:
Remove the custard from heat and strain through a fine-mesh sieve into a bowl. Stir in the vanilla extract. Cover and chill the custard thoroughly in the refrigerator, at least 4 hours or overnight. - Process in Ice Cream Maker:
Once chilled, remove the vanilla bean pod and churn the custard in an ice cream maker according to the manufacturer’s instructions. During the last few minutes of churning, add the macerated strawberries. - Freeze:
Transfer the ice cream to an airtight container and freeze until firm, at least 2-4 hours, before serving. - Serve and Enjoy!
Notes
- Make sure to chill the custard thoroughly before churning for the best texture.
- The macerated strawberries add a nice burst of fresh fruit flavor, so don’t skip this step.
Nutrition
- Serving Size: 1/2 cup
- Calories: 275kcal
- Sugar: 23g
- Sodium: 40mg
- Fat: 18g
- Saturated Fat: 11g
- Unsaturated Fat: 5g
- Trans Fat: 0g
- Carbohydrates: 25g
- Fiber: 1g
- Protein: 4g
- Cholesterol: 150mg