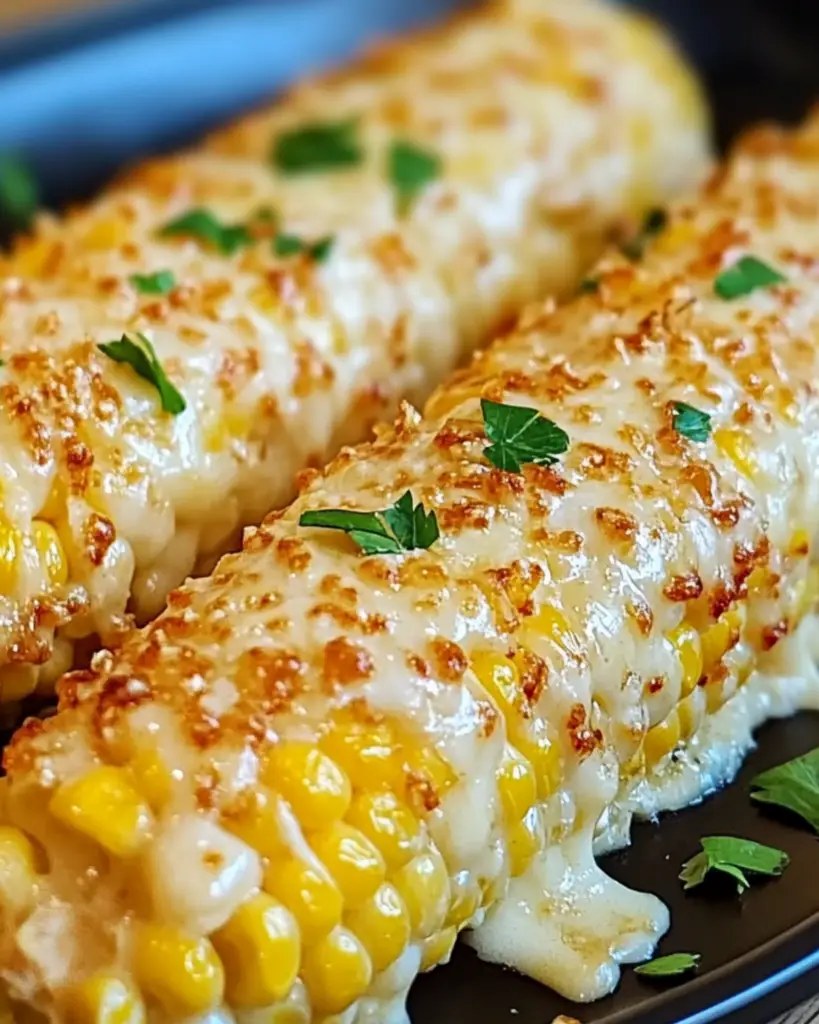
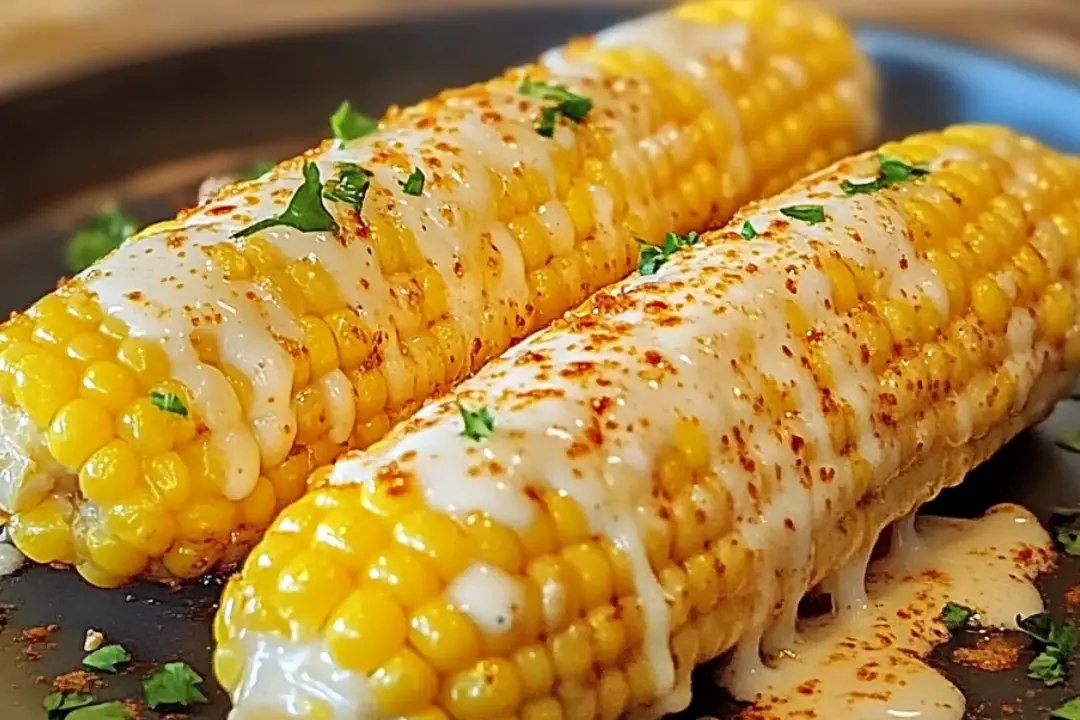
If you’re looking for the perfect side dish that’s bursting with flavor and just downright irresistible, then you have to try this Cheesy Garlic Butter Corn on the Cob. Imagine sinking your teeth into tender, juicy corn covered in a rich, garlicky butter sauce, then smothered in melty cheese that makes every bite a little slice of heaven. It’s the perfect balance of savory, cheesy goodness with that irresistible garlic kick. Whether you’re grilling, boiling, or roasting your corn, this dish is a game-changer!
Why You’ll Love Cheesy Garlic Butter Corn on the Cob
Let me tell you, this corn is about to be your new obsession for summer BBQs, family dinners, or even as a little indulgence when you’re craving something super satisfying. Here’s why it’s so darn good:
- Loaded with Flavor: Garlic butter and cheese—it doesn’t get much better than that! The combination of savory, buttery, and cheesy flavors coats each kernel, creating the most delicious bite.
- Super Easy: No fancy skills needed for this one. Just a few simple ingredients, and you’ll have an epic side dish ready in no time.
- Versatile: It pairs beautifully with anything from grilled meats to pasta dishes or even just on its own for a lighter meal.
- Kid-Friendly: It’s hard to find a kid who doesn’t love buttery corn—add cheese and garlic, and it’s a surefire hit with the little ones!
- Great for Any Occasion: Whether you’re cooking for a casual weeknight or a summer get-together, this corn on the cob is perfect for every occasion.

Ingredients
Here’s what you’ll need to make this cheesy, garlicky corn on the cob:
- Fresh Corn on the Cob: The star of the show! Fresh, sweet corn makes the best base for this dish.
- Butter: Creamy, salty butter to coat the corn in a luscious garlic sauce.
- Garlic: Fresh minced garlic adds that aromatic, savory flavor we all crave.
- Parmesan Cheese: A generous sprinkle of Parmesan for that salty, nutty flavor that melts perfectly onto the warm corn.
- Cheddar Cheese: Shredded cheddar cheese brings that gooey, melty goodness to the party.
- Chopped Parsley: For a touch of color and freshness, parsley is the perfect finishing garnish.
- Salt & Pepper: Just a pinch to season everything to perfection.
(Note: the full ingredients list, including measurements, is provided in the recipe card directly below.)
Instructions
Ready to take your corn to the next level? Here’s how to make it:
1. Prepare the Corn
Start by boiling or grilling your corn on the cob. If you’re boiling, bring a large pot of water to a boil, add the corn, and cook for about 5-7 minutes until tender. If you’re grilling, preheat your grill and cook the corn for about 10 minutes, turning occasionally until you get a nice char. Either way, the goal is to have tender, juicy corn.
2. Make the Garlic Butter
While the corn is cooking, melt the butter in a small pan over medium heat. Add the minced garlic and sauté for 1-2 minutes until fragrant. Be careful not to burn the garlic, as it can turn bitter.
3. Coat the Corn
Once the corn is ready, place it on a platter or cutting board. Drizzle the garlic butter all over the hot corn, making sure each ear is generously coated. You can use a brush or spoon for this step—whatever works best for you!
4. Add the Cheese
Now comes the fun part—sprinkle both the Parmesan and cheddar cheese over the garlic buttered corn. The heat from the corn will melt the cheese and create that gooey, cheesy layer that we all love.
5. Season & Garnish
Sprinkle the corn with salt and pepper to taste. Then, finish it off with a sprinkle of freshly chopped parsley for a pop of color and freshness.
6. Serve & Enjoy
Serve immediately while the cheese is still melty and the garlic butter is nice and hot. Trust me, you’re going to want to dig in right away!
Nutrition Facts
Servings: 4
Calories per serving: 250 (depending on portion size and ingredients)
Preparation Time
Prep Time: 5 minutes
Cook Time: 10-15 minutes (depending on method)
Total Time: 15-20 minutes
How to Serve Cheesy Garlic Butter Corn on the Cob
This cheesy garlic butter corn on the cob pairs beautifully with almost any main dish. Here are some serving suggestions:
- Grilled Meats: It’s the perfect side to go with juicy steaks, grilled chicken, or ribs. The cheesy corn balances out the savory flavors of grilled meats beautifully.
- BBQ: If you’re hosting a BBQ, this corn is a must-have! It’s great alongside burgers, hot dogs, or even veggie skewers.
- Salads: Pair this corn with a light, refreshing salad to balance out the richness of the cheese and garlic.
- Mexican-Inspired Dishes: Think tacos, fajitas, or burritos. The cheesy corn adds a fun, indulgent touch to any Mexican meal.
- As a Standalone Snack: Sometimes, this corn is so good, it’s all you need! Just grab an ear, sprinkle with a little extra cheese, and snack away.
Additional Tips
- Make It Spicy: If you love a little heat, sprinkle some chili powder, cayenne, or paprika on top for a spicy kick.
- Try Other Cheeses: You can experiment with different cheeses like mozzarella for a super gooey texture or Monterey Jack for a milder, creamy option.
- Grilled Corn Variation: If you’re grilling the corn, you can brush it with the garlic butter while it’s still on the grill to add a nice smoky flavor to the corn.
- Make Ahead: While corn is best served fresh, you can prepare the garlic butter in advance and store it in the fridge for up to a week. Just reheat it when you’re ready to use.
FAQ Section
Q1: Can I use frozen corn?
A1: While fresh corn on the cob gives the best results, you can definitely use frozen corn if that’s what you have on hand. Just cook it according to package instructions before adding the garlic butter and cheese.
Q2: Can I use other herbs instead of parsley?
A2: Yes! Fresh basil or cilantro would be great alternatives. Feel free to get creative with your herb choices.
Q3: Can I make this ahead of time?
A3: The corn is best served right after adding the cheese and garlic butter, but you can prepare the garlic butter ahead of time and store it in the fridge. Just reheat it when you’re ready to serve.
Q4: What if I don’t like Parmesan cheese?
A4: No worries! You can leave it out or swap it with a cheese you enjoy more, like Asiago, Pecorino, or even some extra shredded cheddar.
Q5: How do I store leftovers?
A5: If you have leftovers (lucky you!), store the corn in an airtight container in the fridge for up to 2 days. Reheat it in the microwave or on a low heat on the stove to enjoy again.
Q6: Can I make this in the oven instead of boiling or grilling?
A6: Yes! You can roast the corn in the oven. Preheat to 400°F (200°C) and roast the corn in its husk for about 25 minutes, then follow the rest of the recipe for the garlic butter and cheese.
Q7: Can I use margarine instead of butter?
A7: You can, but butter gives the best flavor and texture. If you must use margarine, choose a good-quality one for the best result.
Q8: Can I add bacon to this recipe?
A8: Oh, absolutely! Crumbled crispy bacon would be a fantastic addition for some salty crunch. Just sprinkle it over the corn along with the cheese.
Q9: Can I make this recipe with corn kernels instead of on the cob?
A9: Yes! You can use frozen or fresh corn kernels instead of corn on the cob. Just cook the kernels in a pan, then add the garlic butter and cheese as you would with the cob.
Q10: Can I use a different kind of cheese for the topping?
A10: Totally! You could try mozzarella for extra meltiness or even Gouda for a smoky flavor. It’s all about what you love!
Conclusion
This Cheesy Garlic Butter Corn on the Cob is everything you want in a side dish—flavor-packed, cheesy, and downright addictive. Whether you’re serving it at a BBQ, a weeknight dinner, or just indulging in something delicious, this corn is sure to impress. It’s the kind of dish that makes everyone go back for seconds (or thirds!). So grab some fresh corn, melt that butter, and enjoy the cheesy, garlicky goodness in every bite!
PrintCheesy Garlic Butter Corn on the Cob
This Cheesy Garlic Butter Corn on the Cob is the ultimate side dish! Sweet corn is slathered in a rich garlic butter sauce, topped with melted cheese, and finished off with a sprinkle of fresh parsley. Whether you bake it in the oven or grill it for a charred flavor, it’s guaranteed to be a hit at your next meal.
- Prep Time: 10 minutes
- Cook Time: 20–25 minutes (oven) or 10–15 minutes (grill)
- Total Time: 30 minutes
- Yield: 4 servings
- Category: Side Dish
- Method: baking
- Cuisine: American
- Diet: Vegetarian
Ingredients
• 4 ears of corn (husks removed)
• ¼ cup unsalted butter (melted)
• 3 cloves garlic (minced)
• ½ tsp paprika
• ¼ tsp chili powder (optional, for heat)
• 1 tbsp fresh parsley (chopped)
• Salt and pepper (to taste)
• 1 cup shredded cheese (cheddar, mozzarella, or a blend)
• ¼ cup heavy cream or milk (optional, for extra creaminess)
Instructions
- Preheat the Oven:
- Preheat your oven to 400°F (200°C). Alternatively, you can use a grill or stovetop.
- Prepare the Garlic Butter:
- In a small bowl, mix melted butter, minced garlic, paprika, chili powder (if using), salt, and pepper.
- Add parsley for a fresh flavor.
- Coat the Corn:
- Brush the corn generously with the garlic butter mixture, making sure to coat all sides.
- Bake or Grill:
- Oven Method: Place the corn on a baking sheet and bake for 20-25 minutes, turning halfway through for even roasting.
- Grill Method: Grill the corn over medium heat for 10-15 minutes, turning often for a charred flavor.
- Add the Cheese:
- During the last 5 minutes of cooking, sprinkle shredded cheese over the corn. If using the oven, broil for 2-3 minutes to melt and slightly brown the cheese.
- Serve:
- Remove the corn from the heat and drizzle with any remaining garlic butter.
- Garnish with additional parsley if desired. Serve hot.
Notes
- For an extra creamy version, you can add a bit of heavy cream or milk to the garlic butter mixture.
- Adjust the chili powder to your spice preference.
- This recipe works well for both oven and grill cooking, so you can choose based on your preference or cooking setup.
Nutrition
- Serving Size: 1 ear of corn
- Calories: 250kcal
- Sugar: 6g
- Sodium: 400mg
- Fat: 18g
- Saturated Fat: 10g
- Unsaturated Fat: 6g
- Trans Fat: 0g
- Carbohydrates: 18g
- Fiber: 3g
- Protein: 6g
- Cholesterol: 30mg


