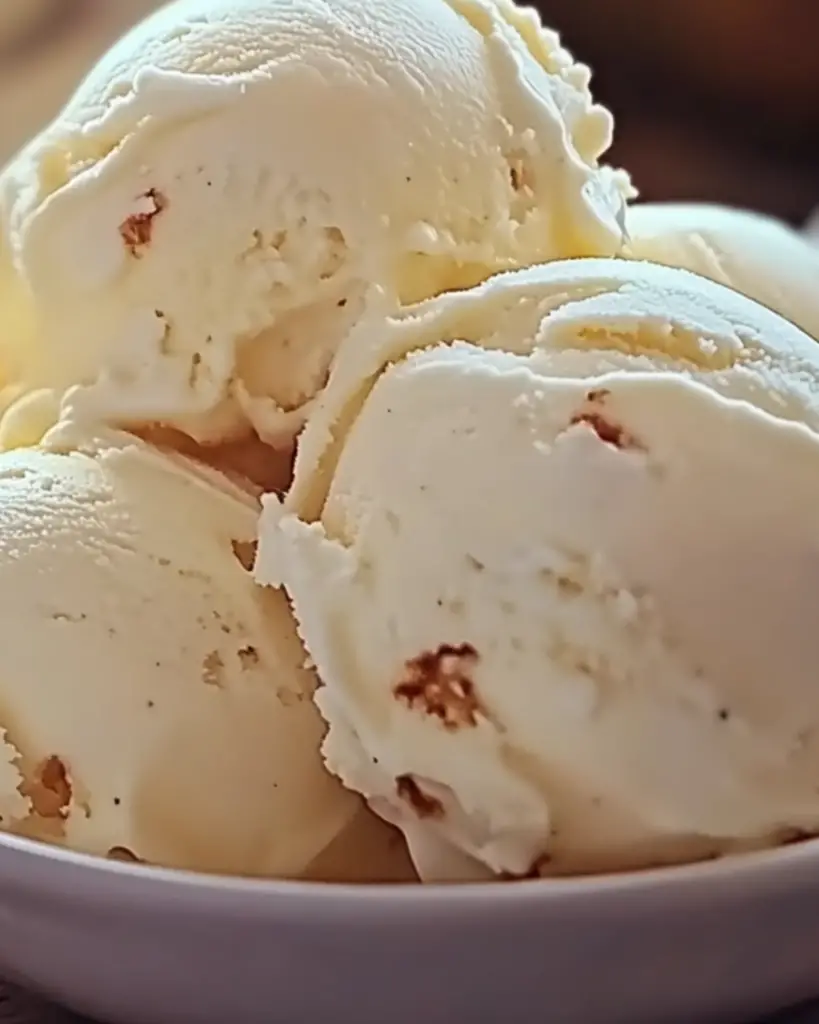
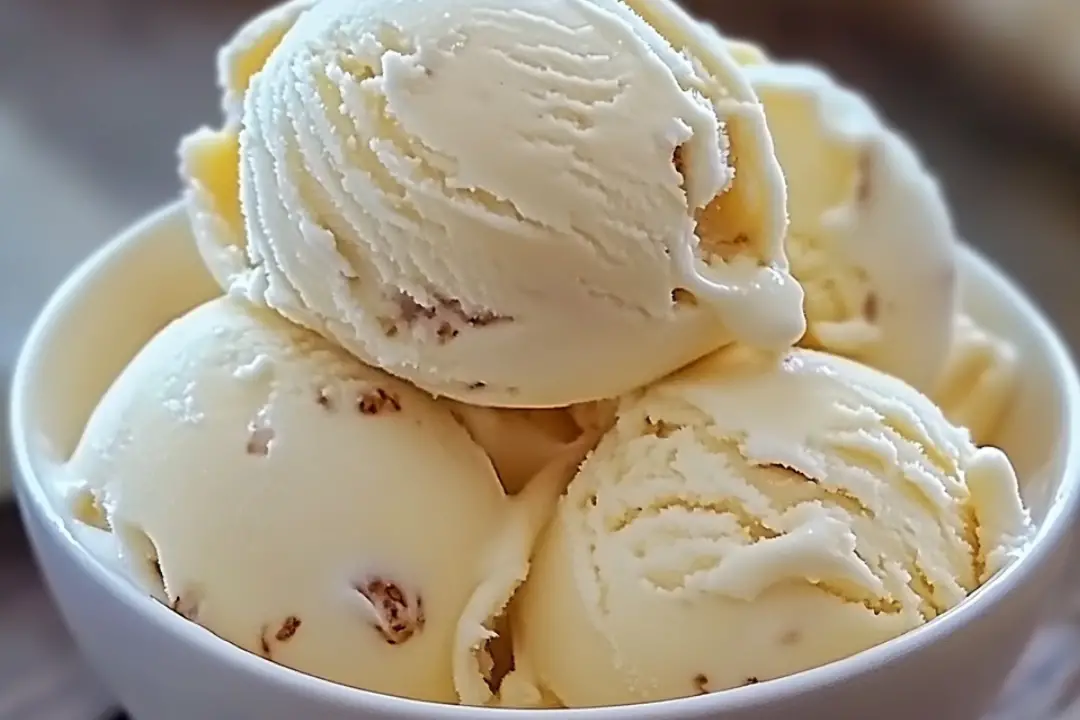
Is there anything better than a scoop of creamy, homemade vanilla ice cream on a warm day? I don’t think so! This recipe for classic vanilla ice cream is a total game-changer. It’s simple, luxurious, and made with just a few ingredients you probably already have in your kitchen. Plus, the process is easy to follow, and the payoff is huge—smooth, rich, and perfectly sweet ice cream that will have you skipping the store-bought stuff for good. Trust me, once you make this, you’ll never want to go back.
Why You’ll Love Classic Vanilla Ice Cream
This ice cream isn’t just about satisfying your sweet tooth—it’s about creating those cozy moments that you’ll remember. Whether you’re serving it as a dessert at a family gathering or indulging in a bowl after a long day, this treat is all about comfort and joy. Here’s why it’ll quickly become a favorite:
- Versatile: Perfect for topping a warm pie or enjoyed on its own. You can even mix in your favorite toppings like chocolate chips, crushed cookies, or fresh berries.
- Budget-Friendly: Made with simple ingredients you likely already have in your pantry. No need to spend a fortune on gourmet ice cream when you can whip up a batch yourself!
- Quick and Easy: With just a few steps, you’ll have the creamiest ice cream ready to freeze. And if you don’t have an ice cream maker, don’t worry! I’ve got options for that too.
- Customizable: Feel free to add mix-ins like chocolate chunks, crushed nuts, or swirls of caramel for extra flair. This vanilla base is a blank canvas for whatever your heart desires.
- Crowd-Pleasing: Whether it’s for a special occasion or just because, this ice cream will impress everyone. Who doesn’t love the homemade touch?

Ingredients
Here’s what you need for this creamy, dreamy ice cream. The ingredients are simple, but they work together to make something magical:
Heavy Cream:
This is the key to creating that smooth, rich texture. The high-fat content makes this ice cream incredibly creamy—no icy bits here!
Whole Milk:
Whole milk helps balance out the richness of the cream and gives the ice cream its smooth consistency. Together with the cream, it creates the perfect base for your vanilla flavor.
Sugar:
Sweetness is essential, and sugar does just that. It helps with the texture and flavor, giving you that classic, just-sweet-enough taste that everyone loves.
Vanilla Bean Paste or Vanilla Extract:
This is the star of the show. You can go all-out with vanilla bean paste (for those little specks of vanilla goodness) or stick with vanilla extract for an easy option. Both bring the iconic flavor that makes vanilla ice cream, well, vanilla ice cream.
Egg Yolks:
These create a custard-like base, adding richness and helping to give the ice cream that smooth, velvety mouthfeel. The secret to making your ice cream extra special!
(Note: the full ingredient list, including measurements, is provided in the recipe card directly below.)
Instructions
Let’s get started on making this ice cream—it’s easier than you think!
Prepare the Custard:
In a bowl, whisk together the egg yolks and sugar until they’re smooth and pale. This helps to create that custard base that makes the ice cream so creamy.
Heat the Dairy:
In a saucepan, heat the heavy cream and whole milk over medium heat until it’s just about to boil. You want it hot, but not boiling. Stir occasionally to prevent it from scalding.
Temper the Eggs:
Slowly pour a small amount of the hot milk mixture into the egg yolk mixture while whisking constantly. This gradual process warms up the eggs without scrambling them. Then, pour the egg mixture back into the saucepan, stirring constantly.
Cook the Custard:
Continue to cook the mixture over low heat, stirring frequently until it thickens slightly and coats the back of a spoon. This should take about 5-7 minutes. Be careful not to let it boil.
Add the Vanilla:
Remove the custard from the heat and stir in the vanilla. This is when the magic happens—your ice cream is about to smell amazing!
Chill the Mixture:
Let the custard cool for a bit at room temperature, then transfer it to the fridge to chill for at least 2 hours, or overnight if you’ve got the time. The colder the base, the smoother the ice cream!
Churn the Ice Cream:
Once your custard is chilled, pour it into your ice cream maker and churn according to the manufacturer’s instructions. This usually takes about 20-25 minutes.
Freeze:
Once the ice cream reaches soft-serve consistency, transfer it to an airtight container and freeze for at least 4 hours, or until it’s firm enough to scoop.
Serve and Enjoy:
After it’s had time to freeze, grab your scooper and serve up a bowl of creamy, dreamy vanilla ice cream. Enjoy it on its own, or get creative with toppings!
Nutrition Facts
Servings: 8
Calories per serving: 300
Preparation Time
Prep Time: 20 minutes
Cook Time: 10 minutes
Total Time: 30 minutes (plus chilling and freezing time)
How to Serve Classic Vanilla Ice Cream
This vanilla ice cream is perfect on its own, but here are a few ways to make it even more special:
- With Warm Pie: Serve it alongside a slice of warm apple pie or berry cobbler. The contrast of hot and cold is unbeatable.
- Sundae Style: Add chocolate syrup, sprinkles, whipped cream, and a cherry on top for the ultimate sundae experience.
- With Fresh Fruit: Top your ice cream with fresh strawberries, raspberries, or even caramelized bananas for a sweet and refreshing twist.
- In Milkshakes: Blend it up with a splash of milk to create a creamy milkshake that’s sure to satisfy any craving.
- On Waffle Cones: Of course, a classic waffle cone is always a great way to serve this ice cream.
Presentation is key! Serve your ice cream in elegant bowls or fancy cups for that extra-special touch.
Additional Tips
- Prep Ahead: Make the custard and chill it the night before so it’s ready to churn the next day. Ice cream takes a little patience, but it’s worth it!
- No Ice Cream Maker?: No worries! After chilling the custard, pour it into a shallow dish and freeze it. Every 30 minutes, stir with a fork to break up any ice crystals, repeating until it’s firm.
- Make It Your Own: Want to change things up? Add chocolate chips, crushed cookies, or even a swirl of caramel or fudge to the base while it’s churning.
- Storage Tips: Store your homemade ice cream in an airtight container to keep it fresh and creamy. It will last up to 2 weeks in the freezer.
- Double the Batch: If you’re making this for a crowd or want extra to stash in the freezer, go ahead and double the recipe! Homemade ice cream is always a hit.
FAQ Section
Q1: Can I use just vanilla extract instead of vanilla bean paste?
A1: Absolutely! Vanilla extract works perfectly and is an easy substitution. You’ll still get that delicious vanilla flavor, though the vanilla bean paste gives you those cute little vanilla specks.
Q2: Can I make this ice cream without an ice cream maker?
A2: Yes! If you don’t have an ice cream maker, you can freeze the custard in a shallow pan, stirring every 30 minutes until it reaches your desired consistency.
Q3: How do I store leftover ice cream?
A3: Keep your homemade ice cream in an airtight container in the freezer for up to two weeks. Make sure it’s covered tightly to prevent freezer burn.
Q4: Can I add mix-ins like chocolate chips or fruit?
A4: Yes! Add mix-ins like chocolate chips, crushed cookies, or fresh fruit after the ice cream has churned, during the last few minutes of churning.
Q5: How can I make this recipe dairy-free?
A5: Use coconut milk or almond milk in place of the whole milk and a non-dairy cream substitute for the heavy cream. You can also find dairy-free egg substitutes for the egg yolks.
Q6: How can I make the ice cream softer and less hard in the freezer?
A6: Adding a bit of alcohol (like vodka or rum) helps keep ice cream from freezing too solid. It doesn’t affect the flavor but adds to the smooth texture.
Q7: How long does it take to churn the ice cream?
A7: It typically takes 20-25 minutes in an ice cream maker, but the time can vary based on the model.
Q8: Can I make this without using egg yolks?
A8: Yes! You can make a custard-free vanilla ice cream by using a no-cook method or substituting the eggs with cornstarch for thickening.
Q9: Can I add a swirl of caramel or fudge?
A9: Definitely! Add the caramel or fudge after churning, gently swirl it in, and then freeze for an extra indulgent treat.
Q10: What’s the best way to serve this ice cream?
A10: Serve it in a bowl or cone with your favorite toppings, like chocolate syrup, whipped cream, or sprinkles. It’s perfect for any occasion!
Conclusion
Making classic vanilla ice cream at home is a rewarding experience that will leave you with a scoop of pure bliss. With just a few simple ingredients and some patience, you can enjoy the creamiest, dreamiest ice cream that’s far better than anything you’ll find in the store. So, grab your ice cream maker (or a shallow dish if you don’t have one) and treat yourself to this homemade delight. Your taste buds will thank you!
PrintClassic Vanilla Ice Cream
This homemade vanilla ice cream is rich, creamy, and packed with flavor. Made with a custard base and pure vanilla, it’s the perfect classic dessert for any occasion.
Ingredients
- 2 cups (480 ml) heavy cream
- 1 cup (240 ml) whole milk
- 3/4 cup (150 g) granulated sugar
- 1 tablespoon pure vanilla extract (or seeds from 1 vanilla bean)
- 1/4 teaspoon salt
- 4 large egg yolks
Instructions
- Prepare the Ice Cream Base: In a medium saucepan, combine the heavy cream, milk, and half of the sugar. Heat over medium heat until it begins to steam, but do not let it boil.
- Mix the Egg Yolks: In a medium bowl, whisk together the egg yolks, the remaining sugar, and salt until the mixture is pale and slightly thickened.
- Temper the Eggs: Gradually pour about 1/2 cup of the hot cream mixture into the yolks while whisking constantly. This tempers the eggs, preventing them from curdling. Slowly whisk the tempered egg mixture back into the saucepan.
- Cook the Custard: Continue to cook the mixture over medium-low heat, stirring constantly with a wooden spoon, until it thickens enough to coat the back of the spoon (170°F to 175°F or 75°C to 80°C on a kitchen thermometer). Do not let it boil.
- Add Vanilla and Chill: Remove the saucepan from heat and stir in the vanilla extract or seeds. Strain the custard through a fine mesh sieve into a clean bowl to remove any lumps. Cover the surface with plastic wrap to prevent a skin from forming and refrigerate until completely chilled, at least 4 hours or overnight.
- Churn the Ice Cream: Pour the chilled custard into an ice cream maker and churn according to the manufacturer’s instructions, usually about 20-25 minutes, until it reaches a soft-serve consistency.
- Freeze to Set: Transfer the ice cream to an airtight container, smooth the top, and freeze for at least 2 hours to firm up.
Notes
- You can use vanilla bean seeds instead of vanilla extract for a richer, more natural vanilla flavor.
- For an extra creamy texture, use only egg yolks in the base.
- This ice cream can be stored in the freezer for up to 1-2 weeks.


