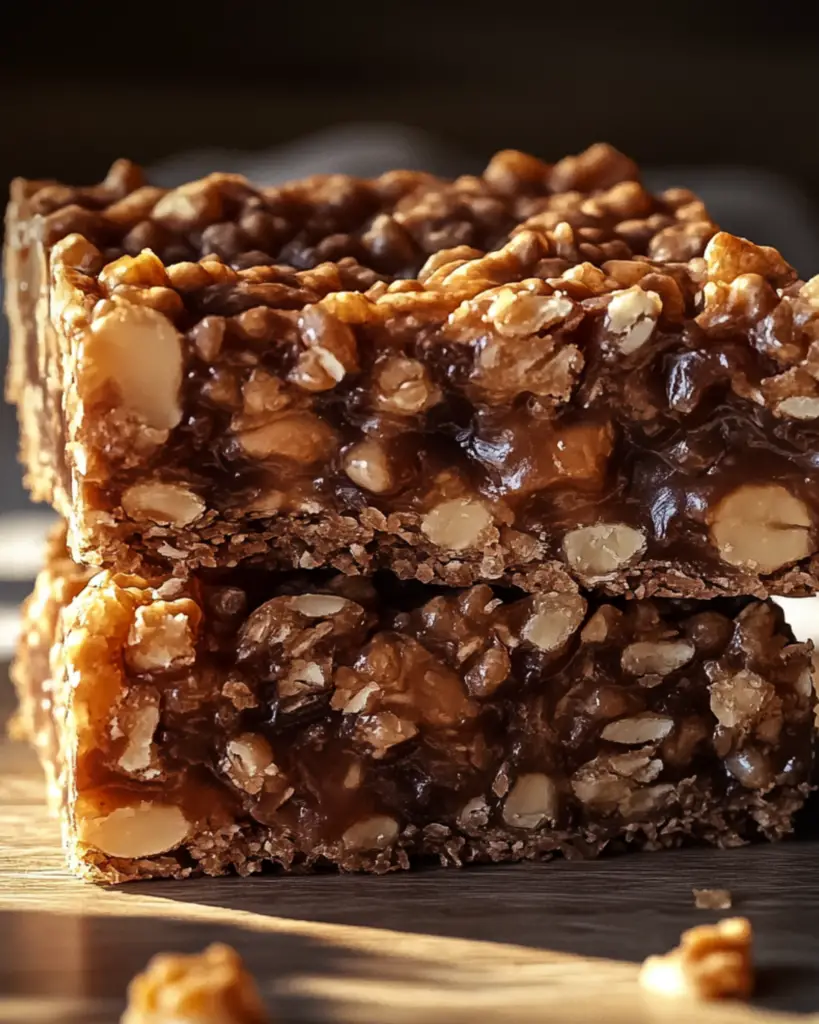
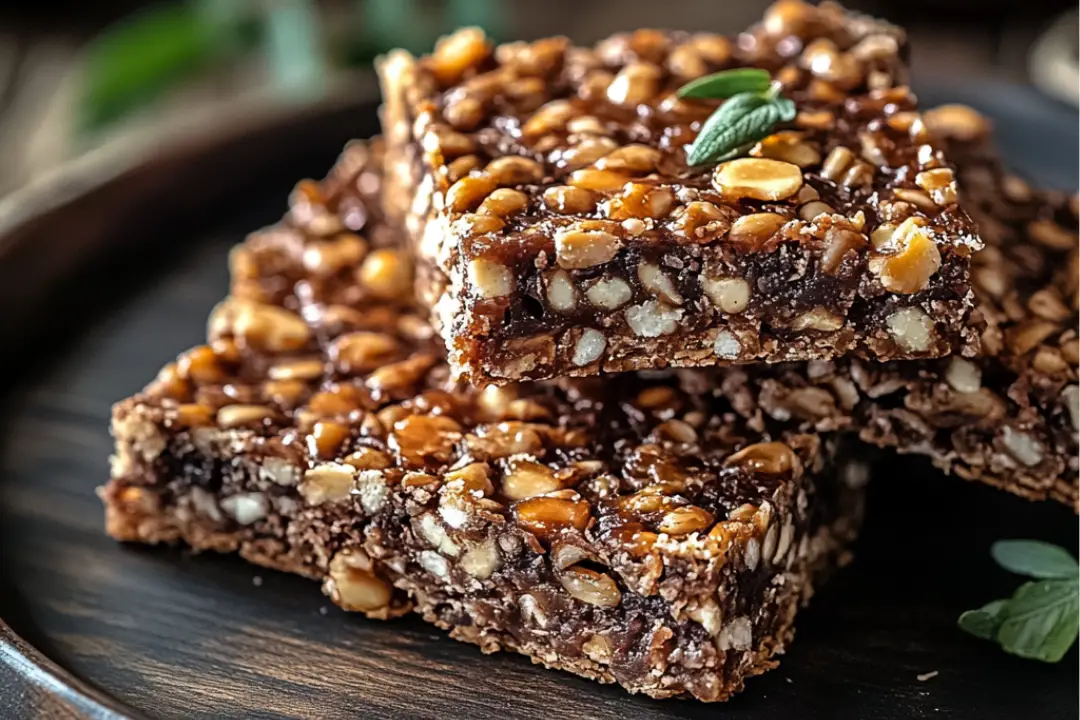
Let’s talk about these Homemade Crunch Bars—they are the perfect blend of chocolate, crispy rice, and pure nostalgia, wrapped up in a super easy-to-make treat. Trust me, once you take that first bite, you’ll feel like a kid again, and you’ll be reaching for more before you know it. These bars are crunchy, creamy, and seriously satisfying. Perfect for a sweet snack or an easy homemade gift. Ready to get your crunch on? Let’s dive in!
Why You’ll Love Homemade Crunch Bars
This recipe is all about satisfying your sweet tooth while keeping things simple. Here’s why you’ll be hooked from the first bite:
- Versatile: These bars are perfect for any occasion! Whether you’re hosting a party, looking for a family snack, or just want something to satisfy a chocolate craving, these bars fit the bill.
- Budget-Friendly: All the ingredients are easy to find, and you probably already have most of them in your pantry. You don’t need to break the bank to make something indulgent.
- Quick and Easy: No baking required! These are ready in a flash, with minimal effort and a handful of ingredients. You can have a batch ready to enjoy in no time.
- Customizable: Want to add a little flair? You can sprinkle in some crushed nuts, swirl in peanut butter, or even drizzle a little extra chocolate on top for a decadent touch. The options are endless!
- Crowd-Pleasing: I don’t know anyone who doesn’t love a good crunch bar. They’re a guaranteed hit with both kids and adults, so you won’t have to worry about leftovers.

Ingredients
Here’s the magic of these bars: simple ingredients that come together to create something totally irresistible. Let’s break it down:
- Milk Chocolate: The smooth, rich chocolate that forms the base of these bars. It’s the perfect foundation for all the crispy goodness that follows.
- Rice Cereal: This is what gives the bars their satisfying crunch. The airy texture of the rice cereal soaks up the chocolate perfectly, making every bite a crispy, chocolaty dream.
- Butter: A little butter adds richness and helps bind everything together. It melts beautifully with the chocolate, creating that perfect texture.
- Vanilla Extract: Just a splash of vanilla brings a touch of warmth and depth to the bars. It’s a simple ingredient, but it makes a difference in the overall flavor.
(Note: the full ingredients list, including measurements, is provided in the recipe card directly below.)
Instructions
Let’s dive into making these crunchy, chocolaty treats:
Melt the Chocolate
Start by melting the milk chocolate and butter together. You can do this in a heatproof bowl over a double boiler or in the microwave. If using the microwave, heat in 20-second intervals, stirring in between until smooth and melted.
Add the Rice Cereal
Once the chocolate mixture is smooth and velvety, stir in the rice cereal. Gently fold the cereal into the chocolate until it’s evenly coated. Make sure the cereal stays crispy and doesn’t get soggy!
Prepare the Pan
Line an 8×8-inch baking dish with parchment paper or lightly grease it. This will make it easy to remove the bars once they’ve set.
Press the Mixture into the Pan
Pour the chocolate-cereal mixture into the prepared pan. Use a spatula to gently press it down into an even layer. Don’t press too hard, as you want to maintain that crisp texture.
Chill to Set
Place the pan in the fridge for at least 1 hour to allow the chocolate to firm up and the bars to set. You’ll know they’re ready when they feel solid to the touch.
Cut and Serve
Once the bars are set, remove them from the fridge and cut them into squares or rectangles. Serve and enjoy these crunchy, chocolatey bites of happiness!
Nutrition Facts
Servings: 12
Calories per serving: 190
Preparation Time
Prep Time: 10 minutes
Cook Time: 0 minutes
Total Time: 1 hour 10 minutes (including chill time)
How to Serve Homemade Crunch Bars
These crunchy bars are perfect on their own, but here are a few ideas for serving them up in style:
- With Ice Cream: Top a scoop of vanilla ice cream with a few chunks of these bars for an indulgent treat.
- As a Party Snack: Cut them into bite-sized pieces and serve them at a party or family gathering. They’re perfect for sharing.
- With a Hot Drink: Pair them with a cup of coffee or hot chocolate for the ultimate cozy snack.
Additional Tips
Here are a few extra tips to make your Homemade Crunch Bars even more amazing:
- Add-ins: Feel free to toss in some chopped nuts (like almonds or pecans) or dried fruit for extra flavor and texture.
- Double the Batch: These bars are so delicious, you might want to make a bigger batch. Simply double the ingredients and use a larger pan.
- Storing Leftovers: Store any leftovers in an airtight container at room temperature for up to 5 days. They’re best when fresh, but still tasty after a few days!
- Customize the Chocolate: If you’re a fan of dark chocolate or white chocolate, swap it out for milk chocolate. The texture and taste will vary, but it will still be delicious.
FAQ Section
Q1: Can I use dark chocolate instead of milk chocolate?
A1: Absolutely! Dark chocolate will give the bars a richer, more intense flavor. Just keep in mind the bars will be a bit less sweet.
Q2: How can I make these bars more decadent?
A2: You can drizzle melted peanut butter or extra chocolate over the top of the bars before refrigerating them for a more indulgent treat.
Q3: Can I use gluten-free rice cereal?
A3: Yes, you can easily make these bars gluten-free by using a certified gluten-free rice cereal. They’ll still have all the crunch and flavor!
Q4: Can I freeze these bars?
A4: Yes! After the bars have set and you’ve cut them, store them in an airtight container in the freezer for up to 1 month. Thaw them for a few minutes before serving.
Q5: How long do these bars last?
A5: These bars will stay fresh for up to 5 days if stored in an airtight container at room temperature. They’re best when fresh, but still delicious after a few days.
Q6: Can I add some flavoring to the chocolate?
A6: Yes, you can add a dash of flavored extract like almond or orange for a unique twist. Just be sure to add it in when you melt the chocolate.
Q7: How thick should the chocolate layer be?
A7: The chocolate layer should be about ½ inch thick. Don’t press it down too hard when spreading it, as you want to keep that crispy crunch.
Q8: Can I use a different kind of cereal?
A8: While rice cereal gives the best texture, you can experiment with other crispy cereals, like corn flakes or even granola, for a different crunch.
Q9: Can I make these bars ahead of time?
A9: Definitely! These bars are perfect for making ahead of time. Just keep them in the fridge for a day or two before serving.
Q10: What’s the best way to cut these bars?
A10: Use a sharp knife to cut the bars into squares or rectangles. You can even warm the knife slightly under hot water to get clean cuts!
Conclusion
Homemade Crunch Bars are one of those treats that feel nostalgic and comforting all at once. They’re easy to make, endlessly customizable, and completely irresistible. Whether you’re whipping them up for a special occasion or just treating yourself to something sweet, these bars are sure to hit the spot. Grab a few ingredients, get your crunch on, and enjoy the satisfying bite of these homemade goodies. You’ll be hooked!
PrintHomemade Crunch Bars
These Homemade Crunch Bars are a delicious, easy-to-make treat with a perfect balance of rich chocolate, peanut butter, and crispy rice cereal. A quick freeze sets them into irresistible bars that will satisfy any sweet tooth.
- Prep Time: 5 minutes
- Cook Time: 0 minutes
- Total Time: 20 minutes
- Yield: 8 bars 1x
- Category: Dessert
- Method: No-bake
- Cuisine: american
Ingredients
- 1 ½ cups chocolate chips
- ⅓ cup peanut butter
- 1 cup rice krispies
- Flaked sea salt (optional)
Instructions
- Prepare Baking Dish: Line an 8×8 square baking dish with parchment paper for easy removal.
- Melt Chocolate and Peanut Butter: In a medium microwave-safe bowl, combine 1 ½ cups chocolate chips and ⅓ cup peanut butter. Microwave in 30-second intervals, stirring between each interval, until the mixture is smooth and fully melted.
- Add Rice Krispies: Once the chocolate and peanut butter are melted, stir in 1 cup rice krispies until well coated.
- Spread in Pan: Pour the mixture into the prepared baking dish and spread it out evenly. If desired, dust with flaked sea salt.
- Freeze: Place the dish in the freezer for about 15 minutes to set. Once firm, cut into 8 bars and enjoy!
Notes
- You can adjust the amount of rice krispies to your preference for crunchiness.
- Flaked sea salt is optional but adds a nice touch of contrast to the sweetness.
Nutrition
- Serving Size: 1 bar
- Calories: 220 kcal
- Sugar: 16g
- Sodium: 40mg
- Fat: 13g
- Saturated Fat: 5g
- Unsaturated Fat: 8g
- Trans Fat: 0g
- Carbohydrates: 23g
- Fiber: 1g
- Protein: 4g
- Cholesterol: 5mg


