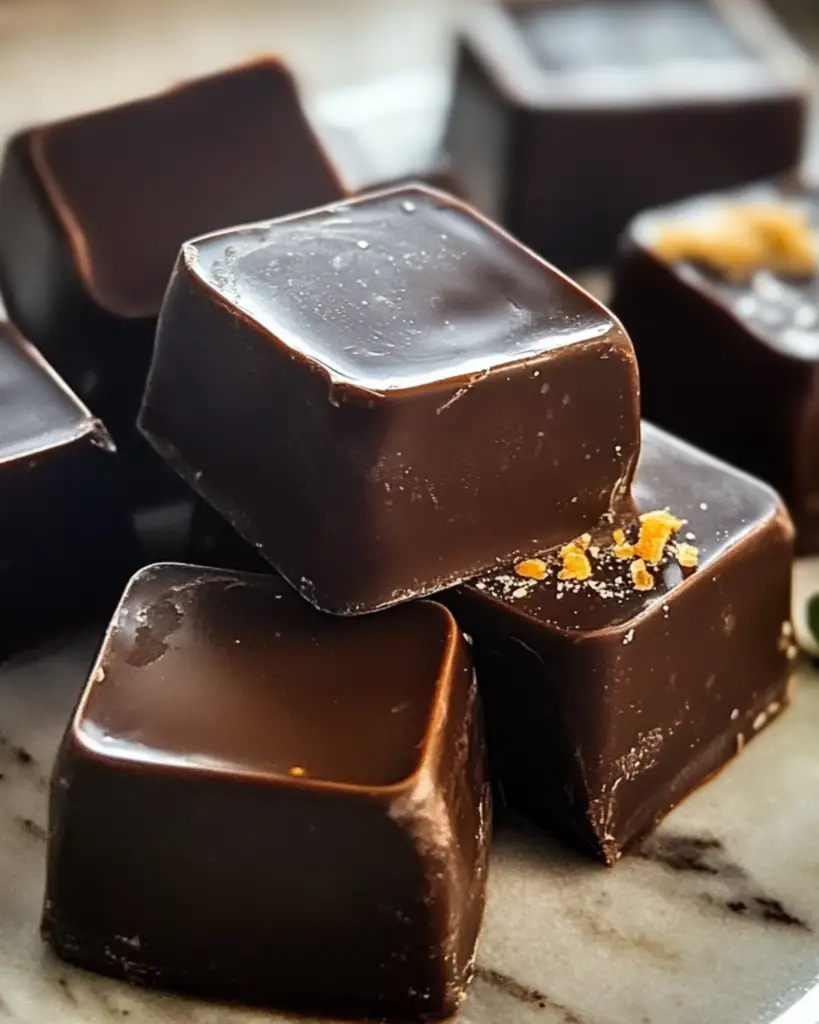
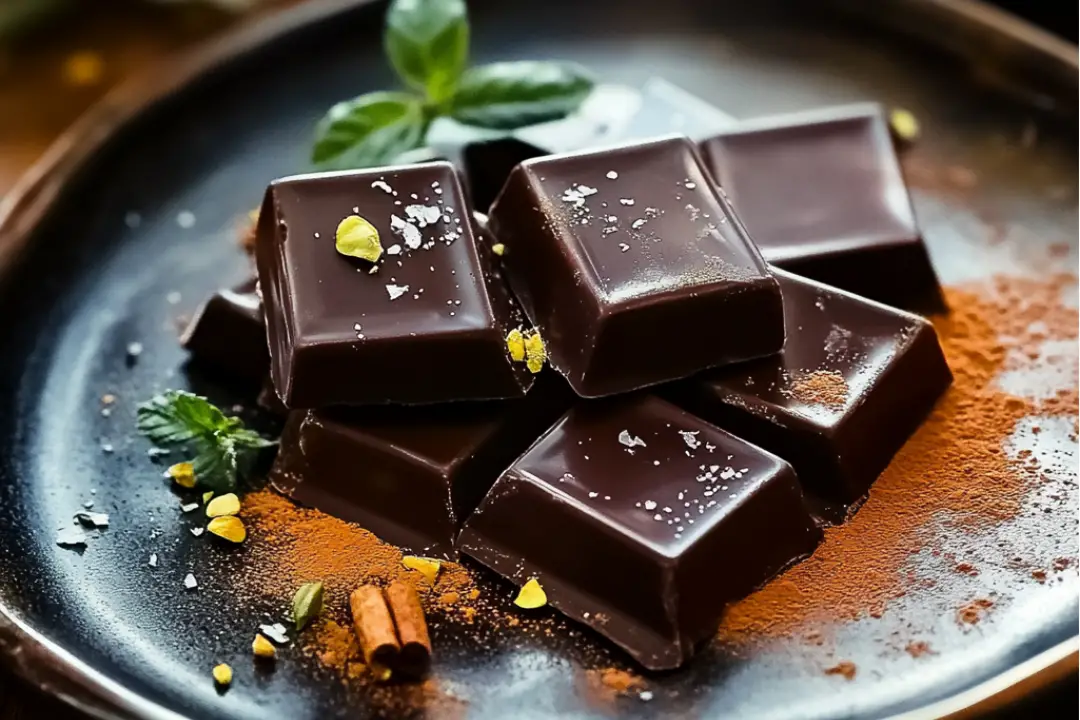
If you’re a dark chocolate lover (and who isn’t?), then this homemade dark chocolate recipe is going to be a game-changer. It’s velvety, rich, and just the right amount of indulgent, without all those mystery ingredients you usually find in store-bought versions. Making your own chocolate is surprisingly easy and way more satisfying than you might think. Plus, it’s completely customizable to your taste—whether you like it smooth and sweet, or with a kick of bitterness. Trust me, once you make your own dark chocolate, you’ll never want to go back to the store-bought stuff!
Why You’ll Love Homemade Dark Chocolate
Let me tell you—this recipe is a treat in every sense of the word. It’s simple, satisfying, and just so much fun to make. Whether you’re in the mood for something sweet or you’re prepping a special homemade gift, this dark chocolate will steal the show. Here’s why you’ll adore it:
- Versatile: You can add whatever you like to the chocolate base—think sea salt, nuts, dried fruit, or even a hint of chili powder for a little heat. The possibilities are endless!
- Budget-Friendly: Forget expensive premium chocolates. This recipe uses ingredients that are easy to find and affordable, so you can enjoy high-quality chocolate without breaking the bank.
- Quick and Easy: Making dark chocolate at home sounds fancy, but it’s actually super simple. With just a few steps, you’ll be savoring your own creation in no time.
- Customizable: You control the sweetness, bitterness, and even the texture. Want it sweeter or more bitter? It’s all up to you. You can also experiment with different mix-ins to make it your own.
- Crowd-Pleasing: Whether it’s a special occasion or a cozy night in, this chocolate is always a hit. Serve it at a gathering, and you’ll have guests asking for your secret recipe.

Ingredients
Here’s what you’ll need to make your own delicious homemade dark chocolate:
Cocoa Powder: The main flavor booster. You’ll need good quality cocoa powder to get that rich, intense dark chocolate flavor that everyone craves.
Coconut Oil: This helps give your chocolate a smooth texture and adds a subtle, light sweetness. Plus, it’s a great dairy-free option!
Sweetener: Choose your sweetener of choice—whether it’s maple syrup, honey, or a sugar substitute. The amount can be adjusted based on how sweet you like your chocolate.
Vanilla Extract: Adds depth and warmth to your chocolate. It’s a small touch, but it makes a big difference.
Salt: A little pinch of salt to balance the flavors and bring out the richness of the cocoa.
Optional Add-ins: If you’re feeling adventurous, throw in some chopped nuts, dried fruit, or a sprinkle of chili powder to elevate the flavor profile. Totally up to you!
(Note: The full ingredients list, including measurements, is provided in the recipe card directly below.)
Instructions
Let’s dive into making some seriously delicious chocolate:
Melt the Cocoa and Coconut Oil:
In a heatproof bowl, combine the cocoa powder and coconut oil. Gently melt them together over a double boiler (or in the microwave in 30-second intervals), stirring until the mixture is smooth and silky.
Add the Sweetener and Vanilla:
Once your cocoa and coconut oil are melted, whisk in your sweetener of choice and vanilla extract. Stir well until everything is fully combined and smooth. You’re going for a rich, glossy texture here!
Season with Salt:
Sprinkle in a pinch of salt and stir again. This helps to balance out the sweetness and bring out that deep chocolate flavor.
Pour into Molds:
Pour the melted chocolate into your chocolate molds (or even a lined baking sheet for a slab of chocolate). If you’re adding any extra ingredients like nuts or dried fruit, sprinkle them over the chocolate before it sets.
Chill to Set:
Place your molds in the fridge for about 1-2 hours, or until the chocolate is completely hardened. The cooling time is essential for that perfect snap when you break a piece.
Serve and Enjoy:
Once the chocolate has set, pop it out of the molds and treat yourself! You’ve just made the smoothest, most luxurious dark chocolate you could ever wish for.
Homemade Dark Chocolate
Ah, homemade dark chocolate—just saying it sounds like a little slice of heaven, doesn’t it? Imagine biting into a silky, rich piece of chocolate that’s made entirely by you. Not only does it satisfy that deep chocolate craving, but it’s so much more satisfying knowing that you made it from scratch. If you’ve ever wanted to take your chocolate indulgence to the next level, this recipe is your golden ticket. Let’s dive into how to bring your chocolate dreams to life!
Why You’ll Love Homemade Dark Chocolate
This recipe isn’t just about making chocolate—it’s about creating a personalized chocolate experience that’s every bit as decadent as it sounds. Trust me, you’re going to love this one!
- Versatile: Customize your dark chocolate however you like! Add your favorite nuts, dried fruits, or even a pinch of sea salt for that perfect sweet-and-salty contrast.
- Budget-Friendly: Homemade means no fancy store prices. You control the ingredients, and let’s be honest—nothing beats a homemade treat.
- Quick and Easy: No complicated techniques here, just simple steps to melt, mix, and chill. You’ll be indulging in chocolate in no time!
- Customizable: Adjust the sweetness to your liking! Whether you love your chocolate bitter or on the sweeter side, this recipe can be tweaked to suit your taste.
- Crowd-Pleasing: Once you share these, be prepared to be the chocolate hero in your household. Everyone will be asking for more!
Ingredients
Making homemade dark chocolate requires just a few simple ingredients you probably already have in your pantry, and the results are worth every moment. Here’s what you’ll need:
Cocoa Butter: This is the base of your chocolate—smooth, creamy, and packed with that perfect richness we love in chocolate.
Cocoa Powder: Pure cocoa powder gives this chocolate its deep, dark flavor. The higher the quality, the more intense the taste!
Maple Syrup or Honey: For a natural sweetener that doesn’t overpower the rich cocoa taste. It adds a touch of sweetness without being too heavy.
Vanilla Extract: A splash of vanilla brings out the flavors in the chocolate and gives it a delicious, rounded taste.
Sea Salt: Just a pinch of salt can enhance the chocolate flavor, making it even more decadent. If you’re a fan of the sweet-and-salty combo, this is a must!
(Note: The full ingredients list, including measurements, is provided in the recipe card directly below.)
Instructions
Let’s get started on this chocolate-making adventure:
Melt the Cocoa Butter:
Place your cocoa butter in a heatproof bowl and melt it gently over a double boiler. You can also microwave it in short bursts. Stir occasionally until smooth and fully melted.
Add the Cocoa Powder:
Once your cocoa butter is melted, sift in the cocoa powder to avoid clumps. Stir until fully combined, and the mixture becomes nice and smooth.
Sweeten the Chocolate:
Pour in your maple syrup (or honey, if you prefer) and vanilla extract. Stir until everything is fully incorporated, and the mixture is silky smooth.
Add the Sea Salt:
Just a pinch of sea salt can really elevate the chocolate. Add it now and mix well.
Pour into Molds:
Carefully pour your chocolate mixture into silicone molds or onto a parchment-lined baking sheet. Tap it gently to remove any air bubbles.
Chill and Set:
Place the molds in the fridge and let the chocolate set for at least 1-2 hours. You’ll know it’s ready when it’s firm to the touch and has that satisfying snap when you break it.
Unmold and Enjoy:
Once your chocolate has set, carefully remove it from the molds. Now, the fun part—taste testing! Enjoy your rich, silky homemade dark chocolate!
Nutrition Facts
Servings: 12
Calories per serving: 120
Preparation Time
Prep Time: 10 minutes
Cook Time: 5 minutes
Total Time: 1-2 hours (for chilling)
How to Serve Homemade Dark Chocolate
Once your chocolate is set and ready to go, it’s time to enjoy it! Here are a few ways to serve your homemade creation:
- Gift it: Homemade chocolate makes an amazing gift. Wrap it up in a cute box or package, and you’ll have a personalized treat for any occasion.
- Pair with Wine: A rich glass of red wine, like Cabernet Sauvignon, pairs beautifully with dark chocolate. It’s a match made in heaven.
- Serve with Coffee: Enjoy a piece of your chocolate alongside a hot cup of coffee or espresso. The bitterness of both complements each other perfectly.
- Add to Desserts: Chop it up and sprinkle over ice cream, or use it in baking for an extra decadent touch.
Additional Tips
Here are a few pro tips to make sure your homemade dark chocolate turns out perfect every time:
- Use Quality Cocoa: The quality of your cocoa powder directly affects the final flavor. Go for a high-quality, unsweetened cocoa powder for the best results.
- Avoid Overheating: When melting the coconut oil and cocoa powder, make sure not to overheat them. Low and slow is key to getting that smooth texture.
- Customize with Add-ins: Add-ins like crushed almonds, dried cherries, or even a dash of espresso powder can take your chocolate to the next level.
- Storage: Store your homemade chocolate in an airtight container in the fridge. It’ll stay fresh for about two weeks—though it’s unlikely to last that long!
FAQ Section
Q1: Can I use a different oil instead of coconut oil?
A1: Yes! You can use any neutral oil, like vegetable oil or sunflower oil. However, coconut oil gives a unique texture and subtle flavor that really enhances the chocolate.
Q2: Can I make this chocolate sweeter?
A2: Absolutely! Just adjust the amount of sweetener to your liking. Start with a little, taste, and add more if needed.
Q3: Can I add nuts or dried fruit to this recipe?
A3: Yes, definitely! Chopped almonds, hazelnuts, or dried cranberries are all great choices. Just sprinkle them into the molds before the chocolate sets.
Q4: How do I store leftovers?
A4: Store your chocolate in an airtight container in the fridge for up to two weeks. It’s best enjoyed chilled, but you can also keep it at room temperature if you prefer a softer texture.
Q5: Can I freeze homemade dark chocolate?
A5: Yes, you can freeze it! Just wrap the chocolate in wax paper or plastic wrap, then place it in an airtight container. It will last up to 3 months in the freezer.
Q6: Can I use a different sweetener, like stevia or monk fruit?
A6: Absolutely! If you prefer a sugar-free option, stevia or monk fruit are great alternatives. Adjust the amount to taste since they can be sweeter than regular sugar.
Q7: Can I make this recipe without vanilla extract?
A7: Yes! While the vanilla extract adds a lovely flavor, it’s not essential. You can skip it if you don’t have it on hand or want a more straightforward chocolate taste.
Q8: How do I know when the chocolate has fully set?
A8: The chocolate should be firm to the touch and have a clean snap when you break a piece. If it’s still soft, let it chill for a little longer.
Q9: Can I double the recipe?
A9: Yes! Just double the ingredients and use a larger mold or pan to accommodate the extra chocolate.
Q10: Can I make this chocolate without a mold?
A10: Absolutely! You can pour the chocolate into a parchment-lined baking dish or even spread it out on wax paper to create chocolate bark.
Conclusion
There you have it—your very own homemade dark chocolate that’s guaranteed to impress. Whether you’re making it for yourself, giving it as a gift, or serving it at a gathering, this chocolate will elevate any occasion. So, grab your ingredients, and let the chocolate magic begin! You’re in for a treat, my friend. Enjoy!
PrintHomemade Dark Chocolate
This easy homemade dark chocolate recipe combines rich cocoa powder with coconut oil, a hint of coffee, and your choice of sweetener. Perfect for a quick, healthy treat!
- Prep Time: 10 minutes
- Cook Time: 5 minutes
- Total Time: 15 minutes
- Yield: Varies based on mold size (typically 10-12 pieces)
- Category: Dessert
- Method: Stovetop
- Cuisine: American
- Diet: Vegan
Ingredients
- 1 cup unsweetened cocoa powder
- 1 cup melted coconut oil
- 1 tbsp ground coffee beans or instant coffee
- 2–4 tbsp stevia (or any sweetener of your choice)
Instructions
- Create a double boiler by setting a glass bowl over a pot of simmering water.
- Add the melted coconut oil to the bowl.
- Gradually sift in the cocoa powder, stirring well until fully combined with the oil.
- Stir in the ground coffee beans or instant coffee.
- Add your preferred sweetener (stevia or another option) and mix thoroughly.
- Spoon the mixture into molds (ice cube trays work great!).
- Place the molds in the freezer and chill for about 15 minutes.
- Once set, your homemade dark chocolate is ready to enjoy!
Notes
- You can adjust the sweetness by using more or less stevia or any other sweetener you prefer.
- Use silicone molds for easy removal.
Nutrition
- Serving Size: 1 piece
- Calories: 100 kcal
- Sugar: 0g (if using stevia or another sugar-free sweetener
- Sodium: 1mg
- Fat: 10g
- Saturated Fat: 8g
- Unsaturated Fat: 2g
- Trans Fat: 0g
- Carbohydrates: 2g
- Fiber: 1g
- Protein: 1g
- Cholesterol: 0mg


