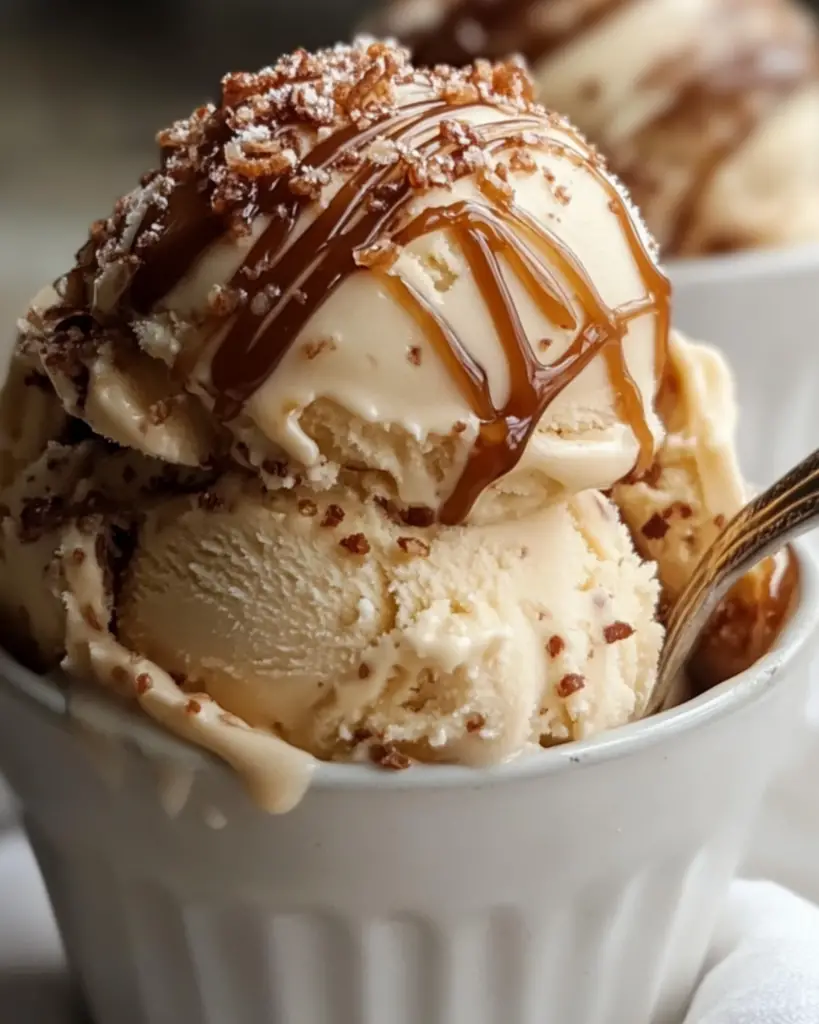
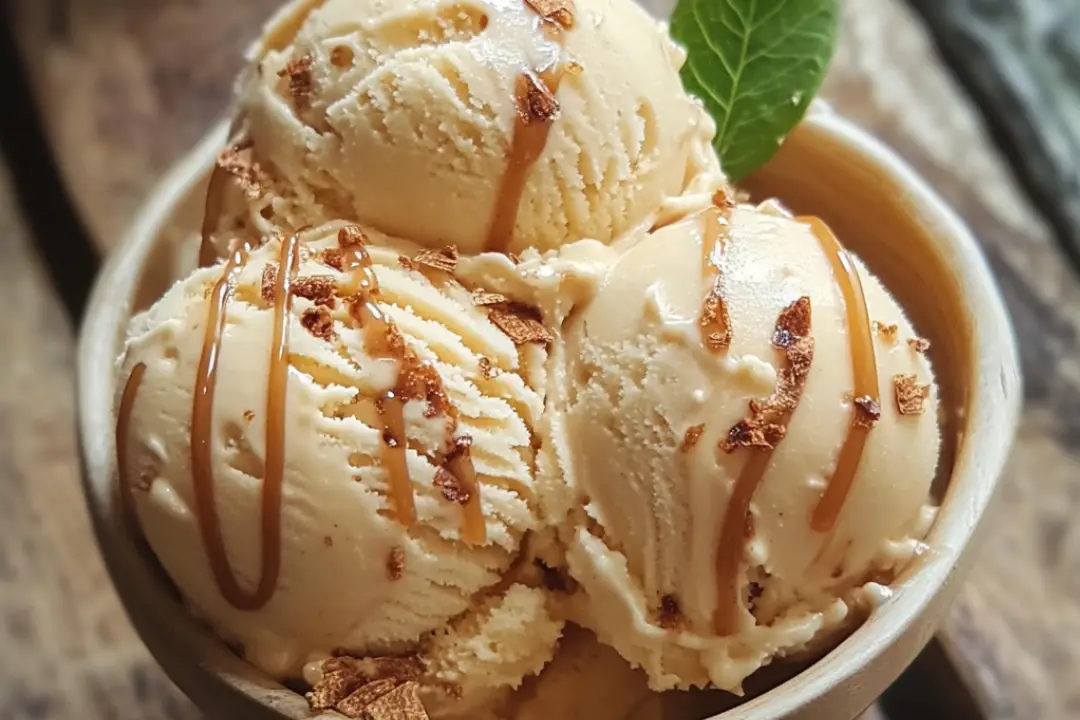
If you’ve ever had a scoop of rich, creamy salted caramel ice cream, you know it’s like heaven in a bowl. There’s just something magical about the combination of sweet caramel and a hint of salt that makes it irresistible. But guess what? You don’t have to head to an ice cream shop to enjoy that luxurious treat. With this homemade salted caramel ice cream recipe, you can whip up a batch right in your kitchen! Trust me, once you taste this, you’ll never go back to store-bought.
Why You’ll Love Homemade Salted Caramel Ice Cream
This salted caramel ice cream is more than just a sweet treat—it’s a game-changer. Imagine the buttery, golden caramel swirling together with the silky cream, and then that little spark of salt on your taste buds. It’s comfort, decadence, and happiness all in one scoop. Here’s why you’ll love it:
Rich & Creamy: The texture is perfectly smooth and rich, just like the kind you get at your favorite ice cream parlor. It’s indulgent without being overwhelming.
Perfect Balance of Sweet and Salty: The combination of sweet caramel with a touch of salt is pure bliss. It’s not too sweet, not too salty—it’s just right.
Homemade Goodness: Making ice cream at home means you control the ingredients, so you get to enjoy the freshest, highest-quality treat. Plus, there’s something about making ice cream from scratch that feels like a little victory.
No Ice Cream Machine Required: Don’t worry if you don’t have an ice cream maker. You can still create this indulgent treat with minimal effort and equipment. It’s all about making your kitchen the ultimate dessert destination!

Ingredients
Here’s what you need to create this rich, salted caramel ice cream at home:
Heavy Cream: This is your base, the creamy foundation that gives your ice cream its rich, indulgent texture. The higher the fat content, the better the creaminess.
Whole Milk: Adding milk helps balance out the heaviness of the cream while still giving you that smooth consistency.
Granulated Sugar: The sugar helps caramelize and gives that signature sweet flavor to the ice cream.
Brown Sugar: Brown sugar adds that deep, molasses-like flavor that enhances the caramel taste, making it extra rich.
Unsalted Butter: This is the secret to getting that perfectly smooth caramel. It also adds a subtle richness.
Salt: The salt is what makes this ice cream pop! It enhances the sweetness of the caramel and adds that delicious contrast.
Vanilla Extract: This adds warmth and depth to the flavor profile, complementing the caramel beautifully.
Egg Yolks: These help thicken the custard base and give the ice cream a luscious, creamy texture.
(Note: The full ingredient list, including measurements, is provided in the recipe card directly below.)
Instructions
Ready to make some magic happen? Here’s how to turn those ingredients into a bowl of creamy salted caramel ice cream:
1. Make the Caramel:
In a medium saucepan, melt the granulated sugar over medium heat, stirring constantly until it turns into a golden-brown caramel. Be careful—once it starts to melt, it can go from perfect to burnt in seconds! Stir in the butter, then carefully add the cream. The mixture will bubble up, so be cautious. Continue to stir until smooth, then remove from heat and mix in the salt and vanilla.
2. Prepare the Custard:
In a separate bowl, whisk the egg yolks with the brown sugar until they’re pale and thick. Slowly pour the warm caramel mixture into the egg yolks while whisking constantly. This gradual process is called tempering and ensures the eggs don’t cook.
3. Cook the Custard:
Transfer the egg and caramel mixture back to the saucepan and cook over low heat, stirring constantly until it thickens enough to coat the back of a spoon. This usually takes around 5-7 minutes. Don’t rush it—patience makes for the creamiest ice cream!
4. Chill the Mixture:
Once the custard has thickened, pour it into a clean bowl and let it cool at room temperature for about 15 minutes. Then, refrigerate it for at least 3 hours or overnight for the best results. The colder, the better!
5. Churn the Ice Cream:
Once the mixture is chilled, pour it into your ice cream maker (if you have one). Churn according to the manufacturer’s instructions, usually for 20-25 minutes. If you don’t have an ice cream maker, don’t worry! You can pour the mixture into a freezer-safe container, and every 30 minutes, use a fork to scrape and stir the ice cream. Repeat until it reaches the creamy consistency you want.
6. Freeze and Enjoy:
Transfer your ice cream to a container, cover tightly, and freeze for at least 4 hours. Once it’s fully set, scoop it out and indulge!
Nutrition Facts
Servings: 8
Calories per serving: 340
Preparation Time
Prep Time: 30 minutes
Cook Time: 10 minutes
Total Time: 4 hours 40 minutes (including freezing)
How to Serve Homemade Salted Caramel Ice Cream
This salted caramel ice cream is perfect on its own, but here are a few ways to make it even more decadent:
With Hot Fudge Sauce: A drizzle of warm fudge sauce will take your ice cream to the next level. The hot sauce melts into the cold ice cream, creating a perfect balance of temperatures.
On a Sundae: Layer it with crushed nuts, whipped cream, and a cherry on top. This classic sundae combo never goes out of style!
With Fruit: Pair the ice cream with some fresh berries or roasted apples for a sweet and tart contrast that balances the richness of the caramel.
In a Milkshake: Blend it with some milk and a touch of vanilla extract for an indulgent milkshake experience.
Additional Tips
- Make it Extra Salted: Feel free to add a bit more salt to your ice cream if you love that salty-sweet contrast even more.
- Customize the Flavors: If you’re craving something extra, fold in crushed toffee or bits of dark chocolate when the ice cream is nearly frozen.
- Storage: Store the ice cream in an airtight container to keep it fresh. It will stay good in the freezer for about a week or two.
- No Ice Cream Maker? No Problem: You can make this without an ice cream machine. Just follow the stirring method I mentioned earlier—your ice cream might have a slightly different texture, but it’ll still be delicious!
FAQ Section
Q1: Can I substitute heavy cream with half-and-half?
A1: You can, but keep in mind that it might not be as creamy. The heavy cream gives the ice cream its rich texture, while half-and-half will make it a little lighter.
Q2: Do I really need an ice cream maker?
A2: Nope! You can still make this ice cream without one. Just follow the freezing and stirring method outlined above, and you’ll still have amazing results!
Q3: Can I make the salted caramel ice cream without eggs?
A3: Yes! If you prefer an eggless version, you can make a custard-free base with just cream, milk, sugar, and caramel. The texture may be slightly different, but still delicious.
Q4: How long can I keep the homemade salted caramel ice cream?
A4: It should stay fresh for up to two weeks in an airtight container. Just be sure to scoop out what you need and keep the rest tightly sealed to prevent freezer burn.
Q5: Can I use caramel sauce instead of making my own?
A5: Yes, you can use store-bought caramel sauce, but making your own caramel gives it a deeper, richer flavor that really elevates the ice cream.
Q6: Can I double the recipe?
A6: Definitely! If you’re making this for a party or just want more ice cream on hand, doubling the recipe works just fine. Just make sure your container can hold all the goodness.
Q7: Can I add nuts to this recipe?
A7: Yes, you can fold in toasted pecans, almonds, or walnuts during the churning process for an extra crunch!
Q8: How do I make the caramel less sweet?
A8: You can reduce the amount of sugar or add more salt to balance out the sweetness. It’s all about finding that perfect balance for your taste buds!
Q9: Can I make this in advance?
A9: Absolutely! This ice cream stores really well, so feel free to make it a few days ahead of time. The flavors will have time to meld, making it even more delicious.
Q10: What’s the best way to scoop homemade ice cream?
A10: Run your ice cream scoop under warm water before scooping. It helps get those perfectly round scoops with ease!
Conclusion
Homemade salted caramel ice cream is the kind of dessert that brings joy in every bite. It’s rich, creamy, and that perfect balance of salty and sweet that makes it irresistible. Plus, it’s surprisingly easy to make! Whether you’re treating yourself or impressing friends and family, this recipe is a guaranteed win. Trust me, once you’ve tasted it, you won’t want to go back to store-bought versions. So grab your ingredients and get ready to enjoy a homemade ice cream experience that’ll make you feel like a pro in the kitchen!
PrintHomemade Salted Caramel Ice Cream
This creamy, rich homemade salted caramel ice cream is made with just a few simple ingredients. The sweet caramel flavor with a touch of sea salt creates the perfect balance of sweet and salty.
Ingredients:
- Prep Time: 10 minutes
- Cook Time: 25 minutes
- Total Time: 4 hours 35 minutes
- Yield: 4 servings 1x
- Category: Dessert
- Method: Churning (Ice Cream Maker)
- Cuisine: American
- Diet: Vegetarian
Ingredients
- 2 cups heavy cream
- 1 cup whole milk
- ¾ cup caramel sauce
- 1 teaspoon vanilla extract
- ½ teaspoon sea salt
Instructions
- Whisk together cream, milk, caramel sauce, vanilla, and salt.
- Pour the mixture into an ice cream maker and churn for 25 minutes.
- Transfer to a container and freeze for at least 4 hours.
Notes
- For a richer flavor, use homemade caramel sauce.
- Sprinkle flaky sea salt before serving for an extra touch of flavor.
Nutrition
- Serving Size: 1/4 of recipe
- Calories: 350kcal
- Sugar: 30g
- Sodium: 150mg
- Fat: 25g
- Saturated Fat: 15g
- Unsaturated Fat: 6g
- Trans Fat: 0g
- Carbohydrates: 35g
- Fiber: 0g
- Protein: 3g
- Cholesterol: 70mg


