

Oh, you’re in for a treat! Picture this: crispy, golden-brown potato chips topped with a mountain of melted cheese, savory bacon bits, and a generous sprinkle of green onions. Sounds irresistible, right? Well, these Loaded Crispy Potato Chips are the ultimate comfort food, perfect for sharing or devouring on your own. Whether you’re hosting a casual get-together, watching the big game, or just satisfying a craving for something crunchy and cheesy, these chips will never disappoint. Trust me, one bite and you’ll be hooked!
Why You’ll Love Loaded Crispy Potato Chips
This recipe isn’t just about crispy chips—it’s about bringing people together and creating moments of pure joy. Here’s why this dish is always a favorite:
- Versatile: Whether you’re serving these chips as an appetizer at a party or as a fun snack for yourself, they’re perfect for any occasion. You can even customize them for your own taste.
- Budget-Friendly: The ingredients are simple and affordable—perfect for those days when you want something indulgent without breaking the bank.
- Quick and Easy: No complicated steps here. You can whip these up in no time, and they’ll be devoured just as quickly. If you love easy and satisfying recipes, this one’s for you.
- Customizable: From the cheese to the toppings, you can mix and match to suit your cravings. Love spicy food? Add jalapeños! Prefer a veggie twist? Swap the bacon for some roasted veggies.
- Crowd-Pleasing: Seriously, who doesn’t love crispy chips loaded with cheese and bacon? It’s a guaranteed crowd-pleaser that both kids and adults will devour.
Ingredients
Here’s the magic behind these loaded crispy potato chips. It’s all about getting the right balance of crispy, cheesy, and savory goodness. Let’s break it down:
Potato Chips: The base of the dish! Choose sturdy, thick-cut potato chips. The kind that hold up under all the toppings without breaking into pieces.
Cheddar Cheese: Because what’s a loaded chip without cheese? Sharp cheddar brings the perfect amount of tangy, creamy flavor that melts beautifully over the chips.
Bacon: Crispy bacon bits add that irresistible salty, smoky flavor. It’s the kind of addition that makes everything better, trust me.
Green Onions: These fresh onions add a pop of color and a mild, crisp bite that perfectly complements the richness of the cheese and bacon.
Sour Cream: The creamy, cool dip that balances all the richness. A dollop of sour cream on top makes each bite feel extra indulgent.
Jalapeños (optional): For a little kick of heat, add sliced jalapeños. They balance the richness and bring a spicy edge to each bite.
(Note: the full ingredients list, including measurements, is provided in the recipe card directly below.)
Instructions
Ready to make these loaded crispy potato chips? Let’s dive right in!
1. Prepare the Chips
Start by spreading your potato chips in a single layer on a baking sheet. Make sure they’re arranged neatly so each chip gets an equal amount of toppings. If you’re using homemade chips, make sure they’re perfectly crisped up.
2. Add the Cheese and Bacon
Top each chip with a generous sprinkle of shredded cheddar cheese, and then add the crispy bacon bits on top. Don’t be shy with the toppings—this is all about indulgence!
3. Bake the Chips
Pop the baking sheet into the oven and bake at 350°F (175°C) for about 5-7 minutes, or until the cheese is melted and bubbly. Keep an eye on them to avoid overcooking.
4. Add Toppings
Once the cheese is melted, take the chips out of the oven. Now, it’s time for the finishing touches: top with chopped green onions, a dollop of sour cream, and jalapeños (if using). The contrast of the cool sour cream and the warm, cheesy chips is pure magic.
5. Serve and Enjoy
Serve these loaded crispy potato chips right away while they’re hot, cheesy, and crispy. You can add a side of dipping sauce if you want, but they’re absolutely delicious on their own.
Nutrition Facts
Servings: 4
Calories per serving: 350
Preparation Time
Prep Time: 10 minutes
Cook Time: 10 minutes
Total Time: 20 minutes
How to Serve Loaded Crispy Potato Chips
These loaded crispy potato chips are perfect on their own, but here are a few ideas for how to pair them with other dishes:
- Appetizer: Serve them as an appetizer at your next gathering. They’ll be gone in minutes!
- Side Dish: Pair them with a hearty burger or grilled meats for the ultimate comfort meal.
- Game Day Snack: These chips are the perfect addition to any game-day spread. Your friends will love them!
- Toppings Station: Get creative by setting up a toppings station where everyone can add their own favorite extras, like extra cheese, bacon, or even chili.
Presentation matters too! Serve these chips in a big bowl or on a large platter, and don’t forget the extra dipping sauces for added fun.
Additional Tips
Here are a few extra tips to make your loaded crispy potato chips even more amazing:
- Make Your Own Chips: If you have the time, homemade potato chips take these to the next level. Slice potatoes thinly, fry them until crispy, and then load them up with the toppings.
- Cheese Variations: Feel free to swap out the cheddar for other cheeses like Monterey Jack or Gouda. They’ll bring a new twist to the dish.
- Add Some Veggies: For a healthier spin, try adding some roasted veggies on top, like bell peppers or mushrooms. They add flavor and color without losing the indulgence.
- Dips: Serve with a variety of dips like ranch dressing, BBQ sauce, or a spicy sriracha mayo for even more flavor.
FAQ Section
Q1: Can I use store-bought chips?
A1: Absolutely! Store-bought chips work great for this recipe. Just make sure to choose a sturdy, thicker chip so it holds up well under the toppings.
Q2: Can I make this ahead of time?
A2: While the chips are best served immediately after baking, you can prepare the toppings ahead of time and then quickly assemble and bake them when you’re ready to serve.
Q3: How do I store leftovers?
A3: If you have leftovers (unlikely!), store them in an airtight container in the fridge for up to 1 day. Reheat them in the oven to crisp them up again.
Q4: Can I freeze the loaded chips?
A4: It’s best to enjoy these fresh, but you can freeze the chips before baking with the toppings. Then, bake them directly from the freezer when you’re ready to eat.
Q5: Can I add other toppings?
A5: Definitely! Try adding sautéed mushrooms, chili, or even guacamole for a fun twist on these loaded chips.
Q6: Can I make these vegetarian?
A6: Absolutely! Simply skip the bacon, and you can add more veggies or even some black beans for a tasty vegetarian option.
Q7: How do I make these spicier?
A7: Add some extra jalapeños, chili flakes, or drizzle with hot sauce before serving for that spicy kick.
Q8: Can I make these in a microwave?
A8: While they’re best in the oven, you can microwave the chips to melt the cheese. Just layer the chips with cheese and bacon and microwave for 1-2 minutes until the cheese is melted.
Q9: Can I use a different type of cheese?
A9: Yes! Feel free to swap cheddar for mozzarella, Gouda, or any cheese you love. Each type will bring its own unique flavor to the dish.
Q10: How do I make these healthier?
A10: You can use baked chips or even sweet potato chips for a lighter version. You can also top with Greek yogurt instead of sour cream for a creamy, tangy option with fewer calories.
Conclusion
Loaded Crispy Potato Chips are the perfect mix of indulgent comfort and crispy deliciousness. With their gooey cheese, savory bacon, and all the extra toppings, they’re sure to be a hit no matter the occasion. Whether you’re sharing with friends or enjoying them all on your own, these chips are guaranteed to make your taste buds do a happy dance. Go ahead and give them a try—you’ll see what all the fuss is about!
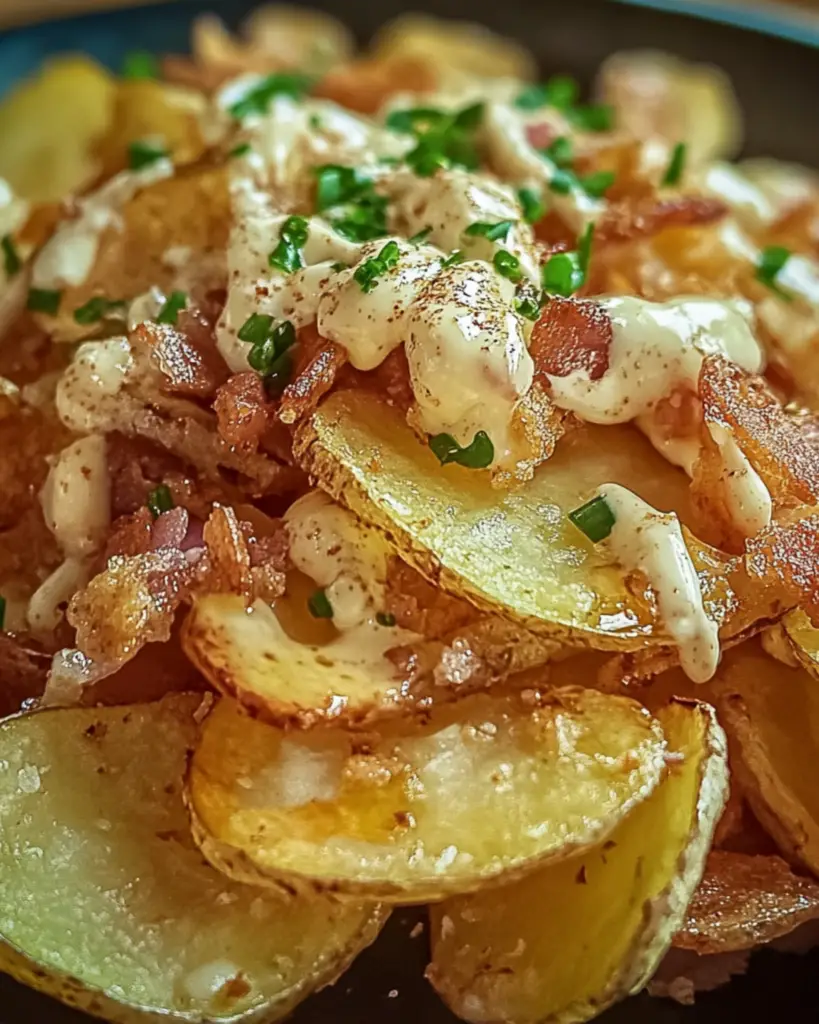
PrintLoaded Crispy Potato Chips

Golden, crunchy potato chips topped with a zesty sauce and fresh chives—perfect for snacking or as an indulgent appetizer!
- Prep Time: 15 minutes
- Cook Time: 10 minutes
- Total Time: 25 minutes
- Yield: 4 servings 1x
- Category: Appetizer
- Method: Frying
- Cuisine: American
- Diet: Vegetarian
Ingredients
For the Chips:
- 2 large russet potatoes, washed and peeled
- 2–3 cups vegetable oil (for frying)
- Salt, to taste
- Black pepper, to taste
- 1/4 cup fresh chives, finely chopped
For the Sauce:
- 1/4 cup mayonnaise
- 1 tablespoon ketchup
- 1 teaspoon Dijon mustard
- 1/2 teaspoon smoked paprika
- 1 teaspoon garlic powder
- 1 tablespoon lemon juice
Instructions
- Prepare the Potatoes:
- Using a mandoline or crinkle cutter, slice the potatoes into thin, even slices.
- Soak the slices in cold water for 15-20 minutes to remove excess starch.
- Drain and pat dry with a clean kitchen towel.
- Fry the Potatoes:
- Heat vegetable oil in a deep skillet or frying pot to 350°F (175°C).
- Fry the potato slices in batches to avoid overcrowding, cooking for 2-3 minutes on each side or until golden and crispy.
- Remove and place on paper towels to drain excess oil.
- Immediately season with salt and pepper while hot.
- Make the Sauce:
- In a small bowl, whisk together mayonnaise, ketchup, Dijon mustard, smoked paprika, garlic powder, and lemon juice until smooth.
- Taste and adjust seasoning if needed.
- Assemble the Loaded Chips:
- Arrange the crispy potato chips on a serving plate or tray.
- Drizzle the prepared sauce generously over the chips.
- Sprinkle with fresh chopped chives for garnish.
Notes
Serving Suggestions: Serve immediately for maximum crispiness and flavor. These Loaded Crispy Potato Chips pair well with your favorite drinks and are a hit at parties or game nights!
Nutrition
- Serving Size: 1 serving
- Calories: 250kcal
- Sugar: 3g
- Sodium: 450mg
- Fat: 18g
- Saturated Fat: 2g
- Unsaturated Fat: 14g
- Trans Fat: 0g
- Carbohydrates: 25g
- Fiber: 3g
- Protein: 3g
- Cholesterol: 5mg