

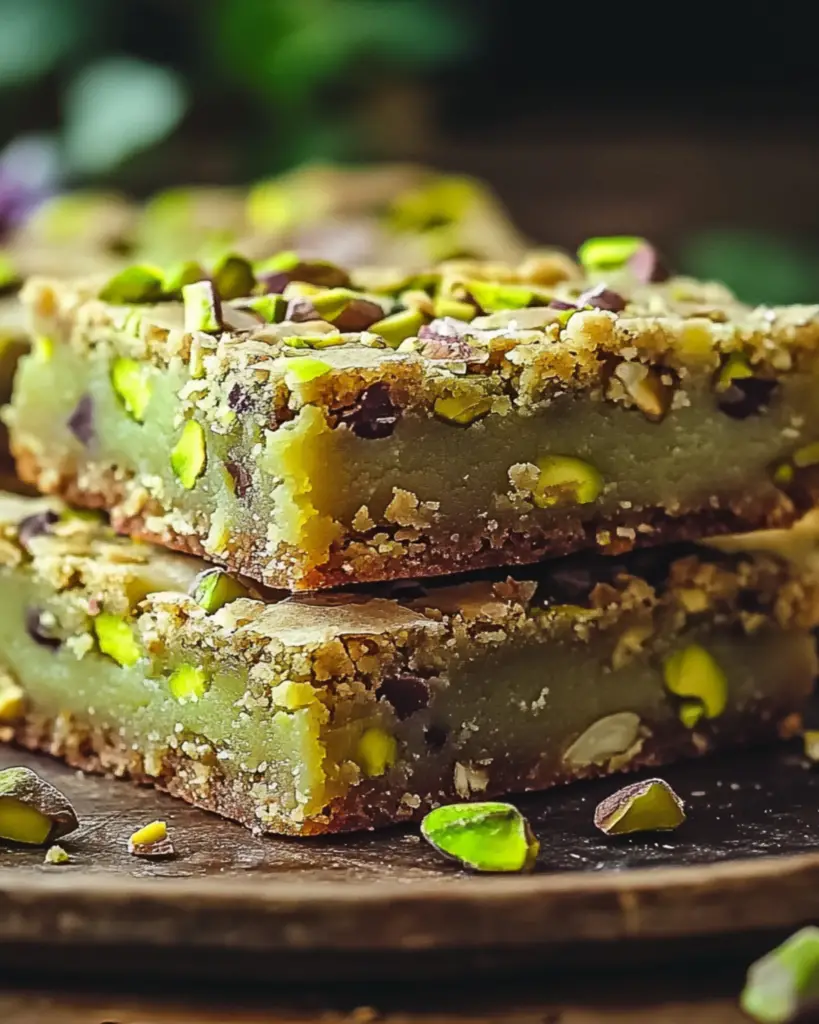
If you’re a fan of indulgent, sweet treats with a twist, then these Pistachio Dream Cookie Bars are about to become your new favorite go-to dessert. Imagine buttery, melt-in-your-mouth cookie bars with a delightful nutty crunch from pistachios, all topped off with a smooth, creamy white chocolate drizzle. They’re sweet, savory, and totally irresistible. Plus, they come together quickly and easily—perfect for when that cookie craving strikes. Trust me, you’re going to want to make these again and again!
Why You’ll Love Pistachio Dream Cookie Bars
This recipe is all about creating those magical moments where a simple dessert brings joy to everyone. Here’s why these cookie bars are a must-try:
Versatile: Whether you’re preparing them for a family gathering, a holiday dessert table, or just for a cozy treat at home, these bars work for every occasion. They’re perfect for sharing but are so delicious, you might want to keep them all to yourself!
Budget-Friendly: You don’t need fancy ingredients to make these bars a success. With basic pantry staples and a handful of pistachios, you can create a dessert that tastes gourmet but doesn’t require a gourmet budget.
Quick and Easy: No complicated steps here! These bars are so simple to put together. Whether you’re a beginner baker or a seasoned pro, you’ll feel confident in making these cookie bars. Plus, they only take about 30 minutes to bake—talk about a time-saver!
Customizable: Feel free to get creative! Add in some dark chocolate chips for extra richness, or mix in a dash of almond extract for an extra layer of flavor. The possibilities are endless!
Crowd-Pleasing: These bars are a guaranteed crowd-pleaser. Pistachio and white chocolate are a match made in heaven, and the texture of these cookie bars is perfectly chewy and satisfying. They’re going to disappear faster than you can say “second serving!”
Ingredients
Here’s the breakdown of what makes these Pistachio Dream Cookie Bars so irresistible:
Butter: The base of this cookie bar. It adds richness and flavor, giving the bars that melt-in-your-mouth texture. You’ll want to use unsalted butter for the best results, but if you’re all out, salted will work fine too!
Granulated Sugar: For sweetness. This sugar helps to create the perfect chewy texture that makes these bars so satisfying.
Brown Sugar: The brown sugar adds a deeper, caramel-like flavor that balances the sweetness of the granulated sugar.
Eggs: The binding agent. Eggs bring everything together and help give the bars their soft and chewy consistency.
Vanilla Extract: A splash of vanilla brings a warm, comforting flavor to the cookie base. It’s a must-have ingredient to complement the pistachios and white chocolate.
All-Purpose Flour: The foundation of the dough. Flour gives structure to the bars and helps everything bake to perfection.
Baking Soda: The rising agent. Just a little bit helps the bars rise and stay soft and chewy in the center.
Salt: A pinch of salt balances the sweetness and enhances all the other flavors in the bars.
Pistachios: These are the star of the show! You’ll want to chop them roughly so you get the perfect mix of crunch and flavor in each bite. Their nutty, slightly salty taste is what makes these bars truly special.
White Chocolate Chips: Sweet and creamy, white chocolate chips melt into the cookie base and provide the perfect contrast to the crunchy pistachios. They add that dreamy, decadent finish to every bite.
(Note: the full ingredients list, including measurements, is provided in the recipe card directly below.)
Instructions
Let’s get baking! Follow these easy steps to make your Pistachio Dream Cookie Bars:
Preheat the Oven: Start by preheating your oven to 350°F (175°C). This ensures the bars bake evenly and get that golden-brown crust we all love.
Prepare Your Baking Pan: Line a 9×9-inch baking pan with parchment paper or lightly grease it. This makes it easier to remove the bars once they’re done baking, and keeps the cleanup to a minimum.
Mix Wet Ingredients: In a large bowl, cream together the butter, granulated sugar, and brown sugar until light and fluffy. Add the eggs and vanilla extract, and mix until well combined. This step helps create that soft and chewy texture.
Add Dry Ingredients: In a separate bowl, whisk together the flour, baking soda, and salt. Gradually add the dry ingredients to the wet mixture, stirring until just combined. Don’t overmix here, as you want to keep the dough soft and chewy.
Fold in the Pistachios: Gently fold in the chopped pistachios, making sure they’re evenly distributed throughout the dough. This will give every bite a satisfying crunch.
Bake the Bars: Spread the dough evenly in the prepared baking pan and bake for 20-25 minutes, or until the edges are golden and a toothpick inserted into the center comes out clean. Keep an eye on them, as oven temperatures can vary!
Add White Chocolate: Once the bars are out of the oven, immediately sprinkle the white chocolate chips over the top. Let the bars sit for a few minutes to allow the white chocolate to melt, then spread it evenly over the bars using a spatula.
Cool and Cut: Allow the bars to cool completely in the pan. Once they’re cool, cut them into squares or bars and serve.
Serve and Enjoy: These bars are perfect on their own, or you can serve them with a scoop of vanilla ice cream for an extra indulgent treat!
Nutrition Facts
Servings: 16
Calories per serving: 220
Preparation Time
Prep Time: 10 minutes
Cook Time: 20-25 minutes
Total Time: 35-40 minutes
How to Serve Pistachio Dream Cookie Bars
These bars are delicious by themselves, but you can make them even more special with these serving suggestions:
Ice Cream: Serve the bars with a scoop of creamy vanilla ice cream for a dessert that’s totally next-level.
Coffee or Tea: Pair these cookie bars with your favorite hot drink for a cozy afternoon snack. The nutty pistachios and sweet white chocolate pair beautifully with a warm cup of coffee or a soothing tea.
Whipped Cream: Add a dollop of freshly whipped cream on top for extra indulgence. It’s the perfect finishing touch!
Fresh Berries: For a refreshing contrast, serve these cookie bars with fresh berries like raspberries or strawberries. The tartness of the berries balances the sweetness of the bars beautifully.
Additional Tips
Here are a few tips to make these cookie bars even more amazing:
Prep Ahead: You can make the dough ahead of time and store it in the fridge for up to 2 days. This can save time on the day you plan to bake.
Storage: Store leftover cookie bars in an airtight container at room temperature for up to 5 days. They stay fresh and chewy for a few days, but you can also freeze them for later!
Make Them Your Own: Feel free to experiment with other nuts if you prefer. Chopped almonds or walnuts would work wonderfully in place of pistachios.
Perfect for Gifting: These cookie bars make an excellent gift for friends and family. Package them in a cute box with a ribbon for a homemade treat that’s sure to impress.
FAQ Section
Q1: Can I use salted pistachios?
A1: Absolutely! If you’re using salted pistachios, just be mindful of the amount of salt you add to the dough. You may want to reduce it a bit to avoid the bars being too salty.
Q2: Can I use milk chocolate instead of white chocolate?
A2: Of course! Milk chocolate or dark chocolate would work perfectly in place of white chocolate. You can experiment with different types of chocolate to find your perfect combination.
Q3: How do I store leftover bars?
A3: Store leftover bars in an airtight container at room temperature for up to 5 days. If you want them to last longer, you can freeze them for up to 3 months.
Q4: Can I make these bars gluten-free?
A4: Yes, you can swap the all-purpose flour for a gluten-free flour blend. Just make sure to use a brand you trust for the best results.
Q5: Can I use pre-chopped pistachios?
A5: Yes, you can use pre-chopped pistachios to save time. Just be sure to get a good quality brand, as they can sometimes be a little too salty or stale.
Q6: Can I double the recipe?
A6: Definitely! If you want to make a larger batch, simply double the ingredients and bake in a 9×13-inch pan. Be sure to adjust the baking time as needed.
Q7: Can I freeze the dough?
A7: Yes, you can freeze the dough! Just shape it into a disc or log, wrap it tightly in plastic wrap, and freeze for up to 3 months. When you’re ready to bake, let it thaw in the fridge overnight.
Q8: How do I know when the bars are done?
A8: The bars are done when the edges are golden brown and a toothpick inserted into the center comes out clean. They’ll continue to firm up as they cool.
Q9: Can I add more nuts?
A9: Yes! You can add more pistachios or mix in other nuts like almonds or cashews for a fun twist on the recipe.
Q10: Can I make these bars dairy-free?
A10: Yes, you can substitute the butter with a plant-based butter and use dairy-free white chocolate chips to make these bars dairy-free.
Conclusion
Pistachio Dream Cookie Bars are everything you want in a dessert—easy, delicious, and downright dreamy. Whether you’re baking for yourself or sharing with loved ones, these bars are sure to make any day a little sweeter. So, what are you waiting for? Grab your ingredients and get baking—these bars are calling your name!
PrintPistachio Dream Cookie Bars

These soft and nutty cookie bars combine the richness of pistachio pudding with a buttery base, creating a delightful treat that’s perfect for any occasion.
- Prep Time: 10 minutes
- Cook Time: 15-18 minutes
- Total Time: 25-30 minutes
- Yield: 12–16 bars (depending on size) 1x
- Category: Dessert
- Method: baking
- Cuisine: American
- Diet: Vegetarian
Ingredients
- 1/2 cup unsalted butter, softened
- 2 large eggs
- 3.4 oz pistachio instant pudding mix
- 1 package sugar cookie mix
Instructions
-
Preheat the Oven:
Preheat your oven to 375°F (190°C). -
Mix the Ingredients:
In a large mixing bowl, cream together the softened butter, eggs, and pistachio pudding mix until smooth and creamy. -
Add the Sugar Cookie Mix:
Gradually add the sugar cookie mix, stirring until a sticky dough forms. -
Prepare the Baking Sheet:
Grease a 10 x 15-inch baking sheet and press the dough evenly into the pan, spreading it to the edges. -
Bake:
Bake until the edges are lightly golden, about 15-18 minutes. Let the pan cool completely before slicing the dough into bars. -
Serve and Enjoy:
Once cooled, slice into bars and enjoy these deliciously soft and nutty treats!
Notes
- For extra flavor, you can sprinkle chopped pistachios on top before baking.
- These bars stay soft and moist for several days, making them perfect for make-ahead treats.
Nutrition
- Serving Size: 1 bar
- Calories: 200kcal
- Sugar: 15g
- Sodium: 180mg
- Fat: 10g
- Saturated Fat: 5g
- Unsaturated Fat: 5g
- Trans Fat: 0g
- Carbohydrates: 26g
- Fiber: 0g
- Protein: 2g
- Cholesterol: 35mg