Homemade Bubblegum
There is something oddly satisfying about making your own chewy treats at home, and this one takes you straight back to childhood. The soft pink cubes, the sweet aroma, and that playful bubblegum flavor all come together in a way that feels both nostalgic and a little magical. Trust me, you’re going to love this, especially when you realize how simple it actually is.
Why This Sweet Treat Is So Fun to Make and Share
As soon as you start mixing the ingredients, you will notice how the texture begins to transform, turning into that signature chewiness we all recognize. This one’s a total game-changer because it brings both creativity and flavor into your kitchen.
A Little Story Behind This Playful Candy
Bubblegum has been around for over a century, originally created as a fun twist on chewing gum that could stretch and pop into bubbles. Over time, it became a symbol of fun and youth, often tied to bright colors and sweet flavors. Making it at home gives you that same joy, but with a personal touch that feels even more special.
Why You Can Count on This Recipe Every Time
Let me tell you, it’s worth every bite, and here is why it works so well every single time.
Versatile: You can play with colors and flavors, making it as bold or as subtle as you like.
Budget-Friendly: Simple pantry ingredients keep this affordable and easy to repeat.
Quick and Easy: The process is straightforward and does not require complicated equipment.
Customizable: Adjust sweetness, color, or flavor intensity to suit your taste.
Crowd-Pleasing: Kids and adults alike enjoy the fun texture and nostalgic taste.
Make-Ahead Friendly: You can prepare a batch and store it for later enjoyment.
Great for Leftovers: It keeps well, so you can enjoy it over time without waste.
Smart Tips Before You Start Mixing
Before diving in, a few insider tips will make everything smoother.
- Use powdered sugar generously to prevent sticking
- Work quickly once the mixture thickens
- Keep your hands lightly coated to handle the gum easily
- Store in an airtight container to maintain softness
Kitchen Tools That Make It Easier
You do not need much, which is part of the charm.
Mixing Bowl: For combining and kneading the gum base
Spatula: Helps mix sticky ingredients smoothly
Measuring Cups and Spoons: Ensures balanced sweetness and texture
Flat Surface: Needed for kneading and shaping
Ingredients That Bring It All Together
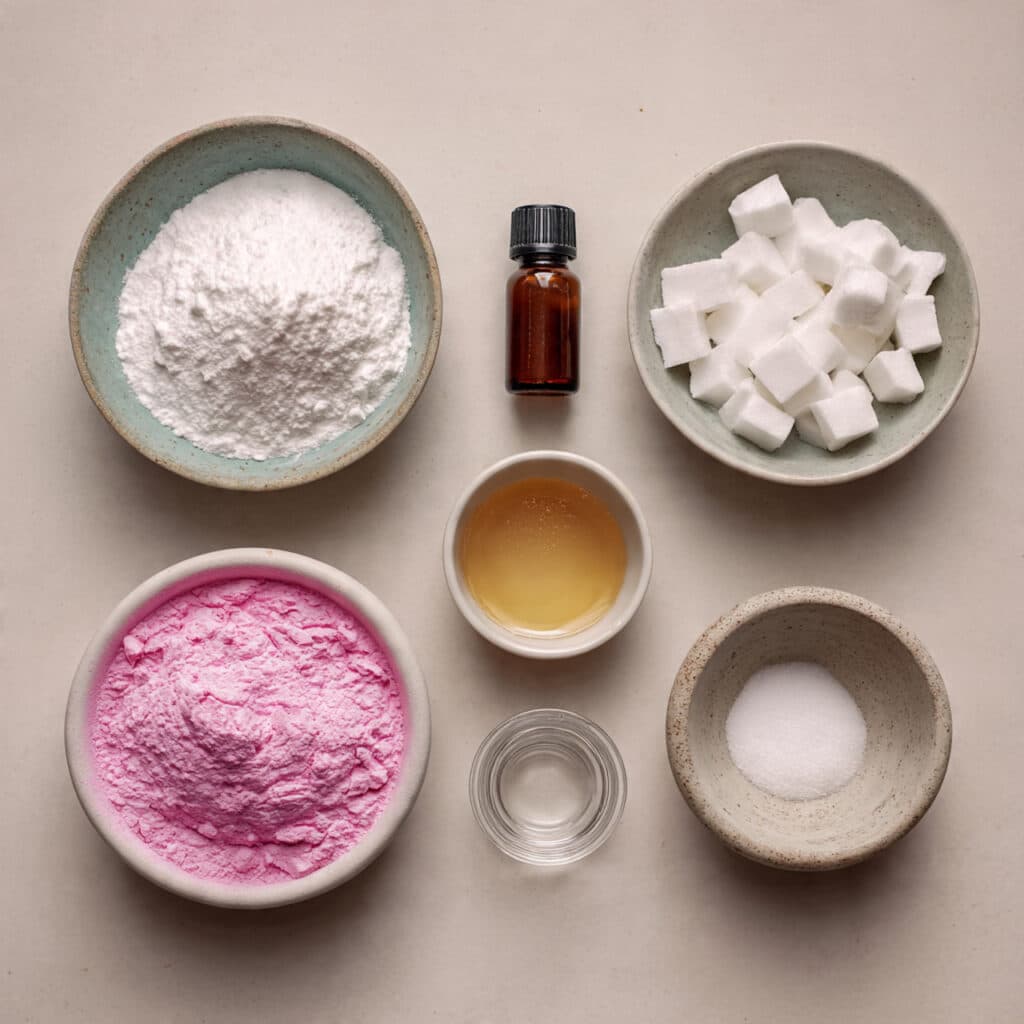
The beauty of this recipe lies in its simplicity, yet each ingredient plays an important role in building that classic chew.
- Gum Base: 1/3 cup, provides the chewy structure that defines the candy
- Powdered Sugar: 1 cup, adds sweetness and prevents sticking
- Corn Syrup: 3 tablespoons, keeps the texture soft and pliable
- Bubblegum Flavoring: 1 teaspoon, delivers that iconic taste
- Food Coloring: a few drops pink, creates the signature look
Easy Swaps If You Want to Experiment
Sometimes you might want to tweak things a little.
Corn Syrup: Honey or glucose syrup
Bubblegum Flavoring: Vanilla or fruit flavor for a twist
Food Coloring: Natural coloring options like beet powder
The Star Ingredients That Make the Magic
Gum Base: This is what gives the candy its stretch and chew, without it there is no bubblegum
Bubblegum Flavoring: The key to that nostalgic taste that instantly brings back memories
Let’s Get Into the Fun Part, Making It Step by Step
Now that everything is ready, here are the steps you are going to follow.
- Preheat Your Equipment: Prepare your workspace by dusting it lightly with powdered sugar
- Combine Ingredients: Melt the gum base gently, then stir in corn syrup and flavoring
- Prepare Your Cooking Vessel: Ensure your bowl is lightly greased to prevent sticking
- Assemble the Dish: Gradually mix in powdered sugar until a dough forms
- Cook to Perfection: Continue kneading until smooth and elastic
- Finishing Touches: Add food coloring and knead until evenly distributed
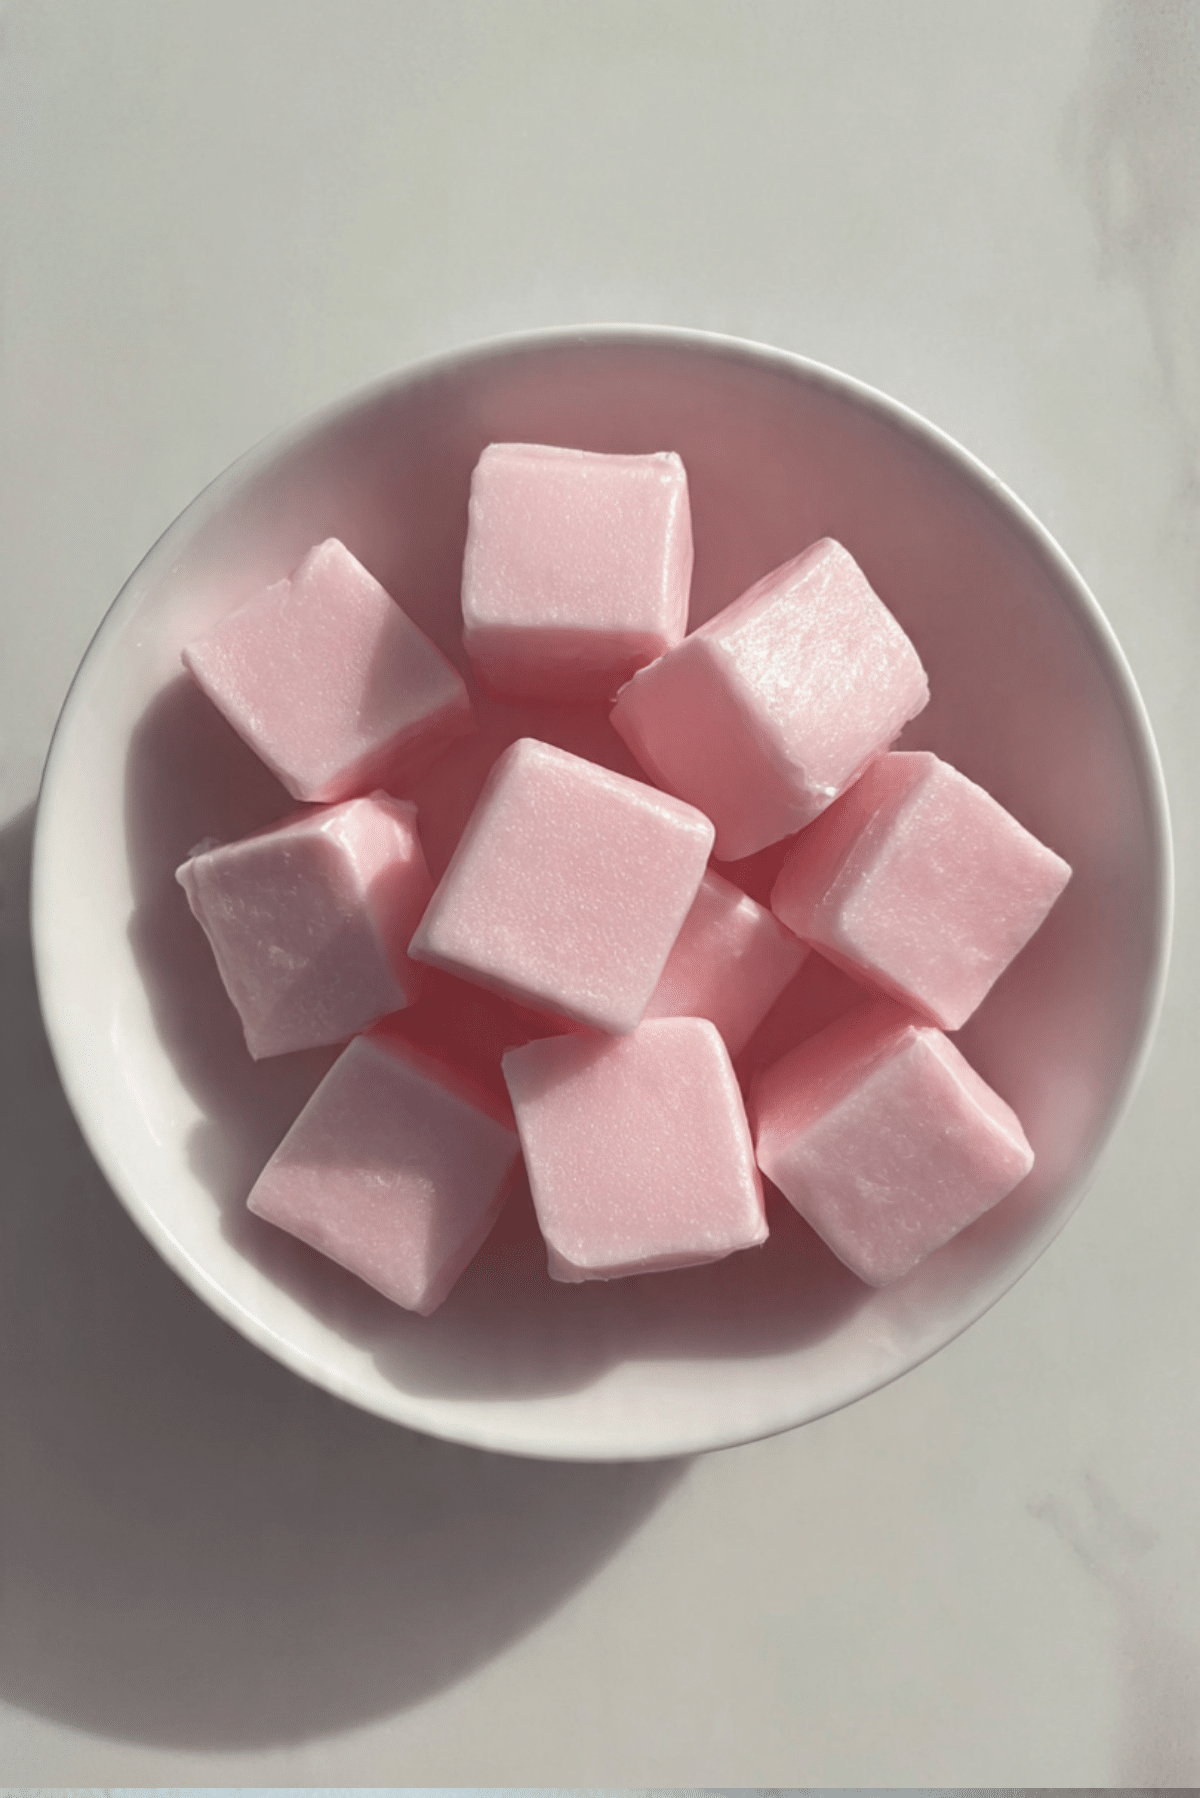
- Serve and Enjoy: Shape into small cubes and let them rest before enjoying
Texture and Flavor That Make It Irresistible
The final result is soft, chewy, and slightly springy with a sweet burst of flavor. The outside feels smooth, while the inside has that classic gum-like stretch that makes every bite fun.
Helpful Tips to Get It Just Right
- Knead until fully smooth for the best texture
- Add sugar slowly to avoid dryness
- Store pieces separately to prevent sticking
Common Mistakes and How to Avoid Them
- Using too much sugar, which can make the gum hard
- Not kneading enough, leading to uneven texture
- Skipping resting time, which helps set the shape
Quick Look at Nutrition
Servings: 12 pieces
Calories per serving: 90
Note: These are approximate values.
Time You Will Need
Prep Time: 15 minutes
Cook Time: 5 minutes
Total Time: 20 minutes
Making Ahead and Storing for Later
You can prepare this ahead and store it in an airtight container at room temperature. It stays soft for several days. If it begins to harden slightly, a quick knead can bring it back to life.
How to Serve and Enjoy It
Serve in a small bowl or wrap individual pieces for a fun homemade treat. It also makes a great edible gift when packaged in colorful paper.
Turning Leftovers Into Something Fun
If you have extra, roll them into different shapes or mix colors together for a playful twist. You can even create themed treats for parties.
Extra Tips for Even Better Results
Keep your hands clean and lightly powdered, and always work on a non-stick surface. Small adjustments can make a big difference in texture.
Make It Look As Good As It Tastes
Cut the gum into even cubes and arrange them neatly. The soft pink color really stands out against a simple white dish, making it visually appealing.
Fun Variations You Can Try
Try adding fruit flavors for a tangy twist
Mix colors for a marbled effect
Shape into strips instead of cubes
Add a hint of mint for freshness
FAQ’s
Q1: Can I make this without gum base?
No, the gum base is essential for the chewy texture.
Q2: How long does it last?
It can last up to a week when stored properly.
Q3: Can I freeze it?
Freezing is not recommended as it affects texture.
Q4: Is it safe for kids?
Yes, but always supervise younger children.
Q5: Can I change the flavor?
Absolutely, you can experiment with different extracts.
Q6: Why is my gum too hard?
Too much sugar or over-kneading can cause this.
Q7: Can I make it less sweet?
You can reduce powdered sugar slightly.
Q8: Does it need refrigeration?
No, room temperature storage works best.
Q9: Can I double the recipe?
Yes, just keep proportions consistent.
Q10: Why is it sticky?
Add a bit more powdered sugar and knead again.
Conclusion
Making this at home is not just about the final result, it is about the experience. From mixing to shaping, every step feels playful and rewarding. Give it a try, and let me tell you, it’s worth every bite.
Print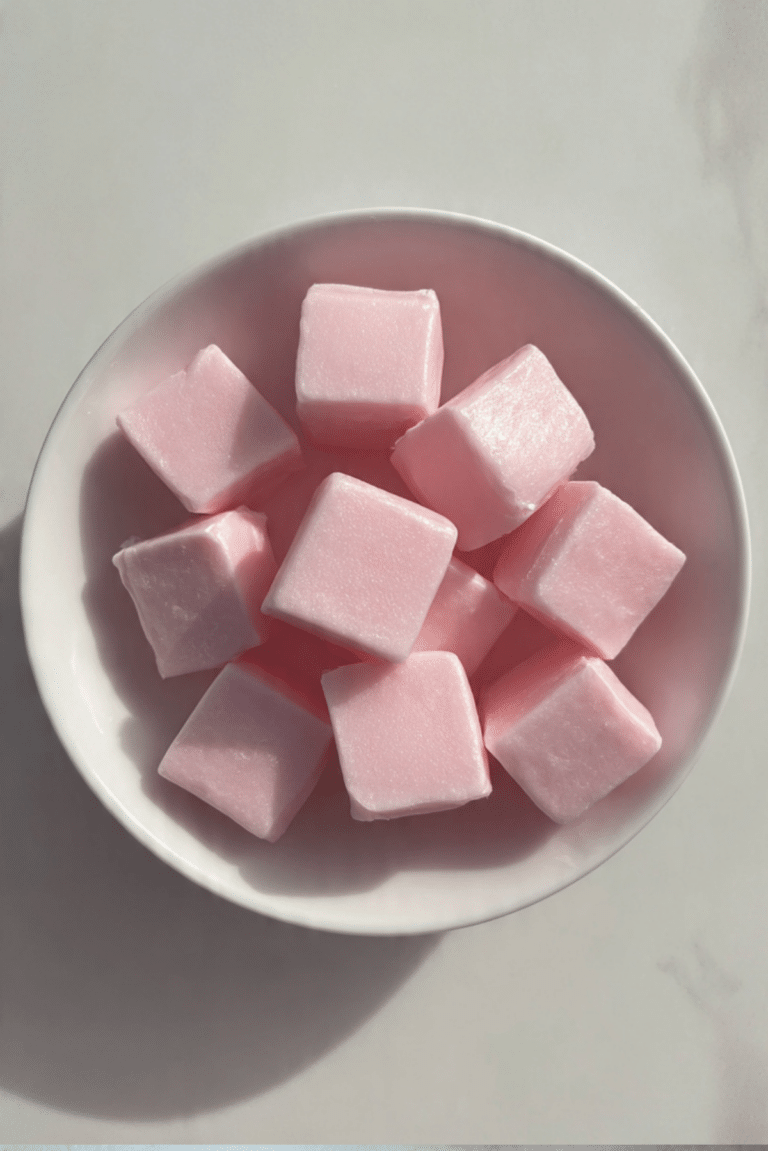
Homemade Bubblegum
A fun and nostalgic homemade bubblegum recipe with a soft, chewy texture and classic sweet flavor.
- Total Time: 20 minutes
- Yield: 12 pieces 1x
Ingredients
- 1/3 cup gum base
- 1 cup powdered sugar
- 3 tablespoons corn syrup
- 1 teaspoon bubblegum flavoring
- a few drops pink food coloring
Instructions
- Dust a flat surface with powdered sugar.
- Melt the gum base gently and mix in corn syrup and flavoring.
- Lightly grease a bowl to prevent sticking.
- Gradually mix in powdered sugar until a dough forms.
- Knead until smooth and elastic.
- Add food coloring and knead until evenly colored.
- Shape into cubes and let rest before serving.
Notes
- Use powdered sugar to prevent sticking
- Knead thoroughly for best texture
- Store in airtight container
- Prep Time: 15 minutes
- Cook Time: 5 minutes
- Category: Candy
- Method: Mixing
- Cuisine: American
- Diet: Vegetarian
Nutrition
- Serving Size: 1 piece
- Calories: 90
- Sugar: 12g
- Sodium: 5mg
- Fat: 0g
- Saturated Fat: 0g
- Unsaturated Fat: 0g
- Trans Fat: 0g
- Carbohydrates: 22g
- Fiber: 0g
- Protein: 0g
- Cholesterol: 0mg
Keywords: homemade bubblegum, chewy candy, DIY gum