Homemade Chili Oil
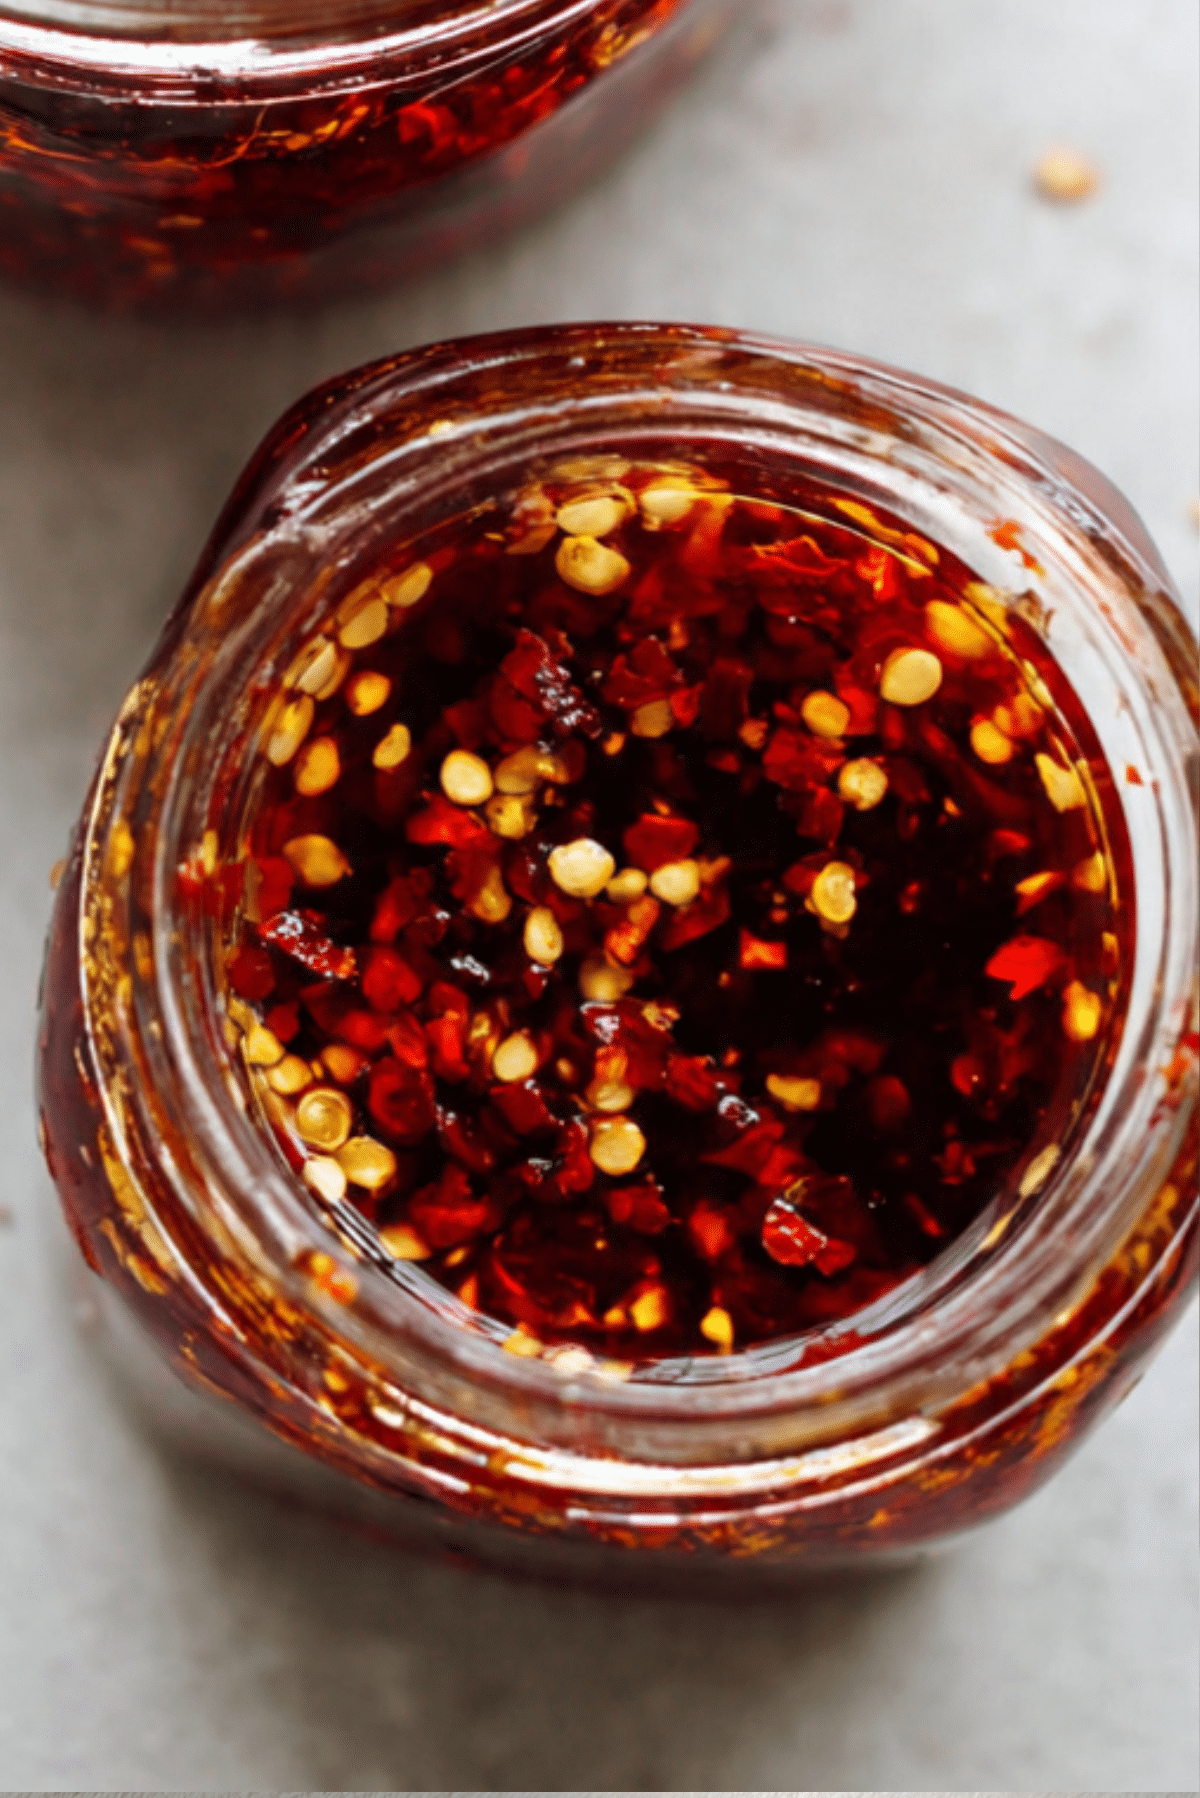
There is something almost magical about watching simple ingredients transform into a jar of glowing red goodness. Homemade Chili Oil is one of those kitchen staples that feels fancy, yet it comes together with humble pantry basics. The moment hot oil meets crushed chilies, the aroma blooms instantly, warm, smoky, and just a little bold. Trust me, you are going to love this. Once you taste it, everything from noodles to roasted vegetables suddenly feels incomplete without a spoonful of it.
Why This Fiery Condiment Belongs in Your Kitchen
If you enjoy adding depth and gentle heat to your meals, this one is a total game changer. It brings warmth without overpowering, flavor without fuss. The oil carries the fragrance of garlic and spices beautifully, coating every bite with silky heat. Let me tell you, it is worth every bite, and every drizzle.
A Little Story Behind Chili Oil
Chili oil has roots in several Asian cuisines, especially Chinese cooking where it is often spooned over dumplings, noodles, and soups. Different regions have their own twist, some include Sichuan peppercorns for a tingling sensation, others focus purely on deep red chili richness. Over time, this simple condiment traveled across kitchens worldwide, and now it has become a beloved staple in home cooking everywhere.
Why You Can Always Rely on This Recipe
Before we dive deeper, let me show you why this version stands out and earns a permanent spot in your fridge.
Versatile: Spoon it over eggs, stir it into noodles, drizzle on pizza, or mix into marinades. It instantly elevates simple dishes.
Budget-Friendly: Made with pantry staples like oil and dried chilies, it delivers big flavor without expensive ingredients.
Quick and Easy: The entire process takes less than twenty minutes, and most of that time is just gently heating oil.
Customizable: You can adjust the heat level, add extra garlic, or include spices that match your taste.
Crowd-Pleasing: Guests always ask about that extra kick of flavor, and this jar quietly steals the show.
Make-Ahead Friendly: It stores beautifully for weeks, making meal prep easier.
Great for Leftovers: Revive day old rice or roasted vegetables with just a drizzle.
Chef Secrets for Perfect Chili Oil Every Time
A good chili oil is about balance and temperature control.
- Toast your spices gently before adding oil if you want deeper flavor.
- Heat the oil until shimmering but not smoking, around 350°F or 175°C.
- Pour the oil slowly over the chili mixture to avoid burning.
- Let it rest for at least 30 minutes before using so flavors fully develop.
Kitchen Tools That Make It Easy
Before we start cooking, gather these essentials so the process feels smooth and enjoyable.
Small Saucepan: For heating the oil evenly.
Heatproof Bowl: To safely combine the chili flakes and aromatics.
Fine Mesh Strainer: Optional, if you prefer a smoother oil.
Glass Jar with Lid: For storing your finished oil safely.
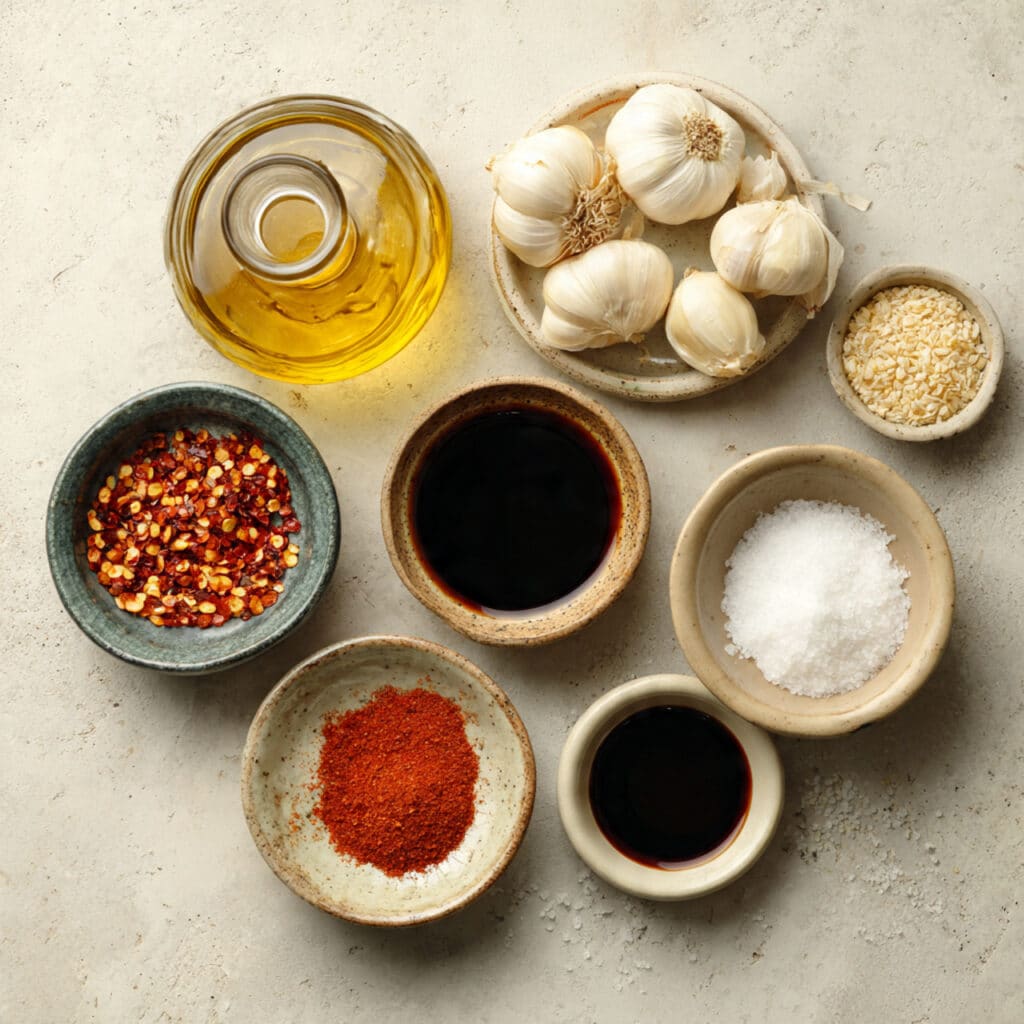
Ingredients You Will Need For This Flavor Bomb
The beauty of this recipe lies in simple ingredients working together in harmony.
- Neutral Oil: 1 cup, such as vegetable or avocado oil, acts as the flavor carrier.
- Crushed Red Pepper Flakes: 1/3 cup, providing heat and vibrant color.
- Garlic: 4 cloves, finely minced, adds depth and savory aroma.
- Paprika: 1 tablespoon, enhances color and mild sweetness.
- Soy Sauce: 1 teaspoon, adds umami richness.
- Salt: 1/2 teaspoon, balances the flavors.
- Sugar: 1/2 teaspoon, softens the sharp edges of heat.
Simple Swaps If You Need Them
Cooking should feel flexible, so here are easy substitutions.
Neutral Oil: Use light olive oil if preferred.
Crushed Red Pepper Flakes: Use a mix of mild and hot flakes to control heat.
Soy Sauce: Replace with tamari for gluten free option.
Garlic: Use garlic powder if fresh is unavailable.
Spotlight on Key Flavors
Crushed Red Pepper Flakes: These are the heart of the oil, delivering both heat and beautiful red color.
Garlic: When hit with hot oil, it releases an irresistible aroma that defines the final flavor.
Let’s Make It Together
Now that everything is ready, here are the steps you are going to follow.
- Preheat Your Equipment: Place a small saucepan on medium heat and prepare a heatproof bowl with chili flakes, paprika, garlic, salt, and sugar.
- Combine Ingredients: Stir the dry ingredients together in the bowl so they are evenly mixed.
- Prepare Your Cooking Vessel: Heat the oil in the saucepan until shimmering, about 350°F or 175°C. Do not let it smoke.
- Assemble the Dish: Carefully pour the hot oil over the chili mixture. You will hear a gentle sizzle as the flavors bloom.
- Cook to Perfection: Stir in the soy sauce once the bubbling settles and allow the mixture to cool completely.
- Finishing Touches: Taste and adjust salt if needed, then transfer to a clean glass jar.
- Serve and Enjoy: Let it rest for at least 30 minutes before drizzling over your favorite dishes.
The Magic of Texture and Flavor
The silky oil coats your tongue first, then the gentle crunch of chili flakes follows. Garlic brings warmth, while a touch of sweetness rounds everything out. Over time, the flavors deepen and meld together, creating something bold yet balanced.
Helpful Tips for Best Results
Here are a few things to keep in mind.
- Use fresh chili flakes for the brightest color.
- Let the oil cool completely before sealing the jar.
- Store in the refrigerator if your kitchen is very warm.
Common Mistakes to Avoid
It is easy, but a few things matter.
- Overheating the oil can burn the chilies and create bitterness.
- Skipping the resting time reduces flavor depth.
- Using damp jars can shorten shelf life.
Nutritional Snapshot
Servings: 16
Calories per serving: 120
Note: These are approximate values.
Time Breakdown
Prep Time: 5 minutes
Cook Time: 10 minutes
Total Time: 15 minutes
Make It Ahead and Store It Right
This oil actually tastes better the next day. Store it in a sealed glass jar in the refrigerator for up to 3 weeks. Always use a clean spoon when serving. It can also be frozen in small portions if you want longer storage.
Serving Ideas You Will Love
Drizzle over fried eggs, toss with noodles, spoon onto dumplings, or mix into roasted vegetables. It even adds a surprising twist to avocado toast.
Transforming Leftovers Creatively
Mix leftover chili oil into salad dressings, stir into yogurt for a spicy dip, or brush onto grilled vegetables for added depth.
Extra Kitchen Wisdom
Adjust the heat gradually. Start mild, then add more flakes next time if you want extra kick. Remember, you can always add heat but you cannot remove it.
Make It Visually Stunning
Use a clear jar to showcase that vibrant red color. The layers of oil and flakes look beautiful on open kitchen shelves.
Flavor Variations to Explore
- Add 1 teaspoon sesame seeds for nuttiness.
- Include 1 teaspoon grated ginger for brightness.
- Stir in a pinch of five spice powder for warmth.
- Add a small amount of chili powder for deeper color.
FAQ’s
Q1: How long does it last?
It lasts up to 3 weeks refrigerated if stored properly.
Q2: Can I make it less spicy?
Yes, reduce the amount of chili flakes.
Q3: Can I strain out the flakes?
Absolutely, if you prefer a smoother oil.
Q4: Why did my garlic turn brown?
The oil may have been too hot.
Q5: Can I use olive oil?
Yes, but choose a light one to avoid overpowering flavor.
Q6: Is it very spicy?
It has moderate heat, adjustable to taste.
Q7: Can I double the batch?
Yes, simply double all ingredients.
Q8: Should I refrigerate it?
Yes, for longer freshness.
Q9: Can I use fresh chilies?
Dried flakes work best for infusion.
Q10: Why is resting important?
It allows flavors to fully develop.
Conclusion
Homemade Chili Oil proves that simple ingredients can create bold, unforgettable flavor. It is quick, flexible, and endlessly useful. Once you make your own jar, you will wonder how you ever cooked without it. Go ahead and give it a try, your future meals will thank you.
Print
Homemade Chili Oil
A bold and aromatic homemade chili oil made with crushed red pepper flakes, garlic, and warm spices. Perfect for drizzling over noodles, eggs, vegetables, and more.
- Total Time: 15 minutes
- Yield: 16 servings 1x
Ingredients
- 1 cup neutral oil
- 1/3 cup crushed red pepper flakes
- 4 cloves garlic, finely minced
- 1 tablespoon paprika
- 1 teaspoon soy sauce
- 1/2 teaspoon salt
- 1/2 teaspoon sugar
Instructions
- Place chili flakes, paprika, garlic, salt, and sugar in a heatproof bowl and mix well.
- Heat the oil in a small saucepan over medium heat until shimmering, about 350°F.
- Carefully pour the hot oil over the chili mixture and allow it to sizzle.
- Stir in soy sauce once bubbling settles.
- Let cool completely before transferring to a clean jar.
- Rest for at least 30 minutes before serving.
Notes
- Do not overheat the oil to avoid bitterness.
- Allow the oil to rest for deeper flavor.
- Store in refrigerator for up to 3 weeks.
- Prep Time: 5 minutes
- Cook Time: 10 minutes
- Category: Condiment
- Method: Infusing
- Cuisine: Asian-Inspired
- Diet: Vegan
Nutrition
- Serving Size: 1 tablespoon
- Calories: 120
- Sugar: 0g
- Sodium: 75mg
- Fat: 14g
- Saturated Fat: 1g
- Unsaturated Fat: 13g
- Trans Fat: 0g
- Carbohydrates: 1g
- Fiber: 0g
- Protein: 0g
- Cholesterol: 0mg
Keywords: homemade chili oil, spicy oil, garlic chili oil, condiment