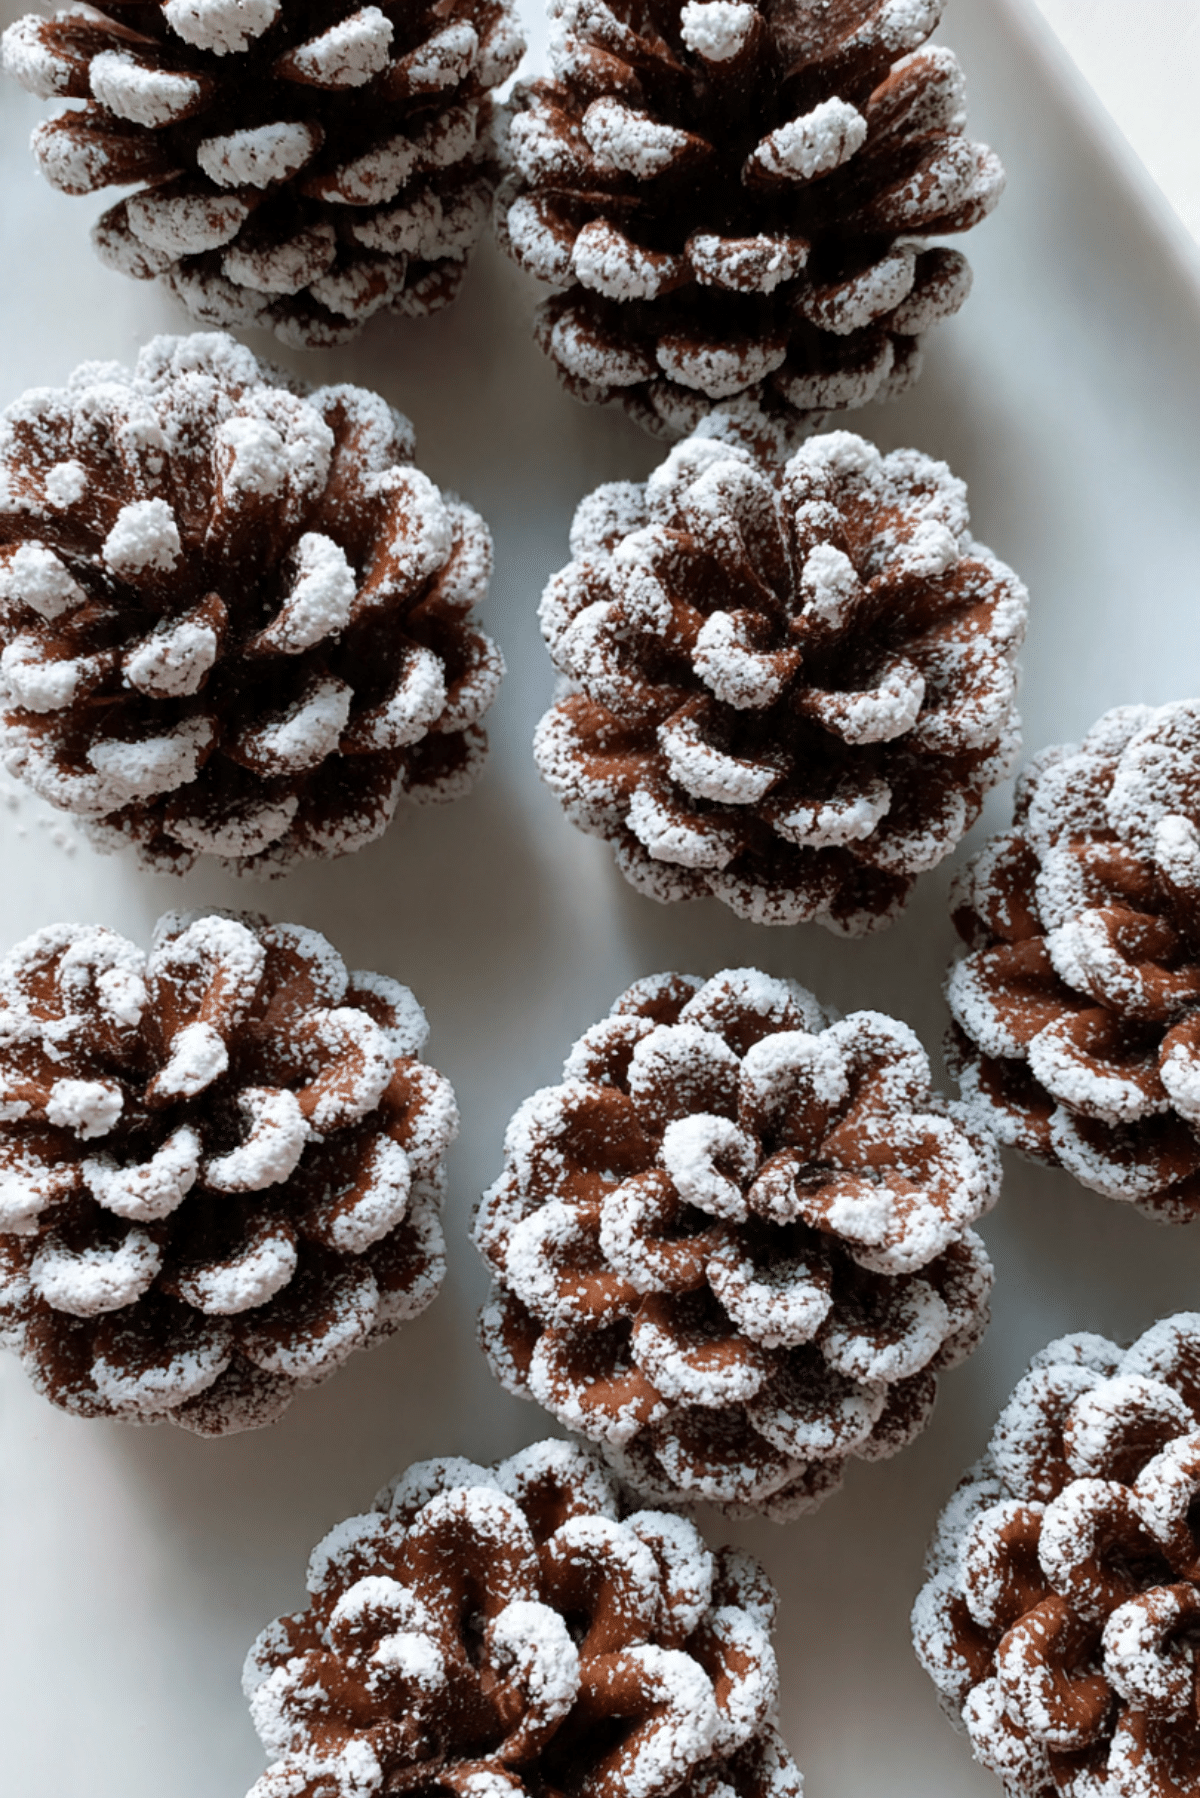
Snowy Oreo Pine Cones
These Snowy Oreo Pine Cones are a delightful treat that looks like it came straight from a winter wonderland. Each little cone is crafted with chocolate cereal pieces layered over a creamy chocolate center, dusted lightly with powdered sugar to resemble fresh snow. They are not just a feast for the eyes but a heavenly bite of crunchy, creamy chocolate goodness that melts in your mouth. Trust me, you’re going to love this wintery dessert that’s as fun to make as it is to eat.
Behind the Recipe
I first stumbled upon this charming idea during the holiday season when I wanted something festive but not overly complicated. Inspired by the delicate shapes of pinecones and the joy of childhood cookie decorating, I decided to transform Oreos and chocolate cereal into these snowy little treasures. Each cone is like a tiny masterpiece, perfect for holiday gatherings, winter parties, or just a cozy night in with hot cocoa.
Recipe Origin or Trivia
This recipe is a creative spin on traditional chocolate treats, merging the nostalgic crunch of chocolate cereal with the beloved Oreo cookie. While pinecones have long been used in winter decorations, turning them into edible delights is a more recent trend in festive baking. The combination of Oreos and chocolate cereal is particularly popular in Western holiday desserts, where playful and visually stunning treats are highly celebrated.
Why You’ll Love Snowy Oreo Pine Cones
Versatile: These cones can be made for any winter occasion, from holiday parties to casual dessert tables, and they always impress.
Budget-Friendly: Simple ingredients like Oreos, chocolate cereal, and powdered sugar create a visually stunning treat without breaking the bank.
Quick and Easy: With minimal baking required, these cones are ready in less than 30 minutes.
Customizable: Swap chocolate cereal for cocoa puffs, rice crisps, or even colorful cereals for a fun twist.
Crowd-Pleasing: Kids and adults alike can’t resist these chocolatey, snowy delights.
Make-Ahead Friendly: Prepare them a day in advance and store them in an airtight container; they hold their shape beautifully.
Great for Leftovers: If any survive, they make an excellent snack with coffee or milk the next day.
Chef’s Pro Tips for Perfect Results
- Use a small spoon or spatula to apply the chocolate cereal evenly for a neat pinecone shape.
- Dust powdered sugar right before serving to maintain that fresh snowy look.
- Make sure the Oreo base is chilled for easier assembly and stability.
- Handle the cones gently to avoid breaking the delicate cereal layers.
Kitchen Tools You’ll Need
Mixing Bowl: To blend the chocolate cream filling and cereal together.
Small Spoon or Spatula: For layering cereal pieces precisely.
Baking Tray: To hold cones while assembling or chilling.
Parchment Paper: Prevents sticking and makes cleanup a breeze.
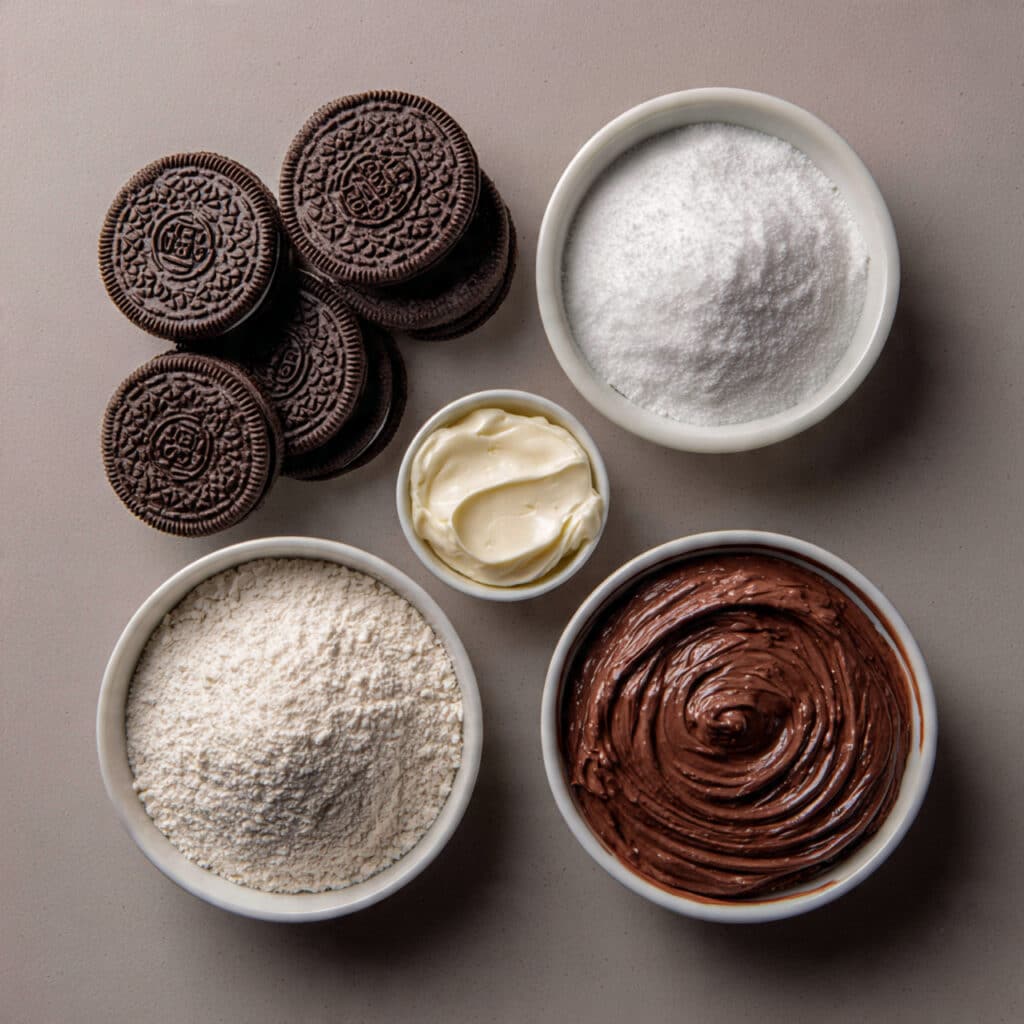
Ingredients in Snowy Oreo Pine Cones
- Oreo Cookies: 10–12, crushed to form the base, providing a creamy, chocolatey foundation.
- Chocolate Cereal: 2 cups, layered to mimic pinecone scales, adding crunch and texture.
- Powdered Sugar: 2 tablespoons, dusted lightly for a snowy effect.
- Chocolate Cream Filling: from the Oreos, softened slightly, used to hold the cereal in place.
Ingredient Substitutions
Oreo Cookies: Any chocolate sandwich cookie.
Chocolate Cereal: Cocoa puffs, rice crisps, or similar crunchy cereal.
Powdered Sugar: Confectioners’ sugar or a light dusting of cocoa powder for a darker effect.
Chocolate Cream Filling: Nutella or chocolate frosting as a binding alternative.
Ingredient Spotlight
Chocolate Cereal: Provides the signature pinecone texture and crunch, essential for creating the realistic layers.
Oreo Cookies: Offers a creamy, chocolatey base that complements the crisp cereal and brings everything together.
Instructions for Making Snowy Oreo Pine Cones
- Preheat Your Equipment: Chill a baking tray lined with parchment paper for easier assembly.
- Combine Ingredients: Crush Oreos and mix the filling with chocolate cereal in a bowl until evenly coated.
- Prepare Your Cooking Vessel: Ensure your tray is lined with parchment and ready to hold each cone.
- Assemble the Dish: Shape Oreo mixture into a cone, layering chocolate cereal pieces carefully to resemble pinecone scales.
- Cook to Perfection: Chill assembled cones in the fridge for 15–20 minutes to set.
- Finishing Touches: Dust lightly with powdered sugar for a snowy effect.
- Serve and Enjoy: Arrange on a plate and watch them disappear at the first bite.
Texture & Flavor Secrets
The contrast of the crunchy chocolate cereal against the soft, creamy Oreo filling creates a unique texture combination. The powdered sugar adds a delicate sweetness and visual appeal, mimicking snow. Each bite delivers layers of chocolate flavor, both creamy and crunchy, that complement each other perfectly.
Cooking Tips & Tricks
- Work on a cold surface to make handling easier.
- Use tweezers or a small spatula for precise cereal placement.
- Chill cones thoroughly to maintain structure before serving.
What to Avoid
- Avoid overhandling cereal layers, as they are fragile.
- Do not dust sugar too early; it will melt into the chocolate filling.
- Ensure the Oreo base is firm; soft bases can cause the cone to collapse.
Nutrition Facts
Servings: 12 cones
Calories per serving: 150
Note: These are approximate values.
Preparation Time
Prep Time: 15 minutes
Cook Time: 0 minutes
Total Time: 15 minutes
Make-Ahead and Storage Tips
You can assemble the cones a day in advance and store them in an airtight container. Keep them in a cool place to prevent chocolate from softening. They maintain shape and flavor well, making them ideal for holiday prep.
How to Serve Snowy Oreo Pine Cones
Present these cones on a festive platter with sprigs of pine or a dusting of extra powdered sugar for a winter wonderland effect. Pair them with hot chocolate, coffee, or a glass of cold milk to enhance the chocolatey goodness.
Creative Leftover Transformations
Crumble leftover cones into chocolate cereal parfaits or use them as toppings for ice cream sundaes. They also make adorable decorations for cakes and cupcakes.
Additional Tips
For extra sparkle, lightly brush cones with edible shimmer or cocoa dust. Ensure consistent size for a visually appealing display.
Make It a Showstopper
Use different shades of chocolate cereal for depth, or create mini and regular-sized cones for a tiered display. A light dusting of powdered sugar right before serving adds instant charm.
Variations to Try
- White Chocolate Version: Use white chocolate cereal and cream filling.
- Mini Cones: Bite-sized versions perfect for kids.
- Nutty Cones: Add crushed nuts between layers for crunch.
- Festive Colors: Mix in colored cereal for a playful holiday twist.
FAQ’s
- Q1: Can I make these cones ahead of time?
A1: Yes, they can be stored in an airtight container for up to 2 days. - Q2: Can I use gluten-free Oreos?
A2: Absolutely, they work perfectly for a gluten-free version. - Q3: How do I prevent the cones from falling apart?
A3: Chill them in the fridge after assembly and handle gently. - Q4: Can I use peanut butter instead of chocolate filling?
A4: Yes, peanut butter provides a creamy alternative with a nutty flavor. - Q5: Can I make these without chocolate cereal?
A5: Yes, substitute with other crunchy cereals like cocoa puffs or rice crisps. - Q6: How do I make them look snowy?
A6: Dust powdered sugar lightly over the top just before serving. - Q7: Can these cones be frozen?
A7: It’s not recommended as freezing can make the chocolate cereal soggy. - Q8: Can I add other flavors?
A8: Yes, adding a hint of vanilla or cinnamon to the cream filling works well. - Q9: Are they suitable for children?
A9: Definitely, these are kid-friendly treats and fun to assemble together. - Q10: Can I make mini versions?
A10: Yes, mini cones are perfect for party platters or dessert trays.
Conclusion
These Snowy Oreo Pine Cones are a whimsical, chocolatey delight that brings winter magic to any table. With their crunchy texture, creamy filling, and snowy powdered sugar topping, they are both visually stunning and irresistibly tasty. Let me tell you, it’s worth every bite, and they’re sure to become a holiday favorite for family and friends.
Print
Snowy Oreo Pine Cones
Snowy Oreo Pine Cones are a delightful winter treat made with chocolate cereal layered over Oreo cookies and dusted with powdered sugar for a snowy effect. Crunchy, creamy, and visually stunning, they are perfect for holidays or cozy nights.
- Total Time: 15 minutes
- Yield: 12 cones
Ingredients
- Oreo Cookies: 10–12, crushed to form the base
- Chocolate Cereal: 2 cups, for layering
- Powdered Sugar: 2 tablespoons, for dusting
- Chocolate Cream Filling: from Oreos, softened for binding
Instructions
- Chill a baking tray lined with parchment paper.
- Mix crushed Oreos with the chocolate cream filling.
- Shape the mixture into small cones on the tray.
- Layer chocolate cereal pieces to mimic pinecone scales.
- Chill cones in the fridge for 15–20 minutes to set.
- Lightly dust with powdered sugar before serving.
- Arrange on a plate and enjoy.
Notes
- Use a small spoon for precise layering of cereal pieces.
- Dust powdered sugar just before serving to maintain a fresh look.
- Chill cones to help maintain their shape.
- Prep Time: 15 minutes
- Cook Time: 0 minutes
- Category: Dessert
- Method: No-bake assembly
- Cuisine: Western
- Diet: Vegetarian
Nutrition
- Serving Size: 1 cone
- Calories: 150
- Sugar: 12g
- Sodium: 50mg
- Fat: 8g
- Saturated Fat: 5g
- Unsaturated Fat: 2g
- Trans Fat: 0g
- Carbohydrates: 20g
- Fiber: 1g
- Protein: 2g
- Cholesterol: 5mg
Keywords: Oreo pine cones, winter dessert, chocolate treat, holiday recipe, no-bake dessert