Taro Sago
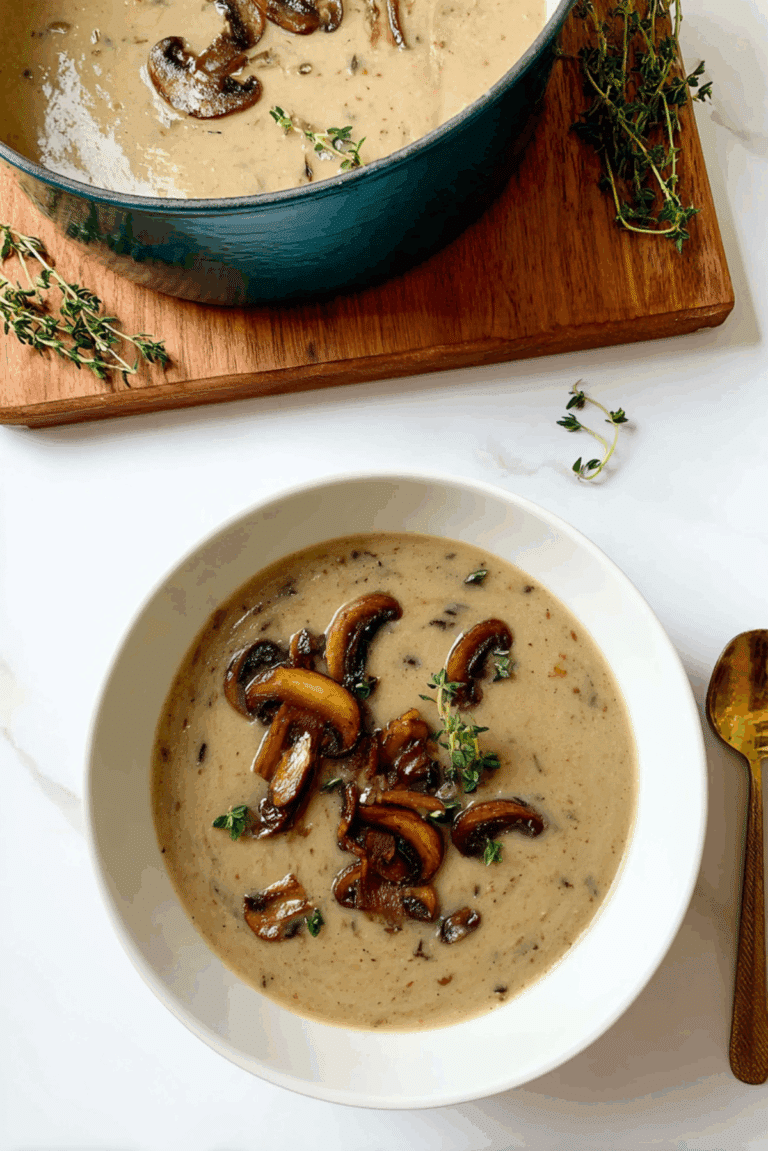
There’s something incredibly comforting about a warm, creamy bowl of Taro Sago. The moment that sweet aroma of coconut milk and taro hits the air, it’s like stepping into a cozy memory. The soft, chewy tapioca pearls nestled in a velvety coconut broth, paired with tender taro cubes, create a dessert that’s both satisfying and soothing. Whether enjoyed warm on a chilly evening or chilled on a summer afternoon, this dessert has a way of making everything feel just right.
Behind the Recipe
I still remember the first time I tried taro sago at a tiny family-run dessert shop tucked away in a corner of Chinatown. I was hesitant at first, unsure about the purple root vegetable in a sweet dish, but one spoonful changed everything. The creaminess of the coconut milk, the gentle chew of the pearls, and that nutty-sweet taro won me over instantly. Ever since, I’ve been recreating and tweaking this dessert to make it just right for cozy nights or after-dinner treats.
Recipe Origin or Trivia
Taro sago is a popular dessert across many Asian cultures, especially in Chinese and Southeast Asian cuisines. Taro, a starchy root vegetable with a soft purple hue, has long been used in both savory and sweet dishes. Sago pearls, made from starch extracted from tropical palm stems, are similar in texture to tapioca and are beloved for their chewy bite. Together, they form a dessert that’s simple yet deeply satisfying, and a staple in many dessert houses across Asia.
Why You’ll Love Taro Sago
This dessert isn’t just pretty to look at, it’s also packed with flavor and texture. Here’s why it’s going to become your new favorite:
Versatile: You can enjoy it warm or cold, making it perfect for any season.
Budget-Friendly: With just a few simple ingredients, you can make a big batch without breaking the bank.
Quick and Easy: Minimal prep and cooking time, especially if you prep the taro in advance.
Customizable: Add sweet potato, swap coconut milk for almond milk, or even mix in some fruits.
Crowd-Pleasing: It’s a unique treat that always gets people curious and asking for seconds.
Make-Ahead Friendly: Make it a day in advance and let the flavors deepen overnight.
Great for Leftovers: Tastes even better the next day after the flavors meld together.
Chef’s Pro Tips for Perfect Results
Making taro sago is easy, but these little tips will help you get it just right every time.
- Soak the pearls first: A 10-minute soak before boiling helps them cook evenly and stay chewy.
- Don’t overboil the taro: Boil just until fork-tender, or it’ll turn mushy.
- Use full-fat coconut milk: It gives the dessert that rich, creamy texture.
- Sweeten to taste: Adjust the sugar depending on how sweet your taro naturally is.
- Chill properly if serving cold: Let it sit in the fridge for at least 2 hours for the best flavor.
Kitchen Tools You’ll Need
You don’t need fancy gadgets, just a few basics to get this dessert going.
Medium Pot: For boiling the tapioca pearls and taro.
Strainer or Sieve: To rinse and drain the pearls properly.
Ladle: For easy portioning into bowls.
Mixing Spoon: To stir the dessert gently as it cooks.
Serving Bowls: Preferably white to show off those lovely purple tones.
Ingredients in Taro Sago
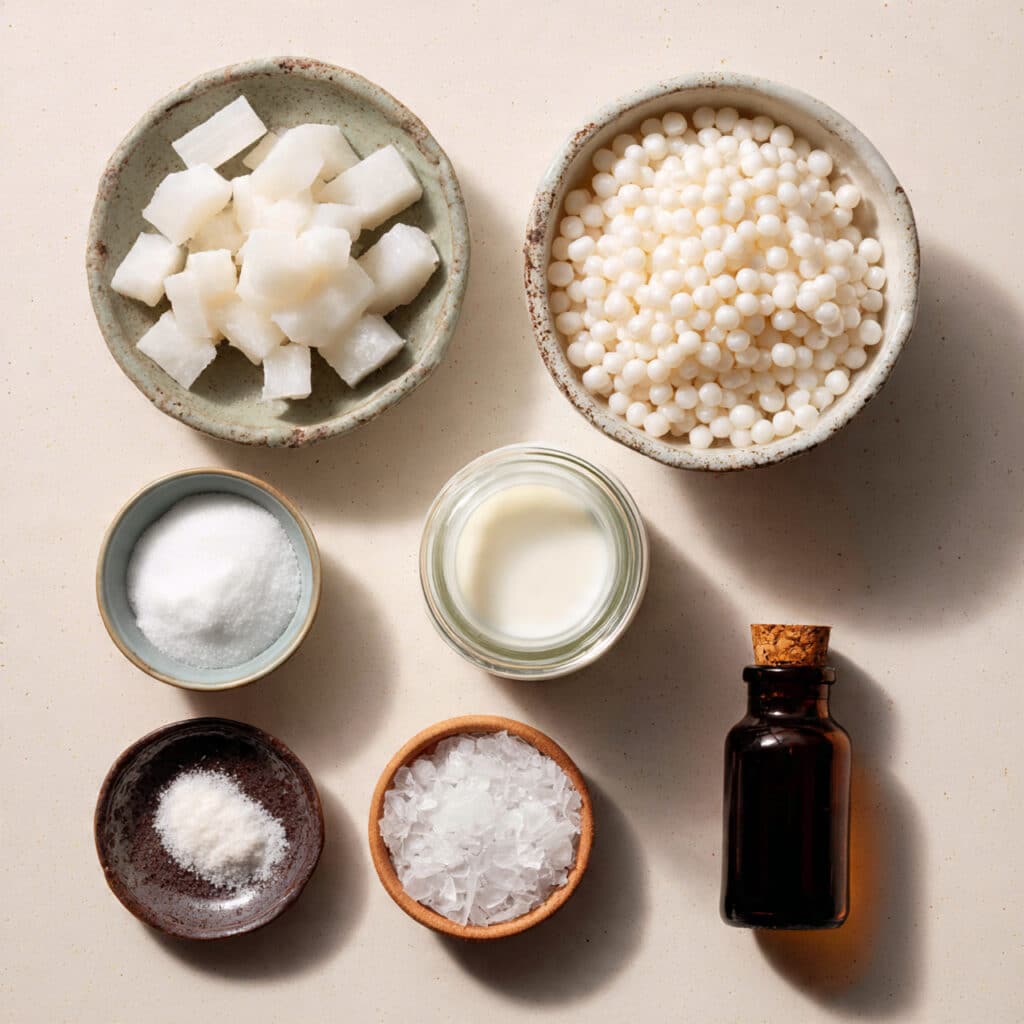
Each component works together to create that velvety, creamy goodness with a pop of texture and color.
- Taro: 2 cups, peeled and diced into 1-inch cubes. Adds sweetness and a starchy richness.
- Small Tapioca Pearls: ½ cup, soaked for 10 minutes. Gives that chewy contrast.
- Coconut Milk: 1½ cups, full-fat. Brings a luscious creamy flavor.
- Water: 2½ cups. Needed for cooking the pearls and blending everything smoothly.
- Sugar: ¼ cup (adjust to taste). Balances the earthiness of the taro.
- Salt: 1 small pinch. Enhances the sweetness and brings depth.
- Vanilla Extract (optional): ½ teaspoon. Adds a soft aromatic finish.
Ingredient Substitutions
If you need to switch things up, here are some handy swaps.
Taro: Sweet potato or purple yam.
Coconut Milk: Almond milk or oat milk.
Sugar: Coconut sugar, honey, or maple syrup.
Small Tapioca Pearls: Mini sago pearls or boba pearls (cooked accordingly).
Ingredient Spotlight
Taro: This root veggie is slightly sweet and nutty, with a texture similar to potato when cooked. Its light purple color is completely natural and adds charm to the dish.
Tapioca Pearls: These little gems become delightfully chewy when boiled, adding fun texture to the dessert.
Instructions for Making Taro Sago
Now let’s dive into the cozy process of bringing this creamy dessert to life. The steps are simple and relaxing like a sweet reward at the end of the day.
- Preheat Your Equipment:
Prepare a medium pot and set it over medium heat. - Combine Ingredients:
Start by soaking the tapioca pearls in cold water for 10 minutes. Rinse and set aside. Peel and cube the taro. - Prepare Your Cooking Vessel:
In the same pot, bring 2½ cups of water to a boil. Add the soaked tapioca pearls. Cook for 10-15 minutes until mostly translucent. Strain and rinse under cold water. - Assemble the Dish:
In the pot, combine coconut milk, sugar, salt, and boiled taro cubes. Simmer for 10-15 minutes until the taro is soft and the mixture is creamy. - Cook to Perfection:
Gently stir in the cooked tapioca pearls. Let everything simmer together for 5 more minutes so the flavors meld. - Finishing Touches:
Optional add a splash of vanilla extract for an extra layer of aroma. - Serve and Enjoy:
Ladle into bowls and serve warm, or let it cool and refrigerate for a chilled version.
Texture & Flavor Secrets
Taro sago has a beautiful mix of textures the creamy softness of coconut milk, the slight grain of cooked taro, and the bouncy bite of tapioca pearls. Flavor-wise, it’s all about balance. The coconut adds tropical sweetness, the taro adds earthiness, and the sugar brings it all together in a comforting harmony.
Cooking Tips & Tricks
Here are a few tricks to make the most of your taro sago.
- Use a fork to test taro doneness it should glide in easily but not fall apart.
- Stir gently after adding tapioca to prevent breaking or clumping.
- If using canned coconut milk, shake well before opening for even consistency.
What to Avoid
Keep these common mistakes in mind to make sure your dessert turns out just right.
- Don’t skip soaking the pearls they’ll clump and take longer to cook.
- Avoid high heat with coconut milk it can split and look grainy.
- Don’t overcook taro it can turn mushy and overpower the texture.
Nutrition Facts
Servings: 4
Calories per serving: 280
Note: These are approximate values.
Preparation Time
Prep Time: 10 minutes
Cook Time: 25 minutes
Total Time: 35 minutes
Make-Ahead and Storage Tips
Taro sago keeps beautifully. You can make it the night before and let the flavors deepen overnight. Store in an airtight container in the fridge for up to 3 days. To reheat, add a splash of coconut milk or water and warm gently on the stove or microwave. It’s also delicious served cold straight from the fridge.
How to Serve Taro Sago
Serve it in small bowls with a tiny mint leaf on top for color, or layer it in clear cups to show off the pearls and taro. You can even pair it with fresh mango slices or lychee on the side for an extra fruity punch.
Creative Leftover Transformations
Don’t let that last bit go to waste here are some fun ideas:
- Blend it into a smoothie with some ice and banana.
- Freeze into popsicle molds for tropical taro pops.
- Use as a filling for sweet crepes.
Additional Tips
- Use fresh taro if possible it gives better flavor than frozen.
- Taste the coconut milk before adding sugar some brands are sweeter than others.
- Stir gently once the pearls are in to keep that silky look.
Make It a Showstopper
Garnish with toasted coconut flakes or tiny edible flowers. Serve it in pastel ceramic bowls or glass dessert cups to highlight that dreamy purple hue and creamy texture. It’s a dessert that’s as beautiful as it is delicious.
Variations to Try
- Taro Mango Sago: Add cubed ripe mango for a tropical twist.
- Sweet Potato Sago: Replace taro with orange sweet potatoes for color contrast.
- Taro Sago with Red Beans: Add cooked sweetened red beans for added texture and flavor.
- Taro Banana Sago: Mash ripe banana into the base for a sweet banana aroma.
- Chilled Taro Sago: Let it set in the fridge and top with crushed ice for a summer version.
FAQ’s
Q1: Can I use frozen taro?
A1: Yes, just make sure to thaw it completely and boil until soft before adding it in.
Q2: Is tapioca the same as sago?
A2: They are similar but not identical. Both give a chewy texture, so they can be used interchangeably here.
Q3: Can I make this dairy-free?
A3: Absolutely. This recipe already uses coconut milk, so it’s naturally dairy-free.
Q4: How long does it last in the fridge?
A4: Up to 3 days. The pearls might thicken a bit, so just stir in some water or coconut milk before serving.
Q5: Can I freeze taro sago?
A5: It’s best fresh or refrigerated. Freezing can change the texture of the tapioca.
Q6: Can I sweeten it with honey or maple syrup?
A6: Yes, either one works. Just add it gradually and taste as you go.
Q7: Why are my tapioca pearls still white in the center?
A7: They need more cooking time. Keep boiling until they’re mostly translucent.
Q8: Is taro sweet or savory?
A8: Taro has a naturally sweet, nutty flavor that works beautifully in desserts.
Q9: Can I use large tapioca pearls?
A9: You can, but adjust the cooking time accordingly and expect a different texture.
Q10: Do I need to soak tapioca pearls overnight?
A10: No, a quick 10-minute soak before boiling is enough.
Conclusion
Taro sago is the kind of dessert that surprises you. It looks simple, but every spoonful is filled with flavor, texture, and warmth. Whether you’re making it for family, friends, or just to treat yourself after a long day, it’s the kind of sweet that wraps around your heart like a cozy blanket. Trust me, you’re going to love this.
Print
Taro Sago
Creamy and comforting, this taro sago dessert is a cozy blend of tender taro cubes, chewy tapioca pearls, and velvety coconut milk. Perfect served warm or chilled.
- Total Time: 35 minutes
- Yield: 4 servings 1x
Ingredients
- 2 cups taro, peeled and diced
- 1/2 cup small tapioca pearls
- 1 1/2 cups full-fat coconut milk
- 2 1/2 cups water
- 1/4 cup sugar (adjust to taste)
- 1 small pinch of salt
- 1/2 teaspoon vanilla extract (optional)
Instructions
- Soak tapioca pearls in cold water for 10 minutes, then rinse and set aside. Peel and dice taro into 1-inch cubes.
- In a pot, bring 2 1/2 cups of water to a boil. Add soaked tapioca pearls and cook for 10–15 minutes until mostly translucent. Strain and rinse under cold water.
- In the same pot, combine coconut milk, sugar, salt, and taro cubes. Simmer over medium heat for 10–15 minutes until taro is tender.
- Stir in the cooked tapioca pearls and let everything simmer together for 5 more minutes to combine flavors.
- Optionally add vanilla extract, stir, and turn off heat.
- Serve warm or refrigerate and serve chilled.
Notes
- Use fresh taro for the best flavor and texture.
- Adjust sweetness based on the natural sweetness of your coconut milk and taro.
- For a chilled version, refrigerate for at least 2 hours before serving.
- Prep Time: 10 minutes
- Cook Time: 25 minutes
- Category: Dessert
- Method: Boiling and Simmering
- Cuisine: Asian
- Diet: Vegan
Nutrition
- Serving Size: 1 bowl
- Calories: 280
- Sugar: 12g
- Sodium: 40mg
- Fat: 14g
- Saturated Fat: 11g
- Unsaturated Fat: 2g
- Trans Fat: 0g
- Carbohydrates: 34g
- Fiber: 2g
- Protein: 2g
- Cholesterol: 0mg
Keywords: Taro Sago, Asian Dessert, Coconut Milk Dessert, Tapioca Pearls, Vegan Sweet