Healthy Blondies
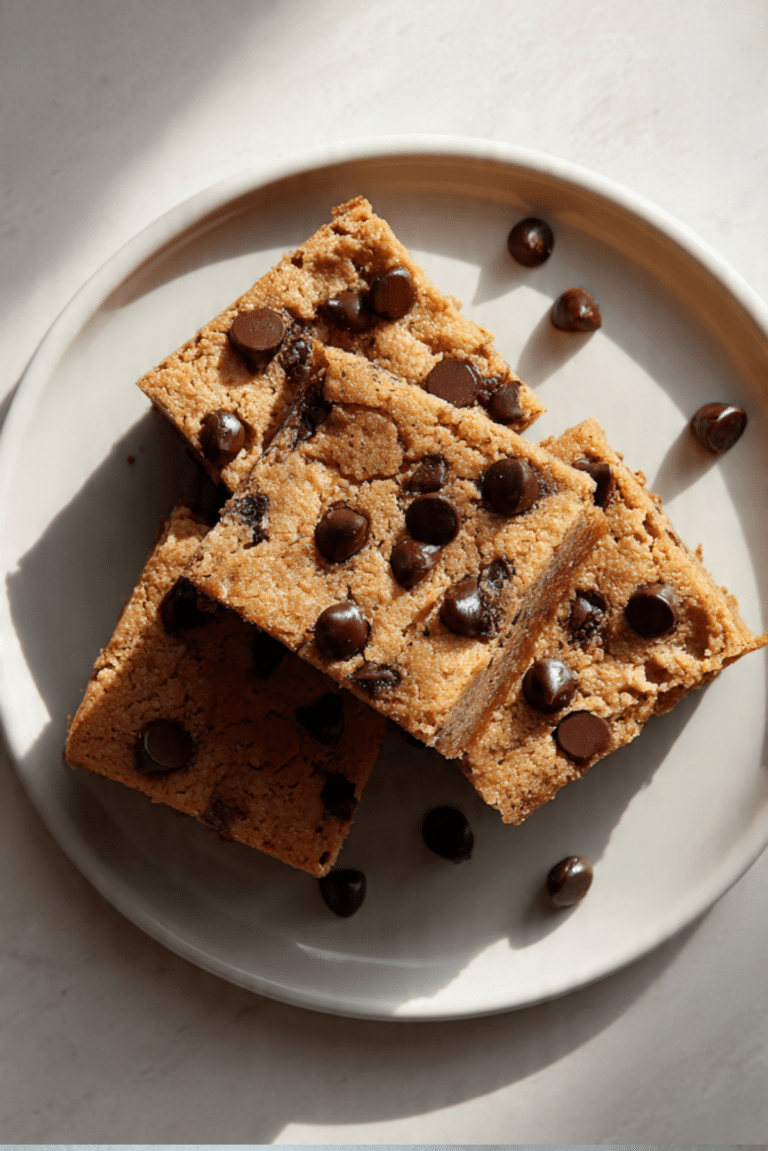
Healthy BlondiesThere is something truly magical about pulling a tray of golden, glowing treats out of the oven, and these healthy blondies are no exception. Imagine a soft, fudgy center that melts in your mouth, punctuated by the deep, rich snap of dark chocolate chips. Trust me, you’re going to love this recipe because it balances that classic butterscotch-like flavor with wholesome ingredients that make every bite feel like a win. Let me tell you, it’s worth every bite, and your kitchen is about to smell like a cozy bakery dream.
The Ultimate Guilt-Free Sweet Treat
When we think of dessert, we often think of heavy sugars, but this recipe flips the script by using natural sweeteners and clever swaps. These blondies are designed for those moments when you need a little indulgence without the energy crash afterward. It is a shared cooking journey where we prioritize both flavor and wellness, ensuring that the final result is just as satisfying as a traditional brownie but with a much lighter profile.
The Story Behind This Golden Delight
While many people are familiar with the cocoa-filled brownie, the blondie actually predates its chocolate cousin in many historical culinary circles. Often referred to as “butterscotch brownies,” these treats rely on brown sugar and vanilla to create their signature depth. This version pays homage to that heritage while modernizing the ingredients for a health-conscious lifestyle, making it a favorite for families who want to keep the tradition alive without the extra refined fluff.
Why This Recipe Is a Kitchen Essential
I have tested many variations, and this specific formula is a total game-changer for several reasons. And now, let’s dive into why this will become your new go-to snack.
Versatile: You can enjoy these as a mid-afternoon snack, a post-workout treat, or even a decadent dessert topped with a scoop of frozen yogurt.
Budget-Friendly: Most of the items required are likely already sitting in your pantry, which means no expensive specialty store runs.
Quick and Easy: The batter comes together in just one bowl, saving you precious time on cleanup and preparation.
Customizable: Feel free to swap the chocolate chips for walnuts, pecans, or even dried cranberries depending on your mood.
Crowd-Pleasing: Whether you are serving kids or health-conscious adults, everyone gravitates toward that chewy, sweet texture.
Make-Ahead Friendly: These actually taste better the next day as the flavors settle, making them perfect for meal prep.
Great for Leftovers: They stay moist for days when stored correctly, ensuring you have a sweet treat ready whenever a craving hits.
Pro Secrets for the Perfect Texture
Getting that elusive fudgy center requires a few insider tricks that I am happy to share with you.
Don’t Overmix: Once you add the dry ingredients, stir just until combined to keep the texture tender and light.
Room Temperature Ingredients: Ensure your liquid components are at room temperature so they emulsify perfectly with the sweeteners.
The Toothpick Test: Pull them out when a toothpick comes out with a few moist crumbs, as they will continue to firm up while cooling.
Quality Vanilla: Use a high-quality vanilla extract because it is the primary flavor driver in a blonde brownie.
Gear Up for Baking Success
Before we start mixing, let’s make sure your workstation is ready with these essential tools.
8×8 Baking Pan: This size provides the perfect thickness for a chewy, substantial square.
Parchment Paper: Lining your pan ensures you can lift the entire block out for clean, easy slicing.
Large Mixing Bowl: A sturdy bowl gives you enough space to incorporate all the ingredients without making a mess.
Silicone Spatula: Ideal for folding in those chocolate chips and scraping every last bit of batter into the pan.
Ingredients You Will Need For This Recipe
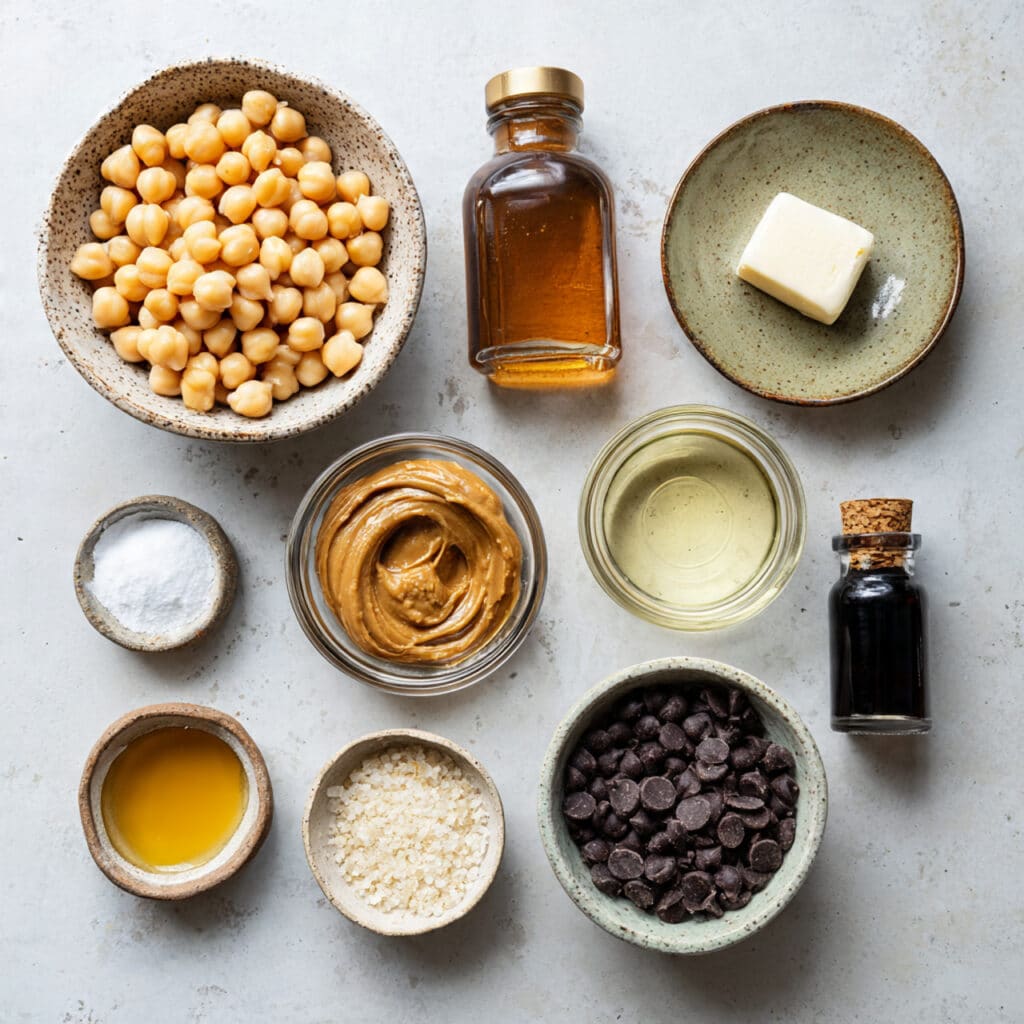
The harmony of these ingredients is what creates that spectacular mouthfeel and natural sweetness. Here is exactly what you will need for your healthy blondies.
Chickpeas: 1 can (15 ounces) drained and rinsed well. They provide the protein-rich base and a surprisingly creamy texture.
Nut Butter: 0.5 cups of almond or peanut butter. This acts as the healthy fat source and adds a lovely nutty undertone.
Maple Syrup: 0.33 cups of pure maple syrup. This provides a natural, liquid sweetness that helps the edges caramelize.
Vanilla Extract: 2 teaspoons of pure extract. It rounds out the flavors and gives that classic bakery aroma.
Baking Powder: 0.5 teaspoons to give the squares just enough lift without making them cakey.
Salt: 0.25 teaspoons to balance the sweetness and enhance the chocolate.
Dark Chocolate Chips: 0.5 cups of dairy-free or high-cocoa chips. These provide those necessary pockets of indulgence.
Creative Ingredient Substitutions
If you find yourself missing an item, don’t worry, because this recipe is quite forgiving.
Nut Butter: Sunflower seed butter or tahini for a nut-free version.
Maple Syrup: Honey or agave nectar.
Dark Chocolate Chips: Chopped walnuts or raisins.
Key Ingredient Spotlight
I want to highlight a couple of stars that really make this dish shine.
Chickpeas: These are the secret weapon for moisture and fiber, and I promise you cannot taste them once baked.
Maple Syrup: Unlike refined sugar, maple syrup adds a hint of woodsy flavor that complements the vanilla beautifully.
Step-by-Step Guide to Baking Bliss
Now that we have our ingredients ready, let’s walk through the process of creating these treats together. Here are the steps you’re going to follow.
Preheat Your Equipment: Set your oven to 350°F (175°C) and line your baking pan with parchment paper so nothing sticks.
Combine Ingredients: Place the chickpeas, nut butter, maple syrup, vanilla, baking powder, and salt into a food processor and blend until completely smooth.
Prepare Your Cooking Vessel: Once the batter is silky, fold in most of the chocolate chips by hand, leaving a few for the top.
Assemble the Dish: Spread the thick batter evenly into your prepared pan using a spatula to smooth the surface.
Cook to Perfection: Bake for 20 to 25 minutes, or until the edges are golden and the center feels set to the touch.
Finishing Touches: Sprinkle the remaining chocolate chips on top while they are still warm so they melt slightly.
Serve and Enjoy: Allow them to cool completely in the pan before slicing, which is the hardest part, but it ensures the perfect fudgy square.
Texture and Flavor Development
The magic happens as these cool, as the moisture from the chickpeas and the fats from the nut butter settle into a dense, chewy crumb. You will notice a beautiful contrast between the soft, warm dough and the occasional snap of a chilled chocolate chip.
Expert Cooking Tips and Tricks
To make sure your batch is a total success, keep these points in mind.
Rinse your chickpeas very thoroughly under cold water to remove any lingering starchy flavor.
If your batter seems too thick for your processor, add one tablespoon of water or almond milk to help it move.
Store these in the fridge for a firmer, more fudge-like consistency.
What to Avoid for Best Results
Even simple recipes have a few pitfalls, so here is what to watch out for.
Don’t skip the cooling time: If you cut them while hot, they might fall apart because they need that time to structure.
Don’t use unpeeled chickpeas: If you want a truly smooth texture, you can pinch the skins off, though it is not strictly necessary.
Nutrition Facts
Here is a breakdown of what you are fueling your body with.
Servings: 9 squares
Calories per serving: 185
Note: These are approximate values based on standard ingredients.
Preparation Time
Knowing how long this takes helps you plan your baking session.
Prep Time: 10 minutes
Cook Time: 25 minutes
Total Time: 35 minute
Make-Ahead and Storage Tips
These are fantastic for meal prepping your desserts for the week. You can store them in an airtight container at room temperature for two days, or in the refrigerator for up to a week. They also freeze beautifully, just wrap individual squares in foil and they will last for three months.
How to Serve Your Blondies
While they are incredible on their own, you can elevate the experience by serving them with a warm cup of herbal tea or a cold glass of almond milk. For a dinner party, serve them slightly warmed with a drizzle of extra nut butter on top.
Creative Leftover Transformations
If you have a few squares left, try crumbling them over a bowl of oatmeal or mixing them into a yogurt parfait for a decadent breakfast twist. You can even sandwich a scoop of banana “nice cream” between two blondies for a healthy ice cream sandwich.
Additional Tips for Success
Always use a light-colored baking pan if possible, as dark pans can cause the bottom of the blondies to brown too quickly before the center is cooked. Also, a tiny pinch of flaky sea salt on top right before serving can really make the chocolate flavors pop.
Make It a Showstopper
To give these a professional look, use the parchment paper overhang to lift the whole block onto a cutting board. Use a large, sharp knife to make clean cuts, wiping the blade between each slice to keep those edges looking sharp and appetizing.
Variations to Try
Feel free to get creative with these fun twists.
Pumpkin Spice: Add a tablespoon of pumpkin puree and a teaspoon of pumpkin pie spice.
Double Chocolate: Add two tablespoons of cocoa powder to the base batter.
White Chocolate Macadamia: Swap the dark chips for white chocolate and crushed nuts.
Espresso Bliss: Mix in a teaspoon of instant espresso powder to deepen the chocolate notes.
FAQ’s
Can I use black beans instead? Yes, but it will change the color to a darker, brownie-like appearance.
Is this recipe gluten-free? Yes, as long as your baking powder is certified gluten-free.
Can I use granulated sugar? You can, but the texture will be less fudgy and more crisp.
Why are my blondies crumbly? They likely need more time to cool and set.
Can I bake this in a loaf pan? Yes, but you will need to increase the bake time by about 10 minutes.
Do I have to use a food processor? It is highly recommended for the smoothest texture.
Can I use coconut oil? If you swap the nut butter, use a solid fat, but nut butter provides better structure.
Are these vegan? Yes, if you use maple syrup and dairy-free chocolate chips.
How do I know they are done? The edges should be pulling away slightly from the sides.
Can I add fruit? Fresh berries might add too much moisture, so stick to dried fruits.
Conclusion
I really hope you give these healthy blondies a try the next time your sweet tooth starts calling. They are the perfect blend of wholesome nutrition and pure dessert joy, proving that you don’t have to sacrifice flavor to eat well. Happy baking, and enjoy every golden, chocolatey bite!
Healthy Blondies
A fudgy, wholesome twist on the classic blondie using chickpeas and nut butter for a protein-rich, gluten-free treat.
- Total Time: 35 minutes
- Yield: 9 squares 1x
Ingredients
- 1 can (15 oz) chickpeas, rinsed and drained
- 1/2 cup almond or peanut butter
- 1/3 cup pure maple syrup
- 2 tsp vanilla extract
- 1/2 tsp baking powder
- 1/4 tsp salt
- 1/2 cup dark chocolate chips
Instructions
- Preheat oven to 350°F and line an 8×8 pan with parchment paper.
- Blend chickpeas, nut butter, syrup, vanilla, baking powder, and salt in a food processor until smooth.
- Fold in most of the chocolate chips.
- Spread batter into the pan and top with remaining chips.
- Bake for 20-25 minutes until edges are golden.
- Cool completely before slicing.
Notes
- Ensure chickpeas are rinsed well to remove starchy taste.
- Store in the fridge for a firmer, fudgy texture.
- Wait for full cooling to ensure clean slices.
- Prep Time: 10 minutes
- Cook Time: 25 minutes
- Category: Dessert
- Method: Baking
- Cuisine: American
- Diet: Gluten Free
Nutrition
- Serving Size: 1 square
- Calories: 185
- Sugar: 9g
- Sodium: 110mg
- Fat: 10g
- Saturated Fat: 2g
- Unsaturated Fat: 8g
- Trans Fat: 0g
- Carbohydrates: 20g
- Fiber: 4g
- Protein: 6g
- Cholesterol: 0mg
Keywords: healthy blondies, chickpea blondies, gluten free dessert, vegan blondies, healthy treats