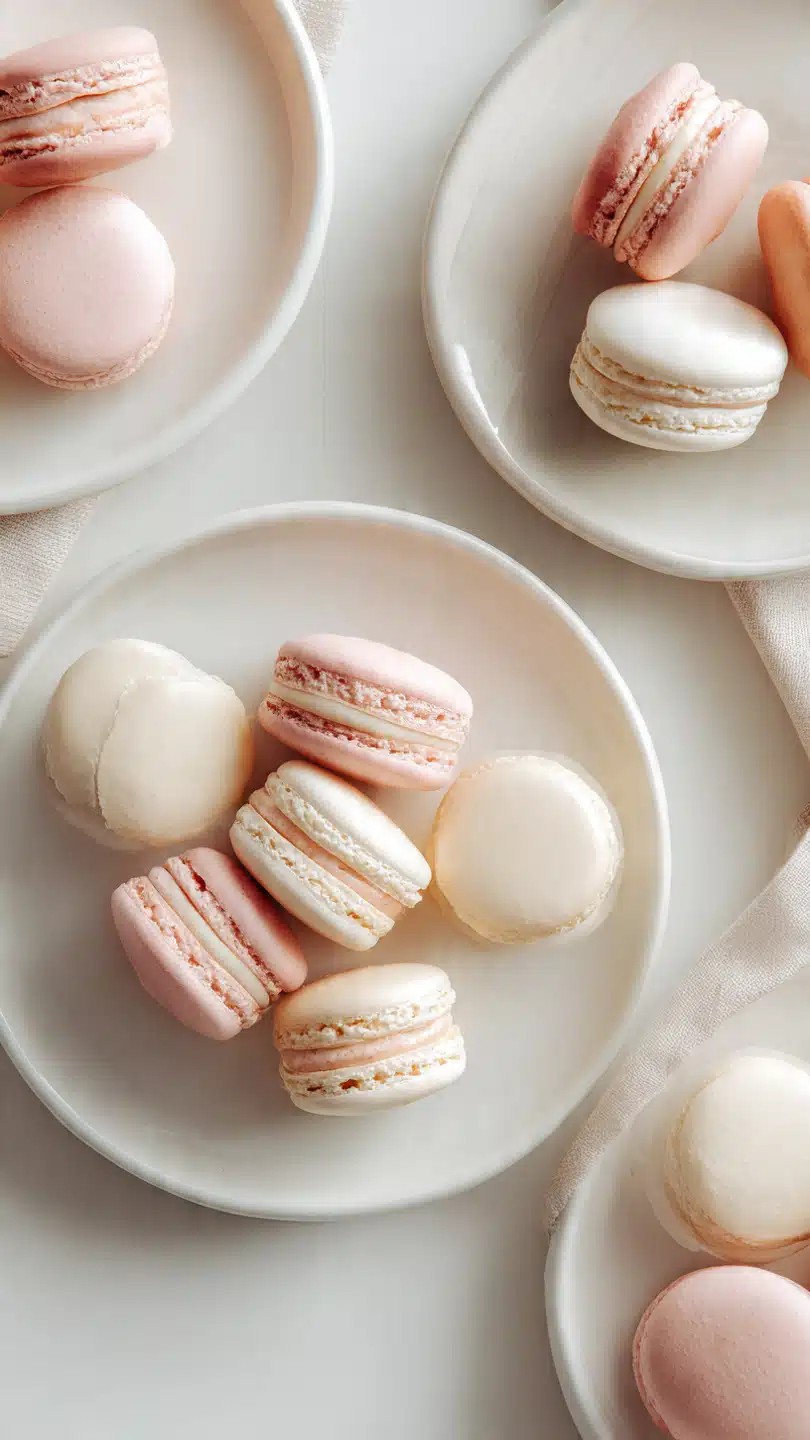
Mini Macaron Shells
There is something quietly magical about a tray of tiny macarons. The soft pastel colors, the delicate crisp shells, and that gentle chew when you take a bite, it all feels a little special. These mini macaron shells bring that same charm in a smaller, more playful form. Trust me, you’re going to love this, especially when you see how they come together step by step.
A Sweet Bite That Feels Like a Treat Every Time
Mini versions of classic macarons have a way of making everything feel lighter and more fun. They are elegant but not intimidating, and small enough to enjoy without overthinking. The texture is what makes them unforgettable, a light crisp outside that gives way to a soft, airy interior.
And now as we move along, let’s explore where these delightful little treats actually come from.
A Little Story Behind These Delicate Shells
Macarons have roots in France, where they became a symbol of refined pastry craftsmanship. Over time, bakers began experimenting with size, color, and fillings, which is how these mini shells became so popular.
They are often served at celebrations, tea parties, or simply as a small indulgence during the day. Let me tell you, it’s worth every bite when you master them at home.
Why You Will Keep Coming Back to These
Before diving into the process, here is why these mini treats are such a favorite:
Versatile: You can fill them with ganache, buttercream, or fruit jams, making each batch feel new.
Budget-Friendly: With just a few pantry staples, you can create something that looks bakery-quality.
Quick and Easy: While they require attention, the ingredient list is simple and manageable.
Customizable: Colors, flavors, and fillings can be adjusted to suit any mood or occasion.
Crowd-Pleasing: Their bite-sized nature makes them perfect for sharing.
Make-Ahead Friendly: Shells can be prepared in advance and filled later.
Great for Leftovers: Extra shells store well and can be reused creatively.
Tips That Make a Real Difference in Your Results
Now let’s get into some insider tips that truly elevate your results:
- Use room temperature egg whites for better consistency
- Sift dry ingredients thoroughly to avoid lumps
- Fold the batter gently to maintain airiness
- Let shells rest before baking to form that signature top
Tools That Make the Process Smoother
Having the right tools makes everything easier and more enjoyable.
Mixing Bowl: For combining ingredients smoothly
Electric Mixer: Helps achieve stiff peaks in egg whites
Sifter: Ensures a fine, smooth dry mixture
Piping Bag: For shaping uniform mini shells
Baking Sheet: Provides even heat distribution
Ingredients That Work Together Beautifully
Each ingredient plays a key role in creating that perfect shell texture.
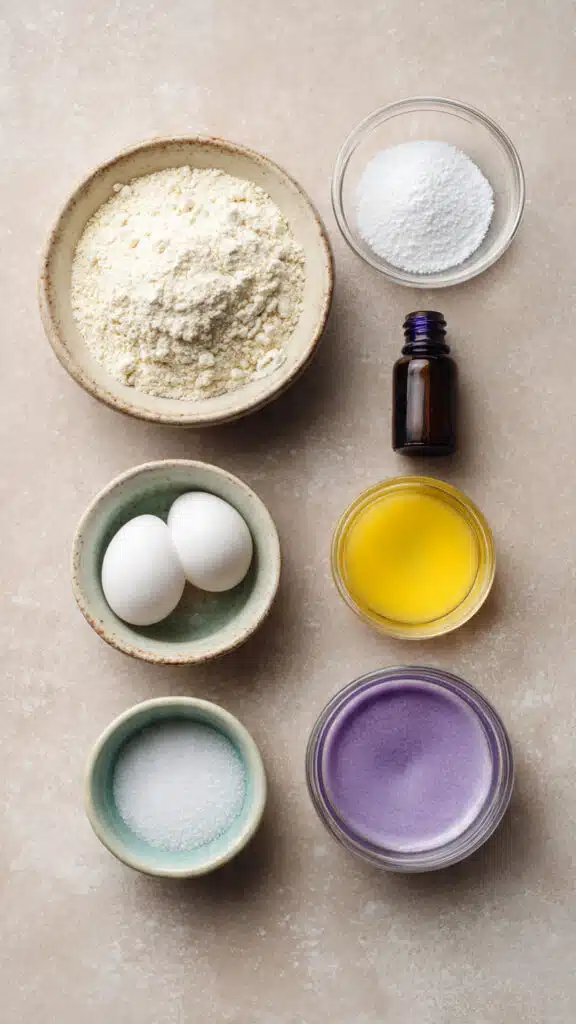
- Almond Flour: 1 cup, gives structure and a delicate nutty flavor
- Powdered Sugar: 1 cup, adds sweetness and smooth texture
- Egg Whites: 2 large, helps create the airy structure
- Granulated Sugar: 2 tablespoons, stabilizes the meringue
- Vanilla Extract: 1 teaspoon, adds subtle flavor
- Food Coloring: optional, for that signature pastel look
Flexible Swaps You Can Try
Sometimes you need alternatives, and here are a few easy ones:
Almond Flour: Finely ground sunflower seed flour
Vanilla Extract: Almond or citrus extract
Food Coloring: Natural fruit-based coloring
Spotlight on Key Ingredients
Let’s take a closer look at what really matters here:
Almond Flour: This is the backbone of the shells, giving them their signature texture.
Egg Whites: Responsible for that light, airy structure we all love.
Let’s Walk Through the Process Together
Now comes the fun part, bringing everything to life in your kitchen.
- Preheat Your Equipment: Set your oven to 300°F and line baking sheets with parchment paper.
- Combine Ingredients: Sift almond flour and powdered sugar together until smooth.
- Prepare Your Cooking Vessel: Beat egg whites until foamy, then gradually add sugar until stiff peaks form.
- Assemble the Dish: Fold dry ingredients into the meringue gently until a smooth batter forms.
- Cook to Perfection: Pipe small circles and bake for 12 minutes until set.
- Finishing Touches: Allow shells to cool completely before removing.
- Serve and Enjoy: Fill or enjoy as they are with a cup of tea.
The Texture and Flavor That Make Them Irresistible
The beauty of these shells lies in contrast. A delicate crisp top, a slightly chewy center, and a light sweetness that never feels overwhelming. When paired with fillings, the flavors deepen and become even more satisfying.
Helpful Tips to Keep in Mind
- Let the shells rest before baking for best results
- Avoid overmixing the batter
- Keep sizes consistent for even baking
What to Watch Out For While Baking
Even simple recipes have a few tricky spots.
- Overmixing can flatten the shells, so fold gently
- Skipping the resting time may prevent proper texture
- Uneven piping can lead to inconsistent baking
Nutrition Snapshot
Servings: 20 mini shells
Calories per serving: 45
Note: These are approximate values.
Timing Breakdown
Prep Time: 20 minutes
Cook Time: 12 minutes
Total Time: 32 minutes
Make-Ahead and Storage Tips
You can prepare the shells in advance and store them in an airtight container for several days. If freezing, layer them carefully to avoid cracking. When ready to use, let them come to room temperature before filling.
Serving Ideas That Make Them Shine
Serve these mini treats on a simple white plate or a tiered stand for a bakery-style presentation. Pair with tea, coffee, or even a light dessert spread.
Creative Ways to Use Leftovers
Crush leftover shells into dessert toppings or layer them into parfaits. You can also sandwich them with new fillings for a quick treat.
Extra Tips for Better Results
Keep humidity low while baking, as moisture can affect the texture. Measure ingredients carefully for consistency.
Make Them Look Stunning
Use soft pastel colors and pipe evenly sized rounds. A smooth top and neat arrangement make all the difference.
Variations to Try
Try chocolate flavored shells with cocoa powder
Add citrus zest for a fresh twist
Experiment with natural color powders
Create layered flavor combinations
FAQ’s
1. Why did my shells crack?
Cracking often happens when the batter is overmixed or the oven temperature is too high.
2. Do I need almond flour?
Yes, it gives the classic texture, but alternatives can work with slight differences.
3. Can I skip food coloring?
Absolutely, they taste just as good without it.
4. How do I know when they are done?
They should feel firm and lift easily from the parchment.
5. Can I make them larger?
Yes, just adjust baking time slightly.
6. Why are my shells hollow?
This can happen due to overwhipping or baking issues.
7. How long can I store them?
Up to 5 days in an airtight container.
8. Can I freeze them?
Yes, they freeze well for up to a month.
9. What fillings work best?
Buttercream, ganache, and fruit jams are great options.
10. Are they very sweet?
They are lightly sweet, balanced by their delicate texture.
Conclusion
These mini macaron shells are proof that small treats can bring big joy. With their delicate texture and endless possibilities, they are a fun and rewarding bake. This one’s a total game-changer once you get the hang of it, and trust me, you’ll find yourself making them again and again.
Print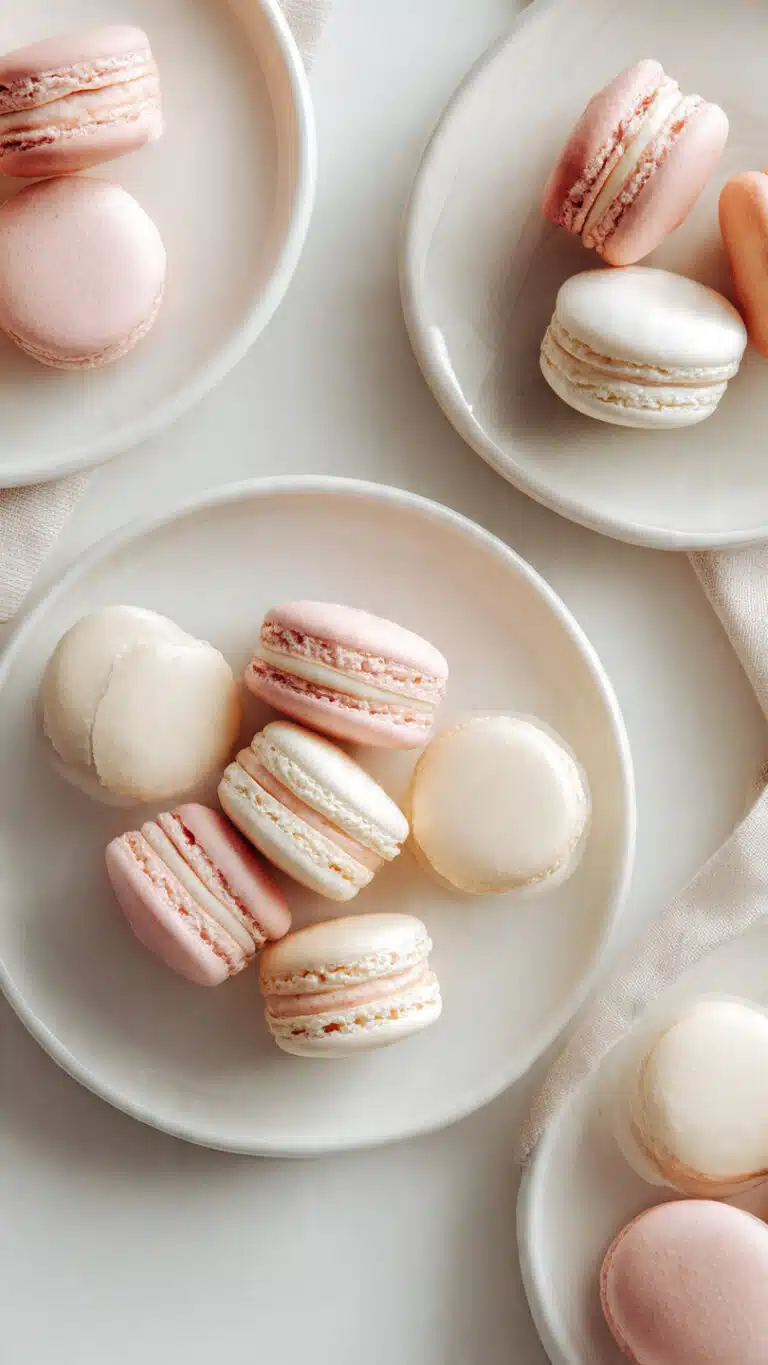
Mini Macaron Shells
Delicate and airy mini macaron shells with a crisp exterior and soft chewy center, perfect for filling or enjoying on their own.
- Total Time: 32 minutes
- Yield: 20 mini shells 1x
Ingredients
- 1 cup almond flour
- 1 cup powdered sugar
- 2 large egg whites
- 2 tablespoons granulated sugar
- 1 teaspoon vanilla extract
- Food coloring (optional)
Instructions
- Preheat oven to 300°F and line baking sheets with parchment paper.
- Sift almond flour and powdered sugar together until smooth.
- Beat egg whites until foamy, then gradually add granulated sugar until stiff peaks form.
- Gently fold dry ingredients into the meringue until smooth batter forms.
- Pipe small circles onto baking sheet.
- Let rest briefly, then bake for 12 minutes.
- Cool completely before removing and serving.
Notes
- Use room temperature egg whites for best results
- Do not overmix the batter
- Let shells rest before baking for better texture
- Prep Time: 20 minutes
- Cook Time: 12 minutes
- Category: Dessert
- Method: Baking
- Cuisine: French
- Diet: Vegetarian
Nutrition
- Serving Size: 1 mini shell
- Calories: 45
- Sugar: 4g
- Sodium: 5mg
- Fat: 2g
- Saturated Fat: 0.2g
- Unsaturated Fat: 1.5g
- Trans Fat: 0g
- Carbohydrates: 5g
- Fiber: 0.5g
- Protein: 1g
- Cholesterol: 0mg
Keywords: mini macarons, macaron shells, french dessert, small macarons